As an Amazon Associate, I earn from qualifying purchases.
To use potting mix for outdoor plants, choose a high-quality mix and ensure proper drainage. Mix it with garden soil for best results.
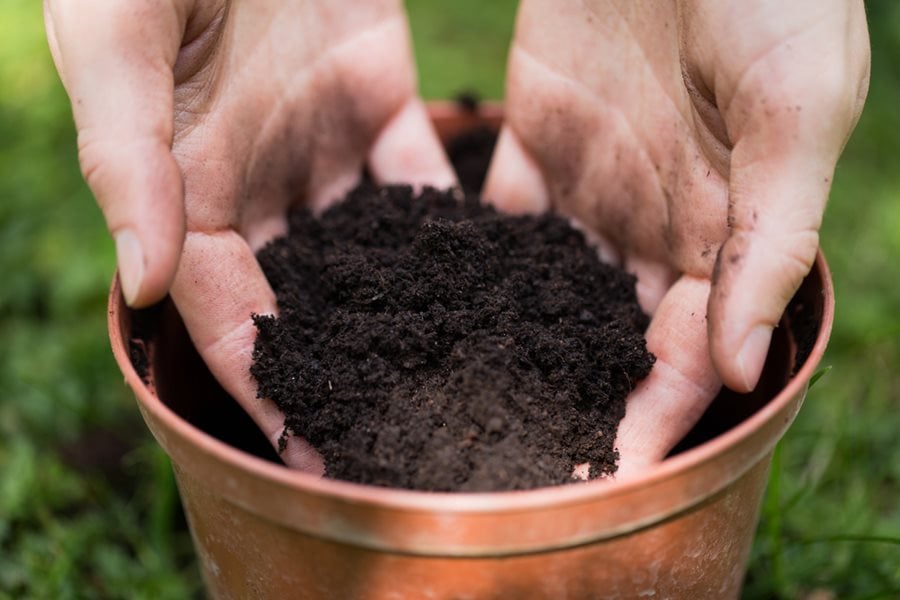
Potting mix is essential for the healthy growth of outdoor plants. It provides the necessary nutrients and promotes better water retention and aeration. Using a high-quality potting mix can significantly improve plant health and growth. This soil alternative is specially formulated to support a wide range of plants, ensuring they thrive in various outdoor conditions.
By combining potting mix with garden soil, you can create an ideal environment for your plants. This blend helps in maintaining the right balance of moisture and nutrients. Proper use of potting mix leads to robust, vibrant plants in your garden.

Credit: www.gardendesign.com
Choosing The Right Potting Mix
Picking the proper potting mix is crucial for plant health. The right mix provides nutrients, ensures good drainage, and supports root growth. Understanding different types of potting mixes and their ingredients can help you make the best choice for your outdoor plants.
Types Of Potting Mix
| Type | Description |
|---|---|
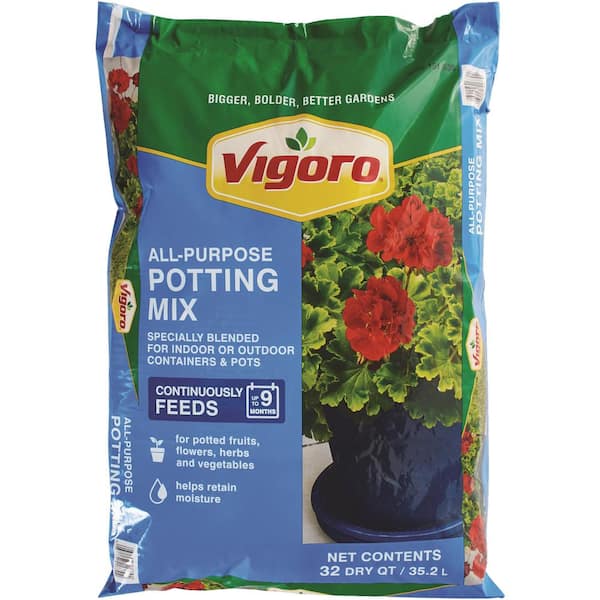
| All-purpose Potting Mix | Good for most plants; balanced nutrients. |
| Succulent and Cactus Mix | Fast-draining; prevents root rot. |
| Orchid Mix | Light and airy; ideal for orchids. |
| Seed Starting Mix | Fine texture; supports seed germination. |
Ingredients To Look For
Different ingredients serve various purposes in a potting mix. Here are some key ingredients to look for:
- Peat Moss: Retains moisture; provides organic matter.
- Perlite: Enhances drainage; keeps mix light.
- Vermiculite: Retains water; helps in aeration.
- Compost: Adds nutrients; improves soil structure.
- Sand: Improves drainage; prevents compacting.
Each ingredient plays a unique role. A balanced mix ensures your plants thrive. Consider your plant type and its specific needs to select the right potting mix.

Credit: www.homedepot.com
Preparing Your Potting Mix
Preparing your potting mix is an essential step for healthy outdoor plants. A well-prepared mix ensures your plants get the nutrients they need. Let’s look at the steps involved in preparing your potting mix.
Sterilizing The Mix
Sterilizing your potting mix helps remove harmful pathogens. These pathogens can harm your plants. Follow these steps to sterilize your mix:
- Spread the potting mix on a baking sheet.
- Heat the oven to 180°F (82°C).
- Bake the mix for 30 minutes.
- Let it cool before use.
Moistening The Mix
Moistening the potting mix ensures it is ready for planting. Dry mix can harm plant roots. Here’s how to moisten your mix:
- Place the mix in a large container.
- Add water slowly.
- Stir the mix until evenly moist.
- Check for proper moisture by squeezing the mix.
Follow these steps to prepare your potting mix. Your outdoor plants will thrive with a well-prepared mix.
Selecting Containers
Choosing the right container is crucial for your outdoor plants. It impacts their growth and health. Consider factors like size, drainage, and material. These elements play a significant role in plant success.
Size And Drainage
The size of the container is important. A small pot can limit root growth. A large pot can cause overwatering issues.
- Small containers are suitable for herbs and small flowers.
- Medium containers work well for most vegetables and medium-sized plants.
- Large containers are ideal for trees and large shrubs.
Drainage is equally vital. Containers must have drainage holes. These holes prevent water from pooling at the bottom. Excess water can lead to root rot.
| Container Size | Suitable Plants |
|---|---|
| Small | Herbs, Small Flowers |
| Medium | Vegetables, Medium Plants |
| Large | Trees, Large Shrubs |
Material Considerations
Container material affects plant health too. Each material has its benefits and drawbacks.
- Clay Pots: They are porous and allow air exchange. They can dry out quickly.
- Plastic Pots: They are lightweight and retain moisture well. They can become too warm in the sun.
- Wooden Containers: They offer natural insulation. They can rot over time without proper treatment.
- Metal Containers: They are durable but can overheat roots. They need insulation to protect roots.
Choose a container material that suits your plant’s needs. Consider your climate and watering habits.
Planting Techniques
Using the right planting techniques ensures your outdoor plants grow strong. Follow these steps for best results. Learn how to fill containers and position plants correctly.
Filling The Container
First, choose a container with drainage holes. This helps prevent waterlogging. Fill the bottom with small rocks or gravel. This layer improves drainage.
Next, add the potting mix. Use a high-quality mix. It should be rich in nutrients. Fill the container halfway. This allows space for the plant roots.
Gently press the mix down. This removes air pockets. Add more mix if needed. The surface should be even. Leave space at the top for watering.
Positioning The Plant
Now it’s time to position the plant. Create a hole in the center of the mix. The hole should be deep enough for the plant roots.
Carefully remove the plant from its original pot. Hold the plant by the base, not the stem. Place the plant in the hole. Ensure the roots are spread out evenly.
Fill around the plant with more potting mix. Press down gently to secure the plant. Water the plant thoroughly. This helps settle the mix around the roots.
Remember, positioning is key. The plant should be upright and stable. Ensure it gets enough sunlight and air circulation.
Watering Practices
Proper watering is crucial for the health of outdoor plants. Using the right potting mix can greatly aid in maintaining optimal moisture levels. This section will guide you through the best watering practices to keep your plants thriving.
When To Water
Knowing when to water your plants is essential. Water early in the morning. This allows water to reach the roots before the sun evaporates it. Check the soil moisture by sticking your finger an inch deep into the potting mix. If it feels dry, it’s time to water.
Use a watering schedule to keep track. Consistency is key. Most outdoor plants need watering once or twice a week. Adjust based on weather conditions. Hot, dry weather requires more frequent watering.
Signs Of Overwatering
Overwatering can harm your plants. Learn to recognize the signs. Wilting leaves, even when the soil is wet, indicate overwatering. Yellowing leaves are another common sign. Mushy or rotten roots are a serious indicator.
To prevent overwatering, ensure your pots have drainage holes. This allows excess water to escape. Use a well-draining potting mix. This mix helps to prevent water from sitting around the roots.
| Sign | Indicator |
|---|---|
| Wilting Leaves | Wet soil |
| Yellowing Leaves | Excess moisture |
| Mushy Roots | Rotting from too much water |
By following these watering practices, you can ensure your outdoor plants remain healthy and vibrant.
Feeding Your Plants
Feeding your outdoor plants is crucial for their growth and health. Using the right fertilizers and application methods will ensure your plants thrive. This guide will help you choose the best fertilizers and apply them correctly.
Choosing Fertilizers
Choosing the right fertilizer is important. Different plants have different nutrient needs. Here are some common types of fertilizers:
- Organic Fertilizers: Made from natural materials like compost and manure.
- Chemical Fertilizers: Synthetic products designed to provide specific nutrients.
- Slow-Release Fertilizers: Granules that release nutrients over time.
- Liquid Fertilizers: Easy to apply and quickly absorbed by plants.
| Type | Pros | Cons |
|---|---|---|
| Organic | Environment-friendly, improves soil structure | Works slowly, can be expensive |
| Chemical | Fast-acting, precise nutrient content | Can harm soil and plants if overused |
| Slow-Release | Less frequent application, reduces nutrient runoff | More expensive, slower results |
| Liquid | Easy to use, quickly absorbed | Needs frequent application, can wash away |
Application Methods
Applying fertilizers correctly is key to healthy plants. Follow these methods to ensure proper feeding:
- Broadcasting: Spread the fertilizer evenly over the soil surface.
- Top-Dressing: Apply fertilizer around the base of the plant.
- Foliar Feeding: Spray liquid fertilizer directly on the leaves.
- Side-Dressing: Place fertilizer in a band along the rows or sides of plants.
Remember to follow the manufacturer’s instructions. Over-fertilizing can harm your plants. Always water the plants after fertilizing to help nutrients reach the roots.
Pest And Disease Management
Pest and disease management is crucial for healthy outdoor plants. Using the right potting mix helps keep pests and diseases at bay. In this section, we will explore common pests and preventive measures for managing them effectively.
Common Pests
Outdoor plants often attract various pests. Here are some common pests to watch out for:
- Aphids: Small, green insects that suck plant sap.
- Spider Mites: Tiny, red or brown mites that create webs on leaves.
- Whiteflies: Small, white-winged insects that fly when disturbed.
- Mealybugs: White, cotton-like pests found in leaf joints.
- Slugs and Snails: Soft-bodied pests that chew on leaves.
Preventive Measures
Preventive measures are essential for keeping pests away from your plants. Follow these steps:
- Inspect Plants Regularly: Check for signs of pests weekly.
- Use Clean Tools: Clean gardening tools to prevent disease spread.
- Water Wisely: Water plants in the morning to avoid damp conditions.
- Maintain Healthy Soil: Use quality potting mix to promote strong roots.
- Introduce Beneficial Insects: Ladybugs and lacewings eat harmful pests.
Below is a table of common pests and their natural predators:
| Common Pest | Natural Predator |
|---|---|
| Aphids | Ladybugs |
| Spider Mites | Predatory Mites |
| Whiteflies | Encarsia Formosa |
| Mealybugs | Ladybugs |
| Slugs and Snails | Ground Beetles |
Seasonal Care Tips
Using potting mix for outdoor plants is essential. Each season has unique care needs. Follow these tips to keep your plants healthy all year.
Summer Care
Summer heat can dry out your potting mix quickly. Ensure you water your plants early in the morning. This helps avoid rapid evaporation.
Add a layer of mulch on top of the potting mix. This helps retain moisture. Avoid watering in the evening to prevent fungal growth.
| Task | Frequency |
|---|---|
| Watering | Daily |
| Mulching | Once a month |
Winter Care
Winter brings cold temperatures and frost. Protect your plants by insulating the potting mix. Cover the soil with straw or leaves.
Reduce watering frequency in winter. Over-watering can lead to root rot. Use a well-draining potting mix to prevent waterlogging.
- Insulate with straw or leaves
- Reduce watering to once a week
- Use well-draining potting mix

Credit: www.amazon.com
Frequently Asked Questions
What Is Potting Mix?
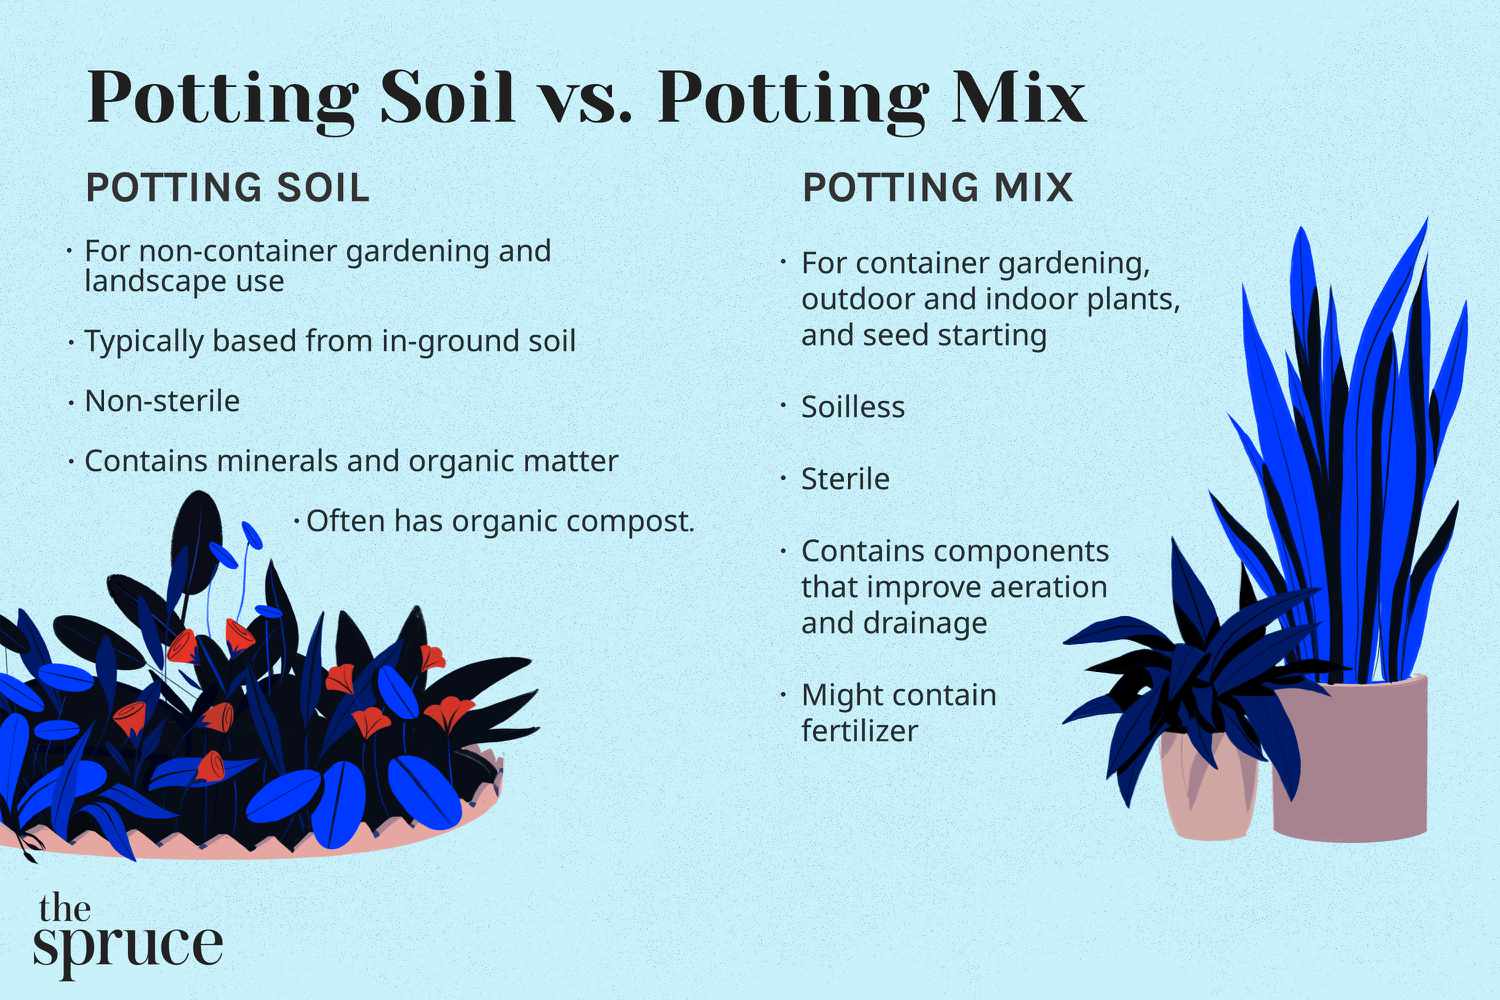
Potting mix is a soil-less blend containing ingredients like peat moss, perlite, and compost. It’s designed for optimal drainage and aeration.
How To Choose The Best Potting Mix?
Choose a potting mix based on your plant’s needs. Look for a mix with good drainage and nutrient content.
Can I Use Potting Mix For All Outdoor Plants?
Not all outdoor plants thrive in potting mix. Research your specific plant’s requirements for the best results.
How Often Should I Replace Potting Mix?
Replace potting mix every one to two years. This ensures nutrients remain available and the mix stays fresh.
Conclusion
Creating the perfect potting mix for outdoor plants boosts their growth and health. Remember to choose high-quality ingredients and mix thoroughly. Regularly check and adjust the mix to meet your plants’ needs. With proper care and attention, your outdoor garden will thrive beautifully.
Happy gardening!

