
As an Amazon Associate, I earn from qualifying purchases.
Building a fence seems simple until you start looking into post depth, property lines, and gate alignment. Many homeowners begin with confidence and quickly realize there are more details involved than expected.
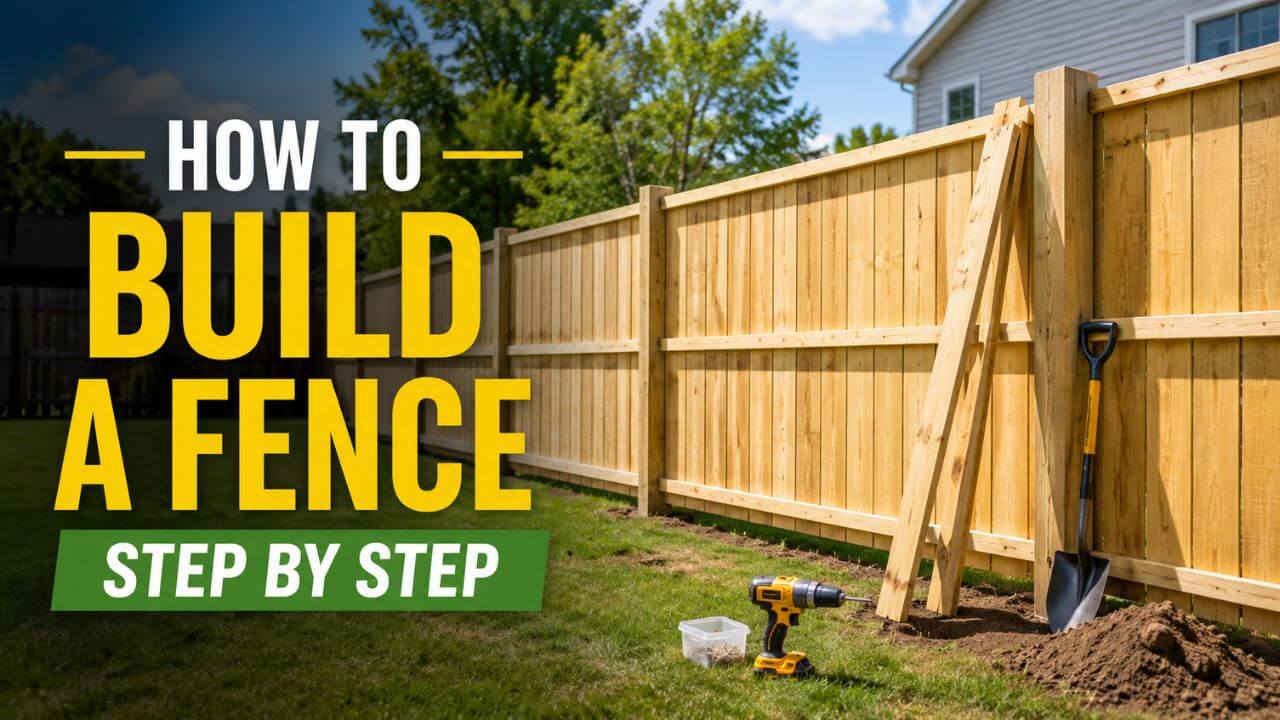
Learning how to build a fence step by step makes the project much easier. Once the work is broken into smaller tasks, even beginners can build a fence that looks professional and lasts for years.
Why Building a Fence Starts Before Digging the First Hole
The biggest mistake many people make is buying materials before making a plan.
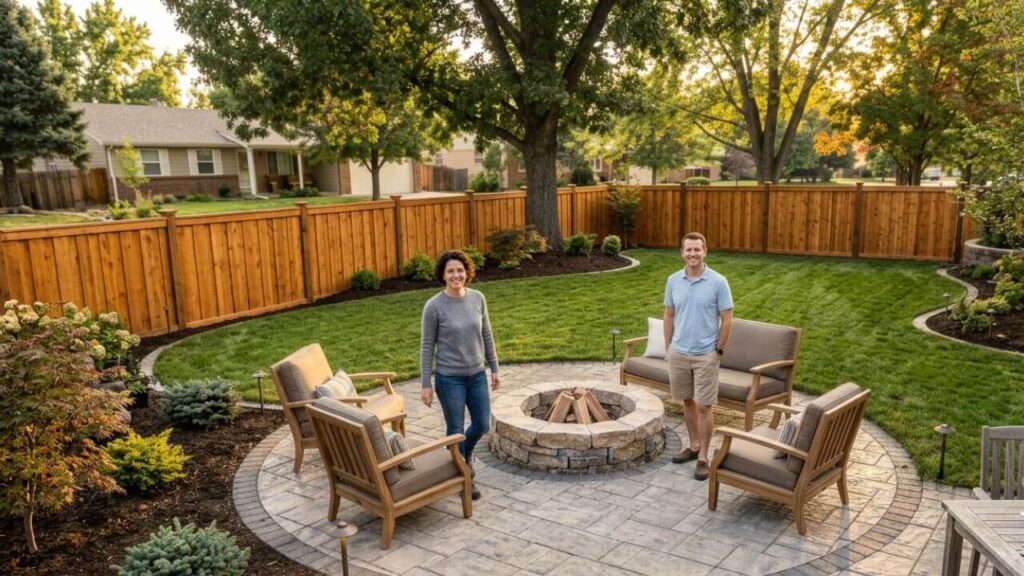
A fence affects neighbors, property lines, utilities, and local regulations. Spending an hour planning can save days of frustration later.
| Planning Task | Why It Matters |
|---|---|
| Verify property lines | Prevents disputes |
| Check local codes | Avoids fines |
| Locate utilities | Improves safety |
Choosing the Right Fence for Your Needs
Different fences solve different problems.
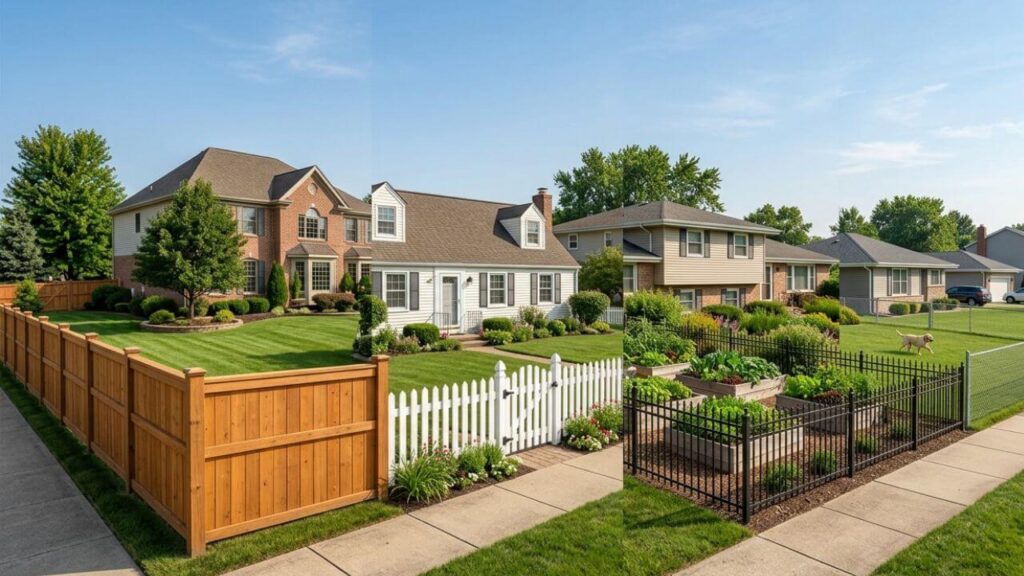
Some homeowners want privacy. Others need to keep pets safe or protect a garden.
| Fence Type | Best Use |
|---|---|
| Privacy fence | Backyard privacy |
| Picket fence | Decorative borders |
| Garden fence | Protecting plants |
| Wire fence | Pets and livestock |
For most beginners, a wood privacy fence offers the best balance of cost, appearance, and simplicity.
Tools and Materials Needed
Having everything ready before starting makes the project smoother.
Tools
- Tape measure
- String line
- Stakes
- Post hole digger
- Shovel
- Drill
- Level
- Circular saw
- Hammer
- Work gloves
- Safety glasses
Materials
- Fence posts
- Concrete mix
- Gravel
- Rails
- Fence pickets or panels
- Exterior screws
- Gate hardware
Buying a little extra material helps avoid delays if mistakes happen.
Step 1: Mark the Fence Layout
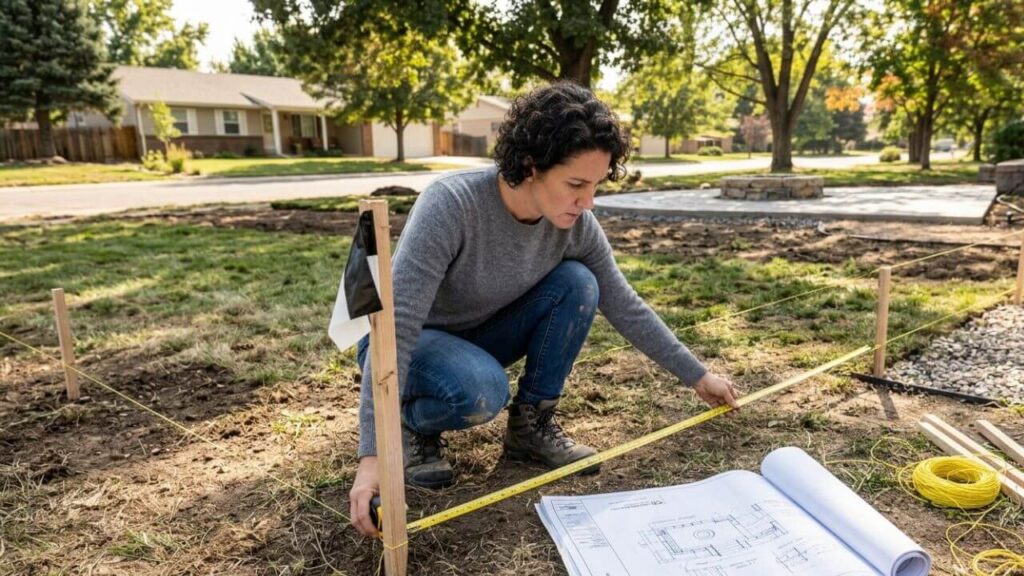
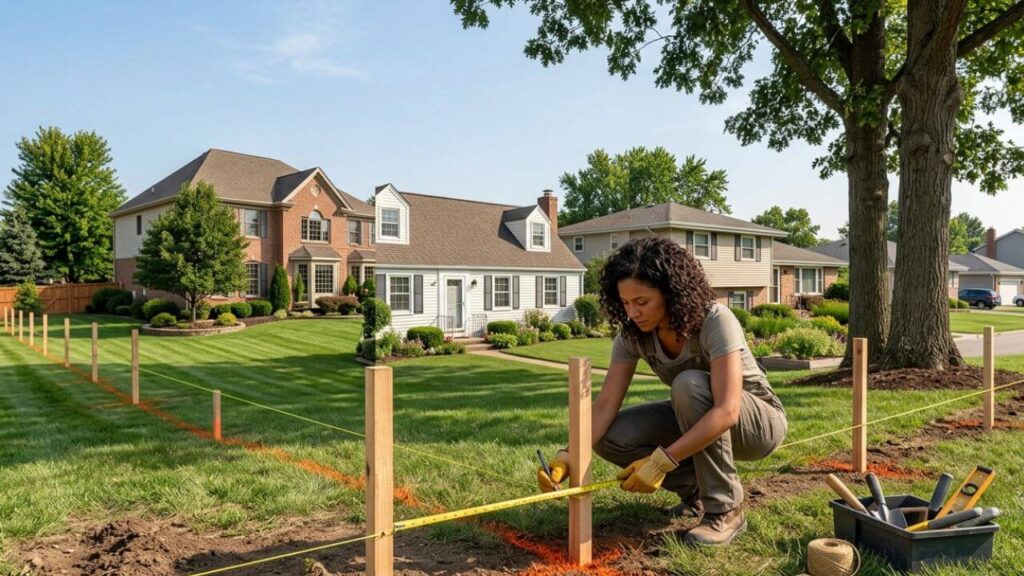
Start by placing stakes at the corners.
Run string between the stakes to create straight lines. Walk around the layout and check it from different angles before digging.
Small changes now are easy. Moving posts later is not.
Step 2: Mark Fence Post Locations
Fence post spacing affects strength and appearance.
Most residential fences use spacing between six and eight feet.
| Fence Style | Common Spacing |
|---|---|
| Privacy fence | 6 to 8 feet |
| Picket fence | 6 feet |
| Garden fence | 4 to 6 feet |
Measure twice before marking every location.
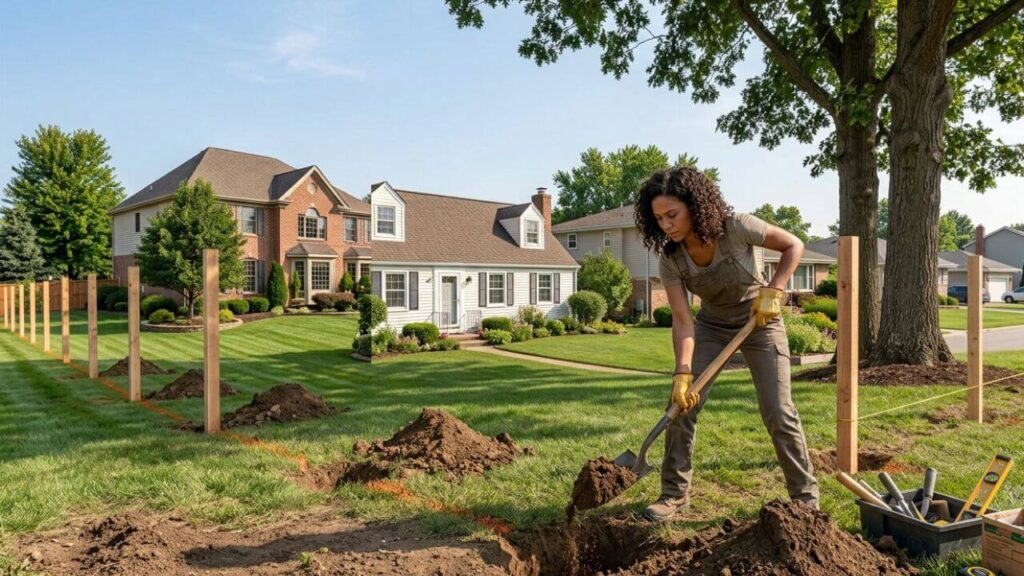
Step 3: Dig Fence Post Holes
This step takes more effort than most beginners expect.
A good rule is to bury one-third of the post underground.
For a six-foot fence, holes usually need to be about 30 to 36 inches deep.
Shallow posts are one of the biggest reasons fences lean after storms.
Step 4: Add Gravel for Drainage
Place several inches of gravel in the bottom of each hole.
This simple step improves drainage and reduces rot around wooden posts.
Many DIY builders skip gravel. Many later wish they had not.
Step 5: Set Fence Posts in Concrete
Place the post into the hole and use a level to make sure it is perfectly straight.
Pour concrete around the post and allow it to cure fully before continuing.
| Soil Type | Recommended Depth |
|---|---|
| Sandy soil | 36 inches |
| Clay soil | 30 to 36 inches |
| Rocky soil | 24 to 30 inches |
Rushing this step creates problems for the entire fence.
Step 6: Install Horizontal Rails
Rails connect the posts and support the pickets.
Most privacy fences use three rails:
- Top rail
- Middle rail
- Bottom rail
Keep spacing consistent from one section to the next.
Step 7: Attach Fence Pickets or Panels
This is where the fence begins to look complete.
Attach pickets carefully and check spacing frequently.
Using a spacer block helps maintain even gaps across the entire fence.
Without one, small differences become very noticeable.
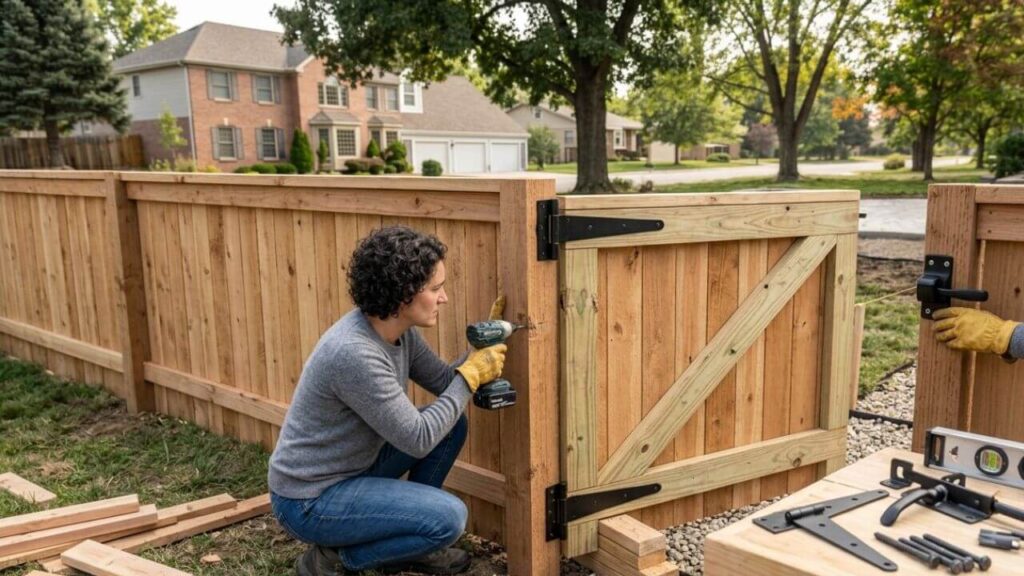
Step 8: Build the Gate Last
Many first-time builders underestimate gate installation.
A gate that works perfectly today can sag later if it lacks support.
For better results:
- Use heavy-duty hinges.
- Add diagonal bracing.
- Use quality hardware.
Building the gate after the fence sections are complete makes alignment easier.
Common Problems During Fence Installation
Even experienced builders run into challenges.
| Problem | Solution |
|---|---|
| Leaning posts | Recheck level |
| Uneven pickets | Use spacers |
| Loose rails | Add support screws |
| Water around posts | Improve drainage |
Most problems start during the early stages of installation.
Mistakes Beginners Should Avoid
Several mistakes appear again and again.
| Mistake | Better Approach |
|---|---|
| Digging shallow holes | Follow depth guidelines |
| Skipping gravel | Improve drainage |
| Ignoring property lines | Verify boundaries first |
| Buying exact quantities | Purchase extra materials |
Fence projects reward patience more than speed.
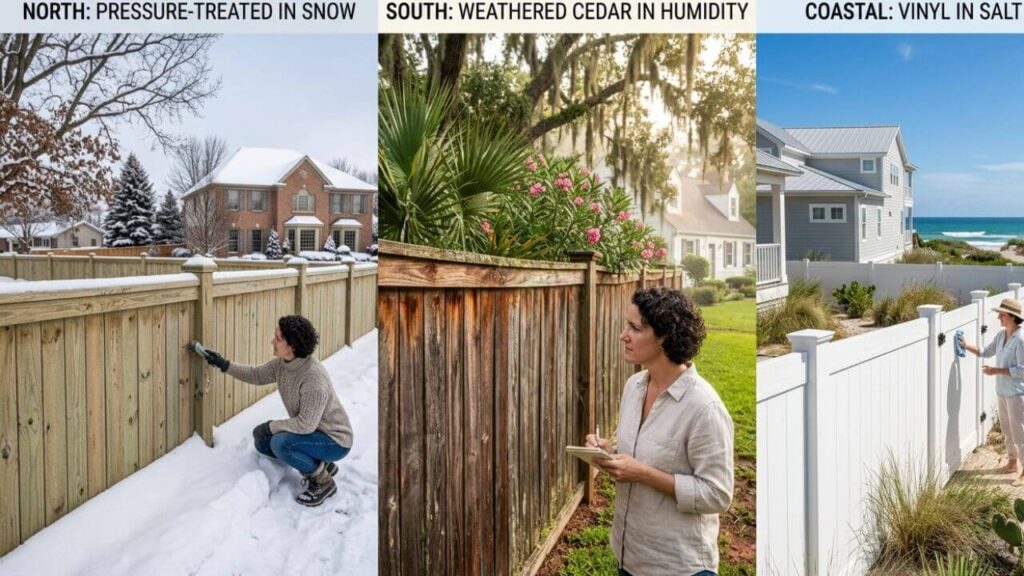
Climate Matters More Than Many People Realize
Weather affects fence durability across the United States.
Northern states deal with freeze-thaw cycles that can move posts over time.
Southern states expose wood to heat and humidity.
Coastal areas create additional challenges because of salt exposure.
| Climate | Recommended Material |
|---|---|
| Northern states | Pressure-treated wood |
| Southern states | Cedar |
| Coastal regions | Vinyl or aluminum |
Choosing materials for local conditions can extend fence life significantly.
Small Habits That Improve Results
After researching and reviewing many fence projects, a few habits stand out:
- Check measurements twice.
- Keep a level nearby.
- Build during dry weather.
- Use quality screws and hardware.
- Clean tools at the end of the day.
These simple habits prevent many common problems.
Frequently Asked Questions
How deep should fence posts be?
Most residential fence posts need holes between 30 and 36 inches deep.
Can I build a fence myself?
Yes. Many homeowners complete DIY fence projects successfully with proper planning.
How far apart should fence posts be?
Most wood fences use spacing between six and eight feet.
Should fence posts use concrete?
Concrete improves stability and extends fence life in most situations.
What is the easiest fence for beginners?
Wood privacy fences are one of the easiest options for first-time builders.
Do I need a permit to build a fence?
Many cities require permits depending on fence height and location.
Final Thoughts
Learning how to build a fence step by step becomes much easier when you focus on one task at a time. Straight lines, solid posts, and proper drainage matter more than finishing quickly.
If you are building your first fence, take your time with the layout and post installation. Those two steps determine almost everything that follows. A well-built fence can improve privacy, increase curb appeal, and serve your yard for many years.

I enjoy sharing simple gardening ideas, lawn care tips, and honest product reviews that help make outdoor work easier. From home gardening guides to helpful tools and lawn care advice, I write easy-to-follow content to help readers create a healthier and better-looking outdoor space without wasting time or money.