As an Amazon Associate, I earn from qualifying purchases.
Gardening can be fun and rewarding. But using the right tools is key.
One such tool is the garden tiller. For beginners, a garden tiller might seem confusing. This guide will help you understand how to use it effectively. A garden tiller prepares your soil, making it ready for planting. It breaks up hard ground and mixes in nutrients.
Using it correctly can save you time and effort. This guide aims to simplify the process. By the end, you’ll feel confident using a garden tiller in your garden. Let’s get started and turn your gardening tasks into enjoyable activities.
Garden Tillers
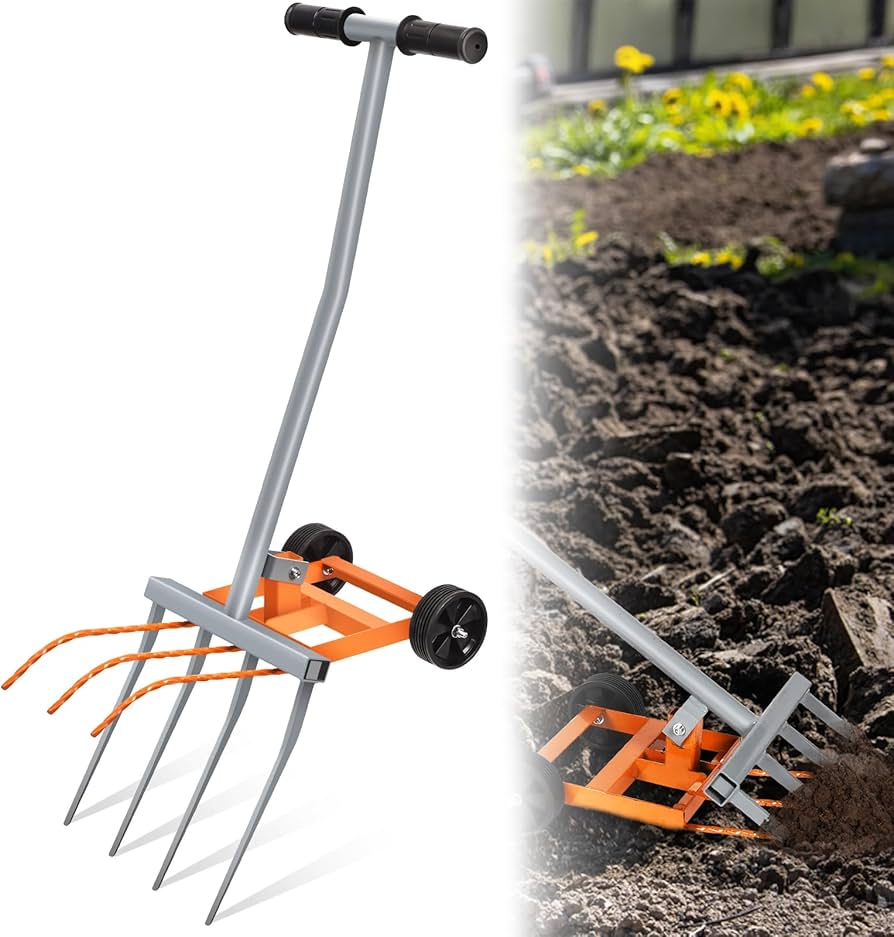
A garden tiller is a tool for preparing the soil. It breaks up the ground, making it loose and ready for planting. This tool has rotating blades or tines that cut through the soil. Garden tillers come in different sizes and types. Some are small and easy to handle, while others are big and powerful. They help mix the soil and improve its quality. Farmers and gardeners use them a lot.
Using a garden tiller saves time and effort. It makes the soil ready for planting quickly. Tilling helps to mix nutrients into the soil, which helps plants grow better. It also helps to remove weeds, which compete with plants for nutrients. A tiller can break up hard soil, allowing water and air to reach plant roots. Healthy roots mean healthy plants.

Types Of Garden Tillers
Front-tine tillers are good for small gardens. They are easy to move, and the tines are in the front, helping break up soil well. Front-tine tillers are light and simple to use. They work best in soft soil. Many people like them for their home gardens.
Rear-tine tillers are powerful and good for large gardens. The tines are in the back, and these tillers can break hard soil. They are heavier than front-tine tillers. Rear-tine tillers are easy to control and work well on tough ground.
Mini-tillers are small and light, perfect for tight spaces. They are also easy to carry, great for flower beds and small vegetable gardens. Mini-tillers are also simple to store, and many people like them for quick tasks.
Choosing The Right Tiller
Selecting the right tiller ensures efficient soil preparation for gardening. Beginners should choose a lightweight, easy-to-handle model for small gardens.
Assessing Your Garden Size
Small gardens need a mini-tiller, which is easy to handle. Large gardens need a rear-tine tiller, which covers more ground. Think about the size of your garden. This will help you pick the right tool.
Soil Type Considerations
Soft soil is easy to till. A small tiller works fine. Hard soil needs a strong tiller. Look for a tiller with good power. Rocky soil is tricky. Use a tiller with sturdy blades. Check your soil type. Choose the right tiller for best results.
Preparing Your Garden
Start by removing large rocks and branches. These can damage your tiller. Collect leaves and sticks in a pile and dispose of them properly. You want a clear area to work in. This makes tilling easier and safer.
Use stakes to mark the garden area. Tie a string between the stakes, creating a clear boundary. Ensure the area is rectangular or square. A well-marked area helps you till in straight lines and prevents over-tilling.
Operating A Garden Tiller
First, check the fuel level. Fill the tank if needed. Next, make sure the tiller is on a level surface. Turn on the fuel valve. Set the choke to the start position. Pull the starter cord sharply. The engine should start after a few pulls. Let it warm up for a few minutes before use.
Wear safety gear: gloves, goggles, and sturdy shoes. Always grip the handles firmly. Keep bystanders away from the tiller. Avoid using the tiller on wet soil, as wet soil can cause it to slip. Stop the engine before making adjustments. Never put your hands near moving parts. Use the tiller in a well-ventilated area to avoid fumes.

Tilling Techniques
Start by clearing the area of rocks and debris. This helps the tiller move smoothly. Next, mark the area you want to till. Push the tiller slowly into the soil. Let the machine do the hard work. Don’t force it. Move in straight lines to cover all spots.
Cross-tilling ensures the soil is fine and loose. After initial tilling, till the soil again at a right angle. This breaks up any remaining clumps, making the soil even and ready for planting. Make sure to cover the whole area. Your garden will thank you.
Maintenance Tips
Always clean the tiller after use. Remove dirt and debris from the blades. This helps keep the tiller working well. Use a brush or a hose to clean it. Dry the tiller before storing it to prevent rust. Check the air filter and clean or replace it as needed.
Inspect the tiller before each use. Look for any loose parts and tighten them if needed. Check the oil level and add oil if it is low. Inspect the spark plug and clean or replace it. Make sure the blades are sharp and not damaged. Sharp blades make tilling easier.
Common Mistakes To Avoid
Many beginners make the mistake of tilling too deeply, harming soil structure. Another common error is tilling wet soil, leading to clumps and poor aeration.
Over-tilling
Over-tilling can harm your garden soil. It disrupts the natural soil structure. Good soil structure helps plants grow. Too much tilling can compact soil, making it hard. Roots find it tough to spread in compact soil. Over-tilling also kills helpful insects. These insects keep the soil healthy. Tilling just enough is important. Aim to till only when needed. This keeps the soil loose and rich.
Ignoring Safety Precautions
Ignoring safety is risky. Always wear gloves and sturdy shoes. Keep kids and pets away when tilling. Check your tiller before use. Look for loose parts. Follow the manual for safe operation. Never till near electrical lines. Wet soil can be slippery, and tilling in wet soil can cause accidents. Safety first ensures a smooth gardening experience.
Frequently Asked Questions
What Is A Garden Tiller Used For?
A garden tiller breaks up soil, making it easier to plant seeds and remove weeds.
How Do I Choose The Right Garden Tiller?
Consider your garden size and soil type. For small gardens, a mini-tiller works best.
When Is The Best Time To Use A Garden Tiller?
Spring and fall are ideal times. The soil is moist and easy to till.
How Deep Should I Till My Garden Soil?
Till soil to a depth of 6-8 inches for most plants. This helps roots grow well.
Can I Use A Garden Tiller In Wet Soil?
No, avoid tilling wet soil. It can cause clumps and damage soil structure.
Conclusion
Using a garden tiller can make gardening easier. Follow the steps outlined above. Practice and patience are key. Your garden will thank you. Soon, you’ll see better soil and healthier plants. Enjoy the process and have fun. Gardening can be a rewarding hobby.
Happy tilling!

