
As an Amazon Associate, I earn from qualifying purchases.
Moisten the soil, set shallow depth, make slow passes, and cross-till.
If you have rock-hard soil, you can still get great results. I’ve tilled compacted yards, clay-heavy beds, and trampled paths for years. In this guide, I’ll show you How To Use A Tiller On Hard Ground with simple, safe steps, pro tips, and real-world lessons you can use today.

What Makes Ground “Hard” and Why It Matters
Hard ground is soil that resists tools and airflow. It often has little pore space and weak structure. You see this in clay, compacted subsoil, dried-out beds, or turf with deep thatch. The cause is often traffic, heavy rain, drought, or poor organic matter.
Why it matters: hard soil slows roots, holds water poorly, and starves life. Tilling can help, but it can also harm if done at the wrong time. Knowing how soil behaves is the first step in How To Use A Tiller On Hard Ground. The goal is to loosen, not smear or grind it to dust.
Expect limits. One tilling pass will not fix chronic compaction. You still need water timing, organic matter, and good foot traffic habits. Good prep can turn a painful job into a smooth one.

Choose the Right Tiller and Add-Ons
Picking the right machine is half the battle in How To Use A Tiller On Hard Ground.
- Rear-tine tiller. Best for hard soil. It has drive wheels and separate tines. It pulls itself forward and keeps depth steady.
- Counter-rotating tines. These spin opposite the wheels. They bite into tough ground with less bounce.
- Front-tine tiller. Fine for light work. It can struggle in packed clay. Use for raised beds or soil already loosened.
- Engine size. More torque helps. A heavier unit digs better and walks less.
- Tines. Bolo tines or hard-soil blades work well. Keep them sharp and not bent.
- Depth stake or drag bar. This helps hold depth on the first passes.
- Wheel weights. Extra weight can reduce skip and improve bite.
If you only till once a year, rent a rear-tine with counter-rotating tines. It is safer and faster for hard ground.

Safety and Prep Checklist
Good prep is key in How To Use A Tiller On Hard Ground. It keeps you safe and saves time.
- Call utility locate service before you dig. Mark gas, water, and power.
- Walk the site. Remove wire, rope, bricks, and big rocks.
- Wear gear. Sturdy boots, gloves, eye and ear protection.
- Check the tiller. Fuel, oil, belts, and tine pins. Tight and sound.
- Water the area 24 to 48 hours before. Aim for moist, not soggy.
- Do the squeeze test. Grab a handful. It should hold shape, then break with a tap. If it oozes or sticks, wait. If it dusts, mist it.
This simple checklist prevents broken parts and broken ankles.

Step-by-Step: How To Use A Tiller On Hard Ground
I follow the same steps on every tough site. The machine thanks you. Your back does too.
- Mark the bed edges with string or paint. Plan your lanes.
- Set shallow depth. Aim for 1 to 2 inches on the first pass.
- Start at a slow throttle. Let the tines catch and pull.
- Keep a light grip. Guide, do not force. The tiller will walk less.
- Make the first pass in straight lines. Overlap each lane a bit.
- Make a second pass at a right angle. This cross-till breaks clods.
- Nudge depth down to 3 to 4 inches. Do another two passes.
- Listen to the engine. If it bogs, back off and take thinner bites.
- Stop and pick out rocks and roots. Do not till them deeper.
- Add compost on top, about 2 to 3 inches.
- Make a final shallow pass to blend the top few inches.
- Rake level. Do not over-pulverize. Aim for walnut to pea-size crumbs.
How To Use A Tiller On Hard Ground is about patience. Shallow bites beat deep digs. Cross passes beat brute force. When in doubt, take one more light pass instead of one heavy pass.
Moisture Timing, Soil Conditioners, and When to Wait
Moisture is the secret in How To Use A Tiller On Hard Ground. Tilling at the right moisture lets tines slice and lift. Tilling when too wet smears clay into plates. That locks roots out.
- Field-moist is best. Soil should not shine or stick to your shovel.
- If it puffs like flour, mist the top inch. Wait an hour. Try again.
- For clay, a small amount of gypsum can help if sodium is high. A soil test tells you if it is needed.
- Add organic matter. Compost increases pore space and feed for soil life.
- Avoid adding sand to clay unless you add lots of compost. A little sand and clay can make concrete.
If rain is due, wait. Tilling saturated soil wastes time and hurts structure. A one-day delay can save a week of repair.

Techniques by Soil Type
Not all hard soils act the same. Tune your plan as needed.
-
Heavy clay
- Work when it is moist but not sticky.
- Use shallow passes and cross-hatch.
- Keep clods medium. Too fine leads to crust after rain.
-
Rocky or gravelly soil
- Start very shallow to avoid bouncing.
- Stop often to pull stones. Use a screen if needed.
- Expect more passes and some hand work.
-
Dry silt or loess
- Lightly water before and between passes.
- Wind can blow fine silt. Keep mulch on top after tilling.
-
Old sod or thatch
- Mow low. Remove thick thatch.
- If sod is dense, slice or lift it first. Or sheet compost for a season.
- Mix compost after sod removal for faster soil gains.
How To Use A Tiller On Hard Ground means reading the soil. If it fights you, change depth, speed, or timing.

Troubleshooting and Maintenance On the Go
Even pros run into snags. Here is how I fix the big ones fast.
- Tiller “skips” or walks fast
- Reduce throttle. Add wheel weights. Shorten the depth.
- Engine bogs or stalls
- You are biting too deep. Raise the tines and go slower.
- Tines clog with vines or grass
- Stop. Kill the engine. Clear the tines by hand with gloves.
- Belts slip or squeal
- Check belt tension and wear. Tighten or replace before you burn it.
- Uneven depth
- Use the drag bar. Keep your body centered. Avoid yanking one handle.
Carry spare shear pins and a plug wrench. A five-minute fix can save the day when learning How To Use A Tiller On Hard Ground.
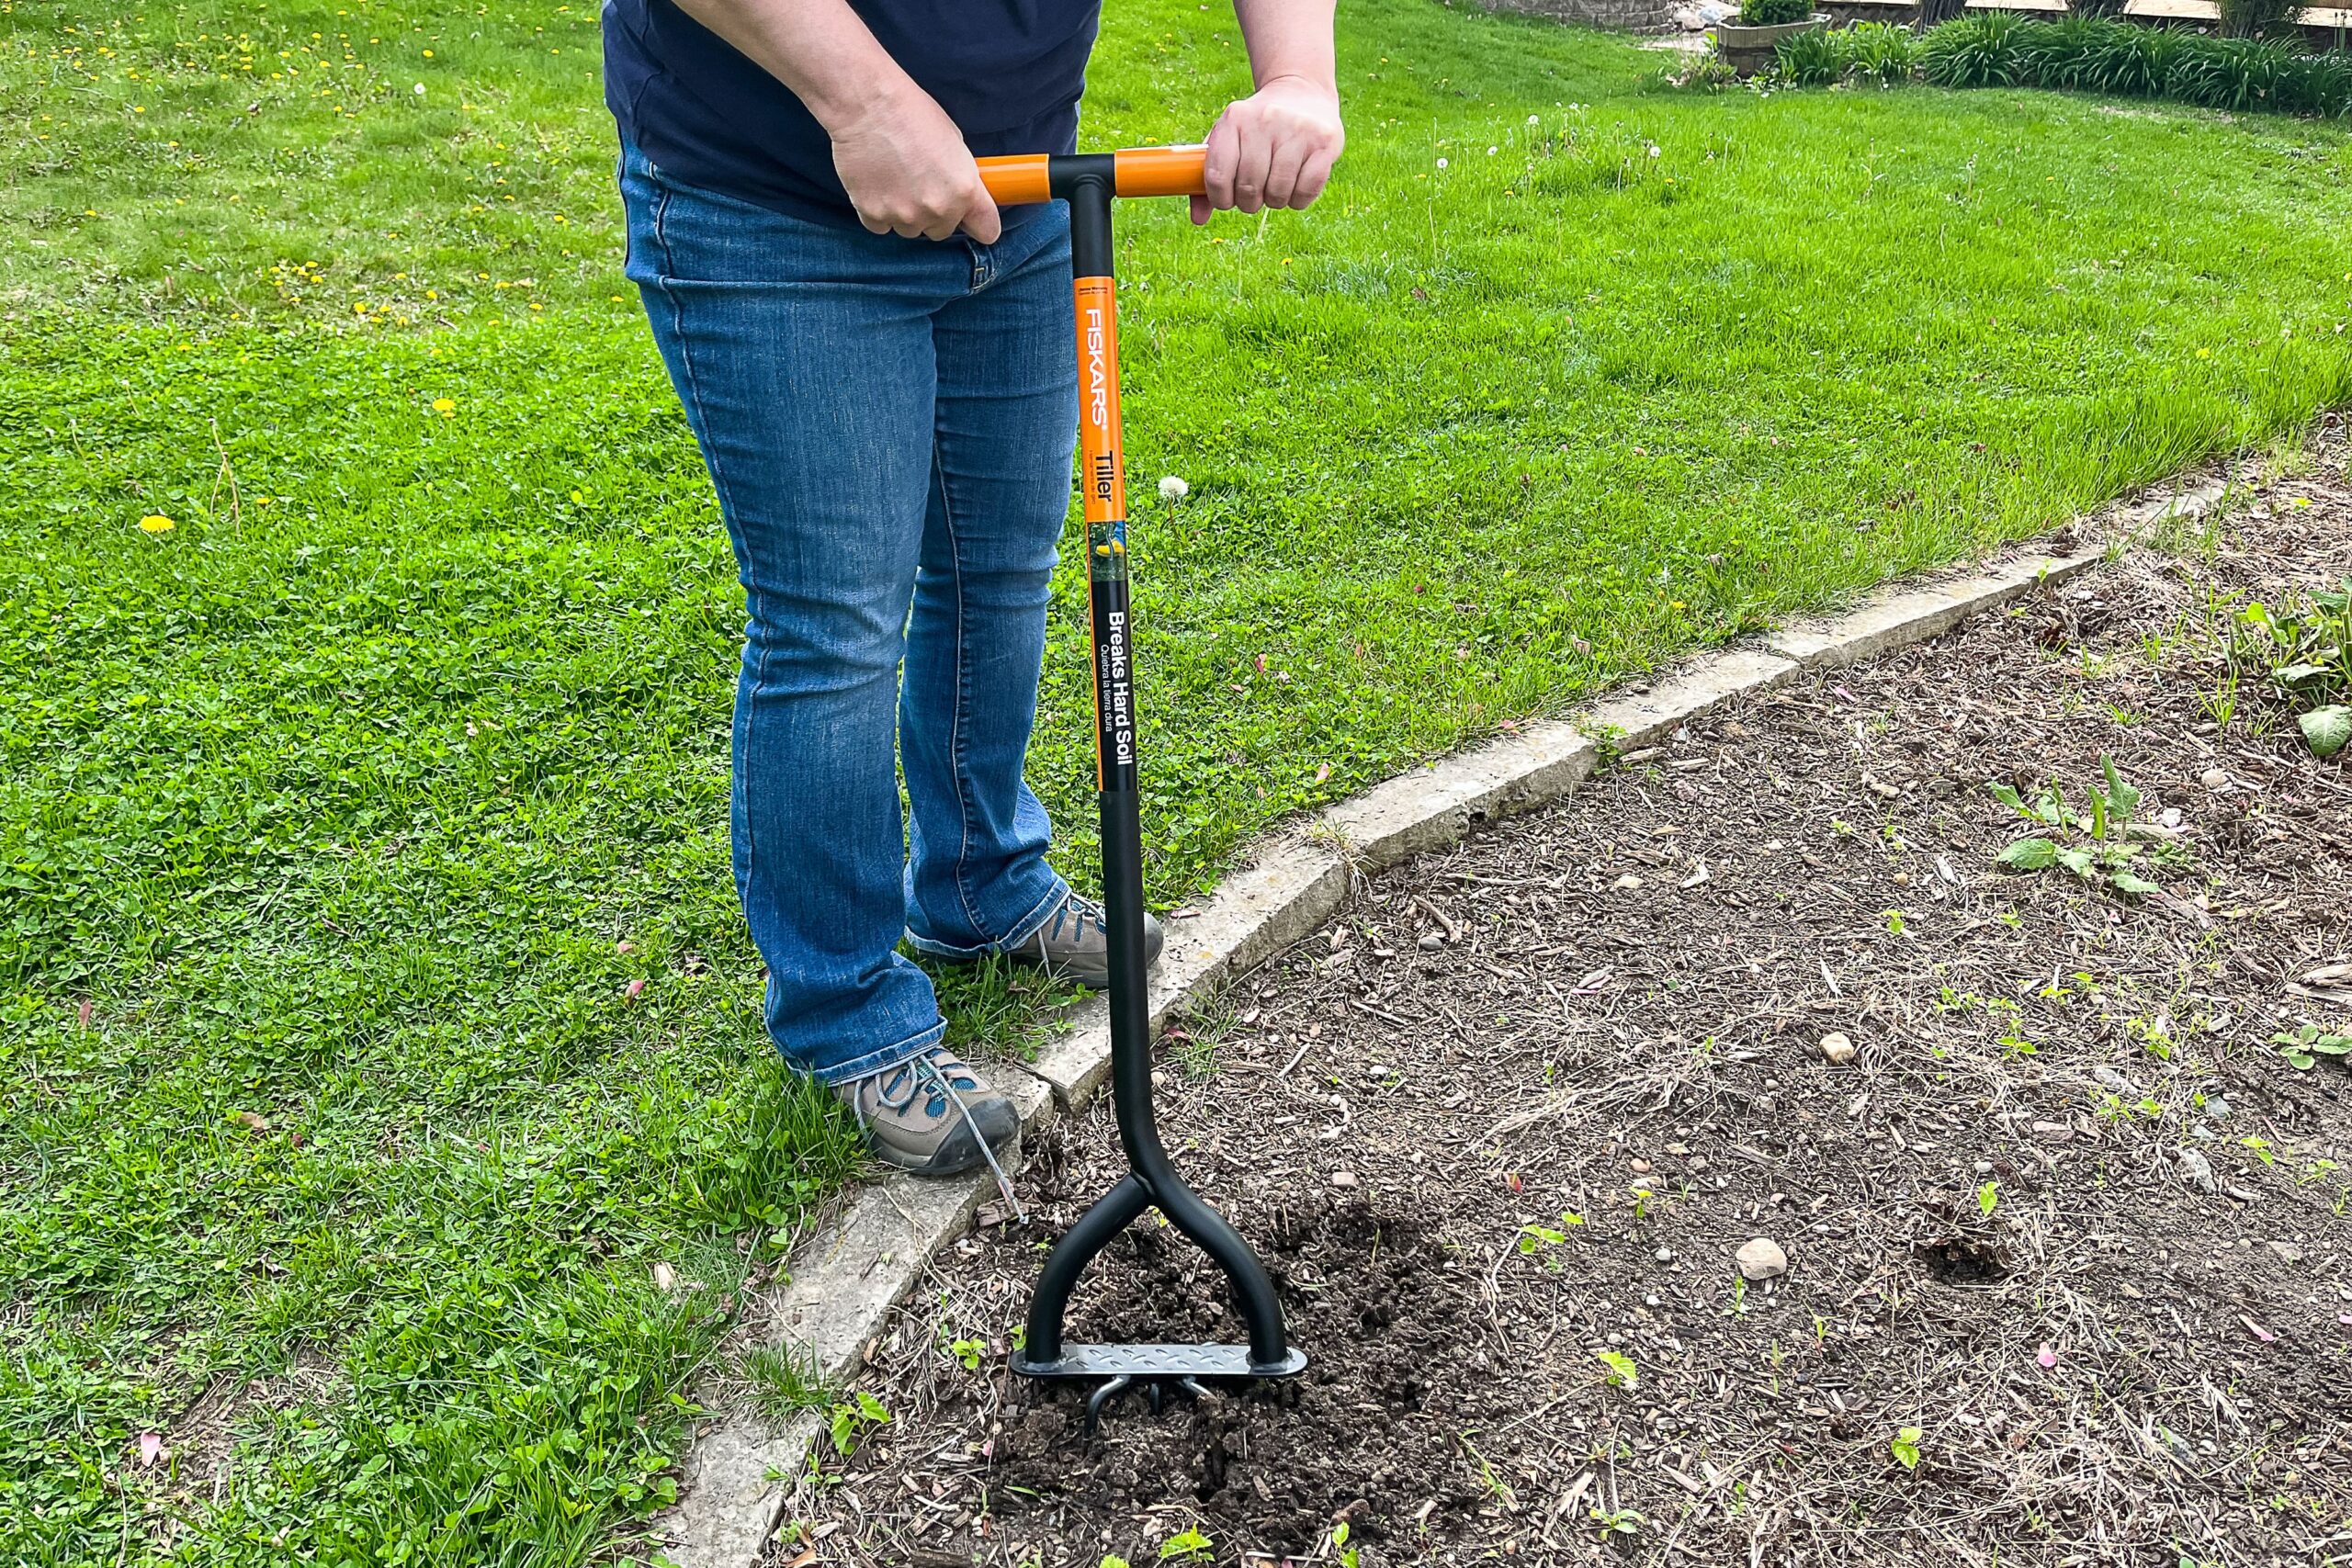
:strip_icc()/bhg-fiskars-40-steel-tiller-long-handle-hand-tiller-for-gardening-viveka-neveln-06-e287c93f5d014baa8b0e2c14bd1a6af1.jpeg)
After-Tilling Care: Build Structure and Prevent Re-Compaction
The job does not end at the last pass. Now you lock in gains.
- Add compost at 1 to 2 inches if you did not already blend it.
- Rake to level. Keep a gentle grade away from buildings.
- Water to settle dust and pockets. Do not flood.
- Lay boards to walk on while planting. Avoid heel prints.
- Mulch beds 2 to 3 inches. This stops crust and saves water.
- Plant a cover crop in off-seasons. Roots keep soil open.
These steps make the next round of How To Use A Tiller On Hard Ground much easier. Your soil will get better each season.

Cost, Time, and Effort: Realistic Expectations
Plan your day and budget before you start.
- Time
- Expect 30 to 60 minutes per 100 square feet on very hard soil.
- Add time for rock picking and compost blending.
- Cost
- Rental of a rear-tine tiller can be cheaper than hiring a crew for small jobs.
- Add fuel, delivery, and compost to the budget.
- Effort
- Take breaks. Rotate tasks: till, pick rocks, rake, then till again.
- If soil is brick-hard, pre-water two days. It cuts passes in half.
How To Use A Tiller On Hard Ground takes patience more than power. With a plan, you save money and your back.
Frequently Asked Questions of How To Use A Tiller On Hard Ground
Should I wet the ground before tilling?
Yes, but only to moist, not soggy. Water 24 to 48 hours ahead so the soil holds shape but breaks with a tap.
Which tiller is best for very hard soil?
A rear-tine tiller with counter-rotating tines is best. It bites in and tracks straight without bouncing.
How deep should I till on hard ground?
Start at 1 to 2 inches. Work down in stages to 4 to 6 inches based on your plants and soil response.
Can I add sand to clay to make it looser?
Avoid small sand additions. Use compost and, if a soil test says so, gypsum for sodic clays.
When is the best season to till hard soil?
Late spring or early fall in most areas. Aim for field-moist soil and mild weather.
Can I till compacted soil without chemicals?
Yes. Use moisture timing, shallow cross passes, compost, and cover crops. Roots and organic matter do most of the long-term work.
How do I stop the tiller from bouncing?
Reduce depth, slow throttle, and add wheel weight if possible. Cross-till and remove rocks as you go.
Conclusion
Hard soil is not a dead end. With the right tiller, field-moist timing, and shallow cross passes, you can turn a stubborn plot into a plant-ready bed. Add compost, protect the surface, and each season will get easier.
Put this plan to work this week. Try one small area, follow the steps, and note what your soil likes. If this guide on How To Use A Tiller On Hard Ground helped, share it, subscribe, or drop your questions in the comments.