As an Amazon Associate, I earn from qualifying purchases.
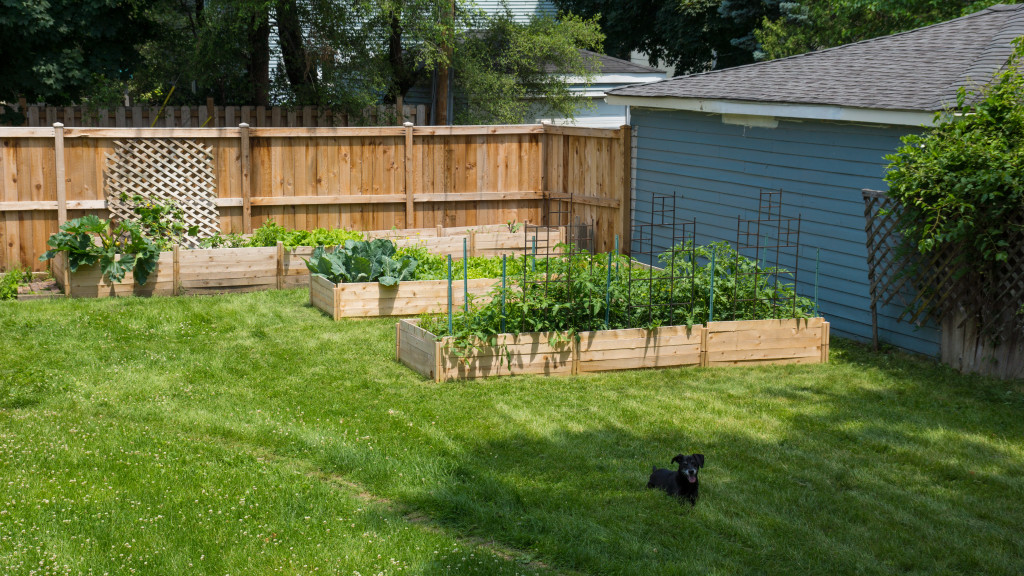
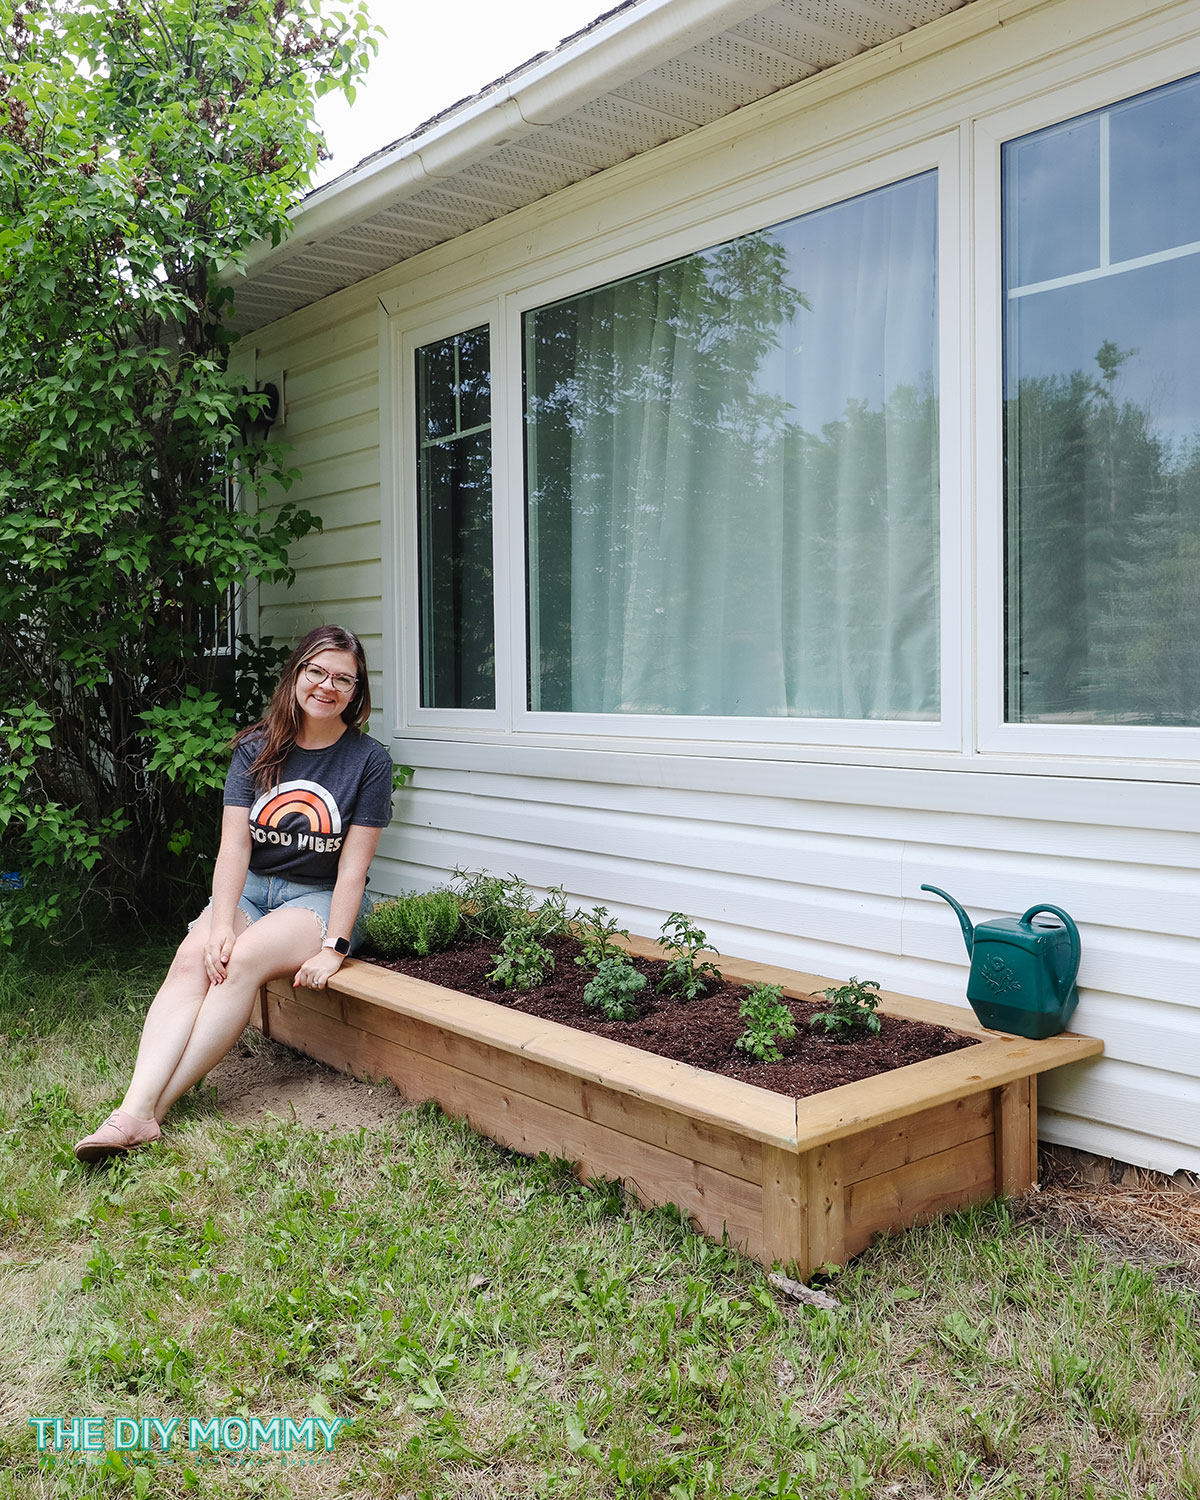
Raised garden beds offer a great way to grow plants in small spaces. They provide better soil control and drainage.
Using the right tools makes creating these beds easier and more efficient. Starting a raised garden bed project can seem challenging. But with the right tools, the process becomes manageable. Raised beds improve your garden’s look and help plants thrive.
They also protect plants from pests and weeds. In this guide, we will explore the essential tools for building raised garden beds. You’ll learn how each tool helps in preparing, assembling, and maintaining your garden beds. Get ready to turn your gardening dream into reality with the right equipment. Let’s dig in and get started!
Benefits Of Raised Garden Beds
Raised garden beds offer numerous advantages for gardening enthusiasts. They are ideal for both beginners and experienced gardeners. Raised beds improve gardening efficiency and plant health. Here are some key benefits:
Improved Soil Drainage
Raised garden beds have better soil drainage. Water does not pool around plant roots. This prevents root rot and other issues. Proper drainage helps plants grow healthier and stronger.
Easier Weed Control
Weeds are easier to control in raised beds. The soil is less compacted. This makes it harder for weeds to take root. You can also use weed barriers and mulch more effectively in raised beds. Less time spent weeding means more time enjoying your garden.
| Benefit | Description |
|---|---|
| Improved Soil Drainage | Prevents water from pooling around plant roots. |
| Easier Weed Control | Less compacted soil makes it harder for weeds to grow. |
These benefits make raised garden beds a great choice. They enhance plant health and reduce maintenance efforts. Whether you’re growing vegetables or flowers, raised beds can transform your gardening experience.

Choosing The Right Tools
Choosing the right tools for creating raised garden beds is crucial. The right tools make your gardening experience easier and more enjoyable. This guide will help you understand which tools are essential and which ones can improve efficiency.
Essential Tools List
You need a few basic tools to get started with raised garden beds. First, a shovel is essential. It helps with digging and moving soil. A garden rake is also necessary. It smooths the soil and removes debris. A wheelbarrow is useful for transporting soil and plants. Pruning shears are important for trimming plants and maintaining their health. Lastly, a garden hose or watering can ensures your plants get enough water.
Optional Tools For Efficiency
There are optional tools that can make your work easier. A soil tester helps you know the quality of your soil. It can guide you in adding the right nutrients. A level ensures your garden bed is even. This helps with water drainage and plant growth. A garden kneeler or pad protects your knees while working. It also adds comfort. A drip irrigation system saves time by watering your plants automatically. Finally, a garden cart can be helpful. It carries heavier loads than a wheelbarrow.
Selecting The Ideal Location
Choosing the right spot for your raised garden bed is crucial for success. The location impacts your plants’ growth, health, and yield. Let’s explore the key factors to consider when selecting the ideal location for your raised garden bed.
Sunlight Requirements
Plants need sunlight to grow. Most vegetables require at least six hours of direct sunlight daily. Identify a sunny spot in your yard. Avoid areas with heavy shade. Use a sunlight meter to measure sun exposure. Ensure the spot gets morning sun and afternoon shade. This balance helps prevent plant stress.
Accessibility Considerations
Easy access to your garden bed is important. You will need to water, weed, and harvest. Place your bed near a water source. Ensure you can reach all areas without difficulty. Consider paths around the bed for ease of movement. Accessibility makes gardening more enjoyable.
| Factor | Recommendation |
|---|---|
| Sunlight | At least six hours of direct sunlight |
| Water Source | Close proximity for easy watering |
| Paths | Ensure easy movement around the bed |
Choosing the right location for your raised garden bed ensures healthy plants and a rewarding gardening experience.

Preparing The Ground
Preparing the ground is a crucial step in creating raised garden beds. This phase ensures a solid foundation for your plants to thrive. Let’s dive into the essential steps for preparing your garden bed area.
Clearing The Area
First, remove any debris from the garden area. Clear away rocks, sticks, and old plants. Use a rake to collect loose debris. Make sure the area is completely clean before moving on.
Leveling The Ground
Next, level the ground where the raised bed will sit. This step ensures stability. Use a garden hoe or shovel to flatten any high spots. Fill in low spots to create an even surface. For large areas, consider using a garden tiller. It saves time and effort. After leveling, check for any remaining uneven spots. Adjust them as needed.
Building The Frame
Building the frame of a raised garden bed is an exciting step. It sets the foundation for your gardening project. The frame provides structure and support. A well-built frame ensures your plants thrive. Let’s dive into the materials needed and how to construct the frame.
Materials For The Frame
You’ll need a few key materials for building a sturdy frame. These include:
- Wood planks (cedar or redwood are durable choices)
- Galvanized screws or nails
- A tape measure
- A saw
- A drill or hammer
- Level
- Corner braces (optional for extra support)
Step-by-step Construction
Follow these steps to build your garden bed frame:
Step 1: Measure and cut the wood planks to your desired size. Ensure all pieces are equal for a square or rectangular bed.
Step 2: Lay out the cut planks on a flat surface. Arrange them in the shape of your garden bed.
Step 3: Join the corners. Drill pilot holes to prevent splitting. Secure the corners with galvanized screws or nails.
Step 4: Check the frame with a level. Ensure it’s even on all sides.
Step 5: Add corner braces for extra stability. This step is optional but recommended for larger beds.
Once the frame is built, it’s ready for the next steps. Your garden bed will soon be ready for planting.

Filling The Bed With Soil
Filling the bed with soil is a crucial step in creating raised garden beds. The right soil mix ensures your plants thrive. This section explains the best soil mixes and layering techniques to use.
Best Soil Mixes
Choosing the best soil mix is vital for your garden bed. A common mix includes topsoil, compost, and peat moss. Topsoil provides the base, compost adds nutrients, and peat moss retains moisture. Some gardeners prefer a mix of 60% topsoil, 30% compost, and 10% peat moss. This blend offers a balance of texture and nutrients.
You can also use pre-made garden soil mixes. These mixes often contain added nutrients. Look for organic options free from chemicals. Quality soil ensures healthy plant growth.
Layering Techniques
Layering techniques can improve soil quality in your raised bed. Start with a layer of cardboard or newspaper at the bottom. This suppresses weeds and breaks down over time. Next, add a layer of coarse organic material. Examples include straw, grass clippings, or shredded leaves. This layer improves drainage.
On top of the coarse material, add your soil mix. Spread it evenly and avoid compacting it. You may also add a thin layer of compost on top. This adds extra nutrients for the plants. Layering creates a healthy growing environment.
Planting Your Garden
Creating a raised garden bed is just the beginning. Planting your garden is the next exciting step. With careful planning, you can grow a variety of plants. Your raised garden will soon be full of life. Let’s dive into the essentials of planting your garden.
Choosing Plants
Choosing the right plants is crucial. Consider your climate and soil type. Pick plants that thrive in your region. Pay attention to the amount of sunlight your garden receives. Some plants need full sun, while others prefer shade. Think about the growing season too. Select plants that match the length of your area’s growing season.
Variety is important. Include a mix of vegetables, herbs, and flowers. This ensures a healthy and beautiful garden. Companion planting can also help. Some plants grow better together. For example, tomatoes and basil make great companions. They help each other grow stronger.
Optimal Planting Techniques
Optimal planting techniques can make a big difference. Start by loosening the soil. This helps roots grow easily. Dig a hole that is twice the size of the plant’s root ball. Place the plant in the hole. Cover it with soil, gently pressing down to remove air pockets.
Spacing is key. Follow the guidelines on seed packets or plant tags. Overcrowding can lead to poor growth and disease. Water your plants thoroughly after planting. This helps them settle into their new home. Use mulch to retain moisture and keep weeds at bay.
Regularly check your garden. Look out for pests and diseases. Remove any weeds that appear. With care and attention, your raised garden bed will thrive. Happy planting!
Maintenance And Care
Raised garden beds need ongoing care to thrive. Regular maintenance helps plants grow strong. Proper watering and seasonal tasks ensure healthy beds. Here are some tips for keeping your raised garden beds in top shape.
Watering Tips
Water your garden beds deeply. Shallow watering can harm roots. Early morning is the best time. This reduces evaporation. Mulch helps retain soil moisture. Check soil moisture with your finger. Water when the top inch feels dry.
Seasonal Maintenance
Each season brings different tasks. In spring, check for pests. Remove any weeds. Add compost to enrich the soil. In summer, provide shade if needed. Hot weather can stress plants. In autumn, clear dead plants. Add mulch to protect soil.
Winter is a time to rest. Cover beds with a tarp if you live in a cold area. This protects the soil. Plan for next season. Rotate crops to keep soil healthy. Regular care keeps your garden beds productive and beautiful.
Frequently Asked Questions
What Tools Do You Need For Raised Garden Beds?
You need a shovel, rake, tape measure, and a level.
How Do You Prepare The Soil For Raised Beds?
Remove weeds, add compost, and mix well.
Can You Use Untreated Wood For Raised Garden Beds?
Yes, but it may rot faster than treated wood.
How Deep Should Raised Garden Beds Be?
Typically, 12 to 18 inches deep is ideal.
Is It Necessary To Line The Bottom Of Raised Beds?
Yes, use landscape fabric to prevent weeds.
Conclusion
Raised garden beds make gardening easier and more enjoyable. Using tools can save time. Choose the right tools for your garden tasks. Follow the steps and tips shared. Soon, you’ll see the benefits of your raised garden beds. Your plants will thrive, and so will your gardening skills.
Happy gardening!

