
As an Amazon Associate, I earn from qualifying purchases.
If you want your plants to thrive, the quality of your potting soil matters more than you might realize. Sometimes, harmful fungi, bacteria, and pests hide in the soil and silently damage your plants before you even notice.
That’s where sterilizing your potting soil becomes a game-changer. By learning how to properly sterilize your soil, you can protect your plants from these hidden threats and give them the healthy start they deserve. Ready to discover simple, effective ways to sterilize your potting soil at home?
Keep reading, because your garden’s success depends on it.

Reasons To Sterilize Soil
Sterilizing potting soil is a key step in gardening. It helps create a safe environment for plants. Clean soil reduces problems and supports strong growth. Understanding the reasons to sterilize soil guides better gardening choices. This section explains why soil sterilization is important for your plants.
Preventing Diseases
Sterilizing soil kills harmful bacteria and fungi. These organisms cause plant diseases like root rot and wilting. Using sterile soil lowers the risk of infection. Healthy plants stay strong and grow well. Disease-free soil means fewer plant losses and less need for chemicals.
Eliminating Pests
Soil may contain pests like insect eggs and larvae. These pests damage roots and stunt plant growth. Sterilization removes pests before planting. This step stops infestations early. It keeps plants safe and reduces pest control efforts later.
Promoting Healthy Growth
Clean soil supports better root development. Roots absorb water and nutrients more efficiently. Sterile soil prevents competition from harmful microbes. Plants focus energy on growth and flowering. Strong roots lead to healthier, more productive plants.
Preparing Soil For Sterilization
Preparing soil for sterilization is an important step to ensure healthy plants. Proper preparation helps heat or steam reach all parts of the soil. This kills harmful bacteria, fungi, and pests effectively. Follow these simple steps before sterilizing your potting soil.
Moistening The Soil
Start by moistening the soil slightly. Dry soil does not sterilize well. Use a spray bottle or sprinkle water evenly. The soil should feel damp but not soaking wet. Moist soil transfers heat better, making sterilization more effective.
Breaking Up Clumps
Next, break up any clumps in the soil. Use your hands or a small garden tool. Loose soil heats evenly and allows steam to pass through. Removing clumps also helps prevent uneven sterilization and spots where pests can hide.
Choosing The Right Container
Select a container that fits your sterilization method. Oven-safe pans work well for baking. Microwave-safe containers are good for quick sterilizing. For steaming, shallow pans with lids or foil covers are ideal. The container should allow heat to circulate evenly through the soil.
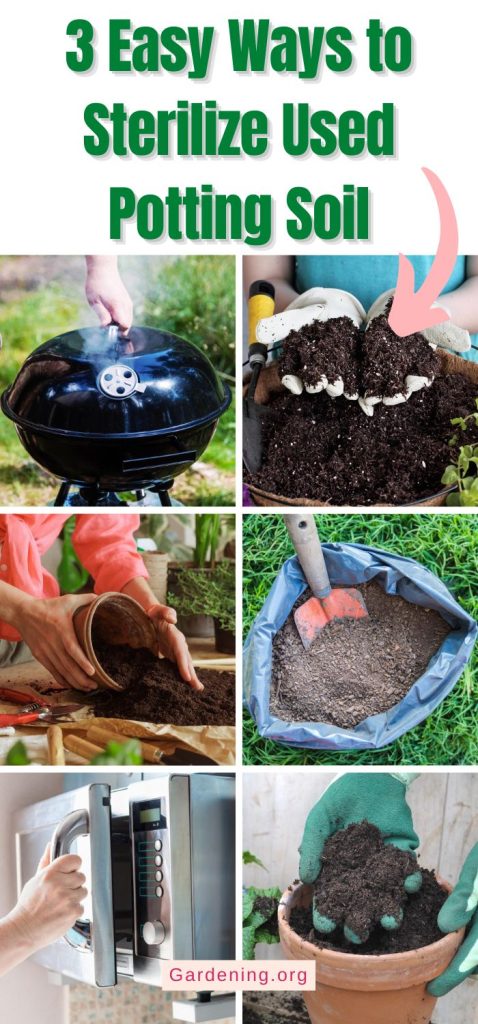
Oven Sterilization Method
The oven sterilization method is a simple way to kill pests and harmful microbes in potting soil. It uses heat to clean the soil without chemicals. This method helps protect plants from diseases and pests. It is safe and effective for small batches of soil.
Setting Temperature And Time
Preheat the oven to 180°F (82°C). This temperature kills most pathogens but does not burn the soil. Spread the soil in an oven-safe pan about 2 to 3 inches deep. Heat the soil for 30 minutes to ensure sterilization. Use a thermometer to check the soil temperature inside the pan. Avoid going above 200°F to keep soil nutrients safe.
Covering Soil With Foil
Cover the pan with aluminum foil to keep moisture in. Moist soil heats better and kills more germs. The foil also stops the soil from drying out during baking. Seal the edges of the foil tightly around the pan. This helps create steam inside, improving the sterilization process.
Cooling The Soil Safely
After heating, remove the pan from the oven carefully. Use oven mitts to avoid burns. Let the soil cool slowly at room temperature. Do not open the foil immediately to keep it sterile. Once cooled, store the soil in a clean container until use.
Microwave Sterilization Method
Microwave sterilization is a quick and effective way to kill harmful bacteria and pests in potting soil. It uses heat to sanitize soil without chemicals. This method is ideal for small batches of soil and can be done easily at home.
Heating soil in the microwave reduces the risk of diseases that harm plants. It also removes weed seeds and fungus gnats. Proper technique ensures the soil is sterilized evenly and safely.
Using Microwave-safe Containers
Choose a container that is safe for microwaves. Glass or ceramic containers work well. Avoid metal containers as they can cause sparks. Make sure the container is large enough to hold the soil with some space on top.
Do not seal the container tightly. Leave the lid slightly open or cover with a microwave-safe plate. This allows steam to escape and prevents pressure build-up.
Heating Duration
Place the soil in the container and spread it evenly. Heat the soil on high power for 2 to 3 minutes per pound of soil. Stir the soil halfway through heating to ensure even sterilization.
Check the temperature to make sure it reaches at least 180°F (82°C). This kills most pathogens and pests. Avoid overheating to prevent soil damage or burning.
Handling Hot Soil
Use oven mitts or a thick cloth to remove the container from the microwave. The soil and container will be very hot. Let the soil cool down completely before handling or planting.
Cool soil prevents root damage to new plants. Store sterilized soil in a clean, dry place until ready to use. Proper handling keeps the soil sterile and safe for planting.
Steam Sterilization Method
Steam sterilization is a safe way to kill harmful bacteria, pests, and fungi in potting soil. It uses heat and moisture to clean the soil without chemicals. This method keeps the soil healthy for plants to grow strong. Steam sterilization is easy and can be done at home with simple tools.
Using A Pressure Cooker
Fill the pressure cooker with a few cups of water. Place a metal rack or trivet inside to keep the soil container above the water level. Put the moistened soil in a shallow, oven-safe pan. Cover the pan with aluminum foil to trap steam. Close the pressure cooker lid tightly.
Heat the cooker on medium until steam builds up. Let it steam for about 30 minutes. Turn off the heat and let the cooker cool naturally before opening. This method kills most pathogens without burning the soil.
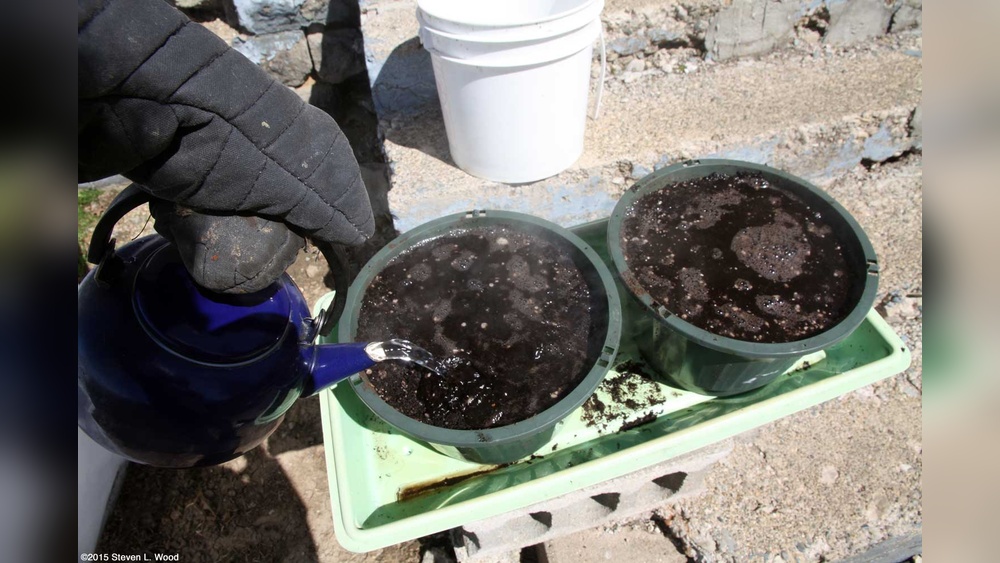
Steaming With Boiling Water
Place the moistened soil in a heatproof container with holes for drainage. Pour boiling water slowly over the soil, allowing it to drain. Repeat pouring and draining until the water flows slowly. This process heats the soil enough to sterilize it.
Keep the soil covered with foil or a lid during the process. Boiling water steam kills insects and fungi gently. It works well for small batches of soil.
Cooling And Draining
After steaming, spread the soil on a clean surface or tray. Let it cool naturally to avoid burning plants. Drain any extra water by placing the soil in a colander or mesh sieve. Proper cooling prevents mold growth.
Store the sterilized soil in a clean, dry container. Use it within a few days for best results. This step keeps the soil ready for planting.
Boiling Water Technique
The boiling water technique offers a simple way to sterilize potting soil. It kills harmful bacteria, fungi, and pests without using chemicals. This method is easy to do at home and requires just boiling water and your potting soil. It keeps your plants safe and healthy by removing unwanted organisms.
Pouring Boiling Water Safely
Use a heatproof container to hold the soil. Slowly pour boiling water over the soil to avoid splashing. Pour enough water to soak the soil fully. Wear gloves to protect your hands from burns. Keep children and pets away during this process.
Repeating The Process
Let the water drain through the soil completely. Pour boiling water over the soil again to ensure full sterilization. Repeat this step twice for best results. The second pour kills any remaining pests or spores. Allow the soil to cool before use.
Drainage Tips
Use a container with holes or a mesh bottom for good drainage. Place a tray underneath to catch excess water. Avoid letting water pool in the soil, which causes root problems. Proper drainage helps the soil dry faster. Dry soil prevents mold and fungal growth after sterilization.
Aftercare For Sterilized Soil
After sterilizing potting soil, proper aftercare is essential for healthy plants. Sterilization removes harmful pests and diseases but also affects soil quality. This step helps restore soil balance and prepares it for planting. Follow these simple practices to maintain sterilized soil.
Replenishing Nutrients
Sterilized soil often loses important nutrients during the process. Add organic compost or balanced fertilizer to restore nutrients. Mix them well into the soil to ensure even distribution. This helps plants grow strong and healthy.
Breaking Up Compacted Soil
Soil may become compacted after sterilization. Break up large clumps gently using a garden fork or your hands. This improves air and water flow in the soil. Loose soil encourages root growth and better plant health.
Checking For Remaining Pests
Even after sterilizing, some pests might survive. Inspect soil regularly for signs of bugs or larvae. Remove any visible pests by hand or with natural treatments. Early detection prevents infestations and protects plants.
Reusing Sterilized Soil
Reusing sterilized soil saves money and reduces waste in your garden. It also provides a clean base free from pests and diseases. Proper reuse ensures your plants get fresh nutrients and grow healthily.
Mixing With Compost Or Fertilizer
Sterilized soil lacks natural nutrients. Mixing it with compost or fertilizer restores fertility. Use equal parts sterilized soil and compost for best results. Organic compost adds beneficial microbes and improves soil texture. Fertilizers supply essential nutrients for plant growth. Always blend well before potting your plants.
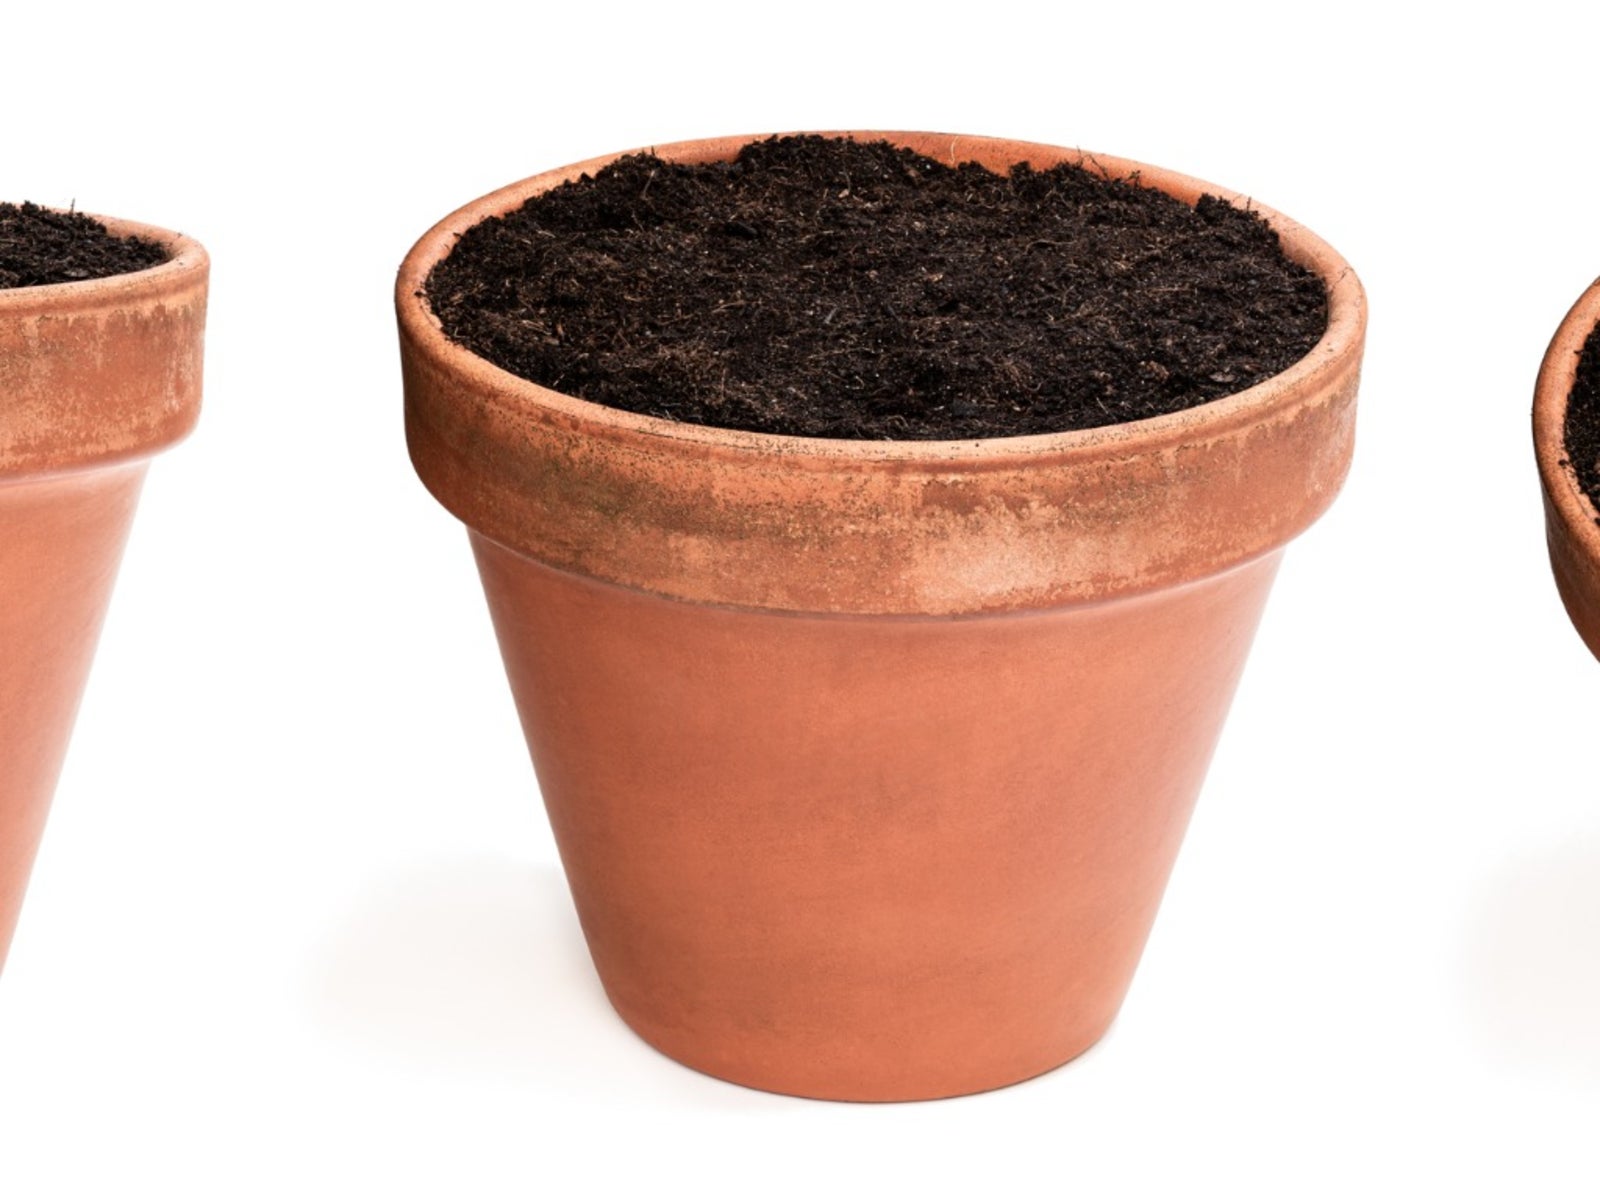
Best Practices For Repotting
Choose the right pot size for your plant. Fill the pot with the soil mix, leaving space for roots. Gently remove the plant from its old pot, keeping roots intact. Place the plant in the new pot and fill gaps with soil. Water the plant immediately to help settle the soil. Avoid compacting soil too hard to keep good drainage.
Signs Soil Needs Re-sterilizing
Watch for pests like fungus gnats or mold growth on soil surface. A foul or sour smell indicates harmful bacteria. Poor plant growth or yellowing leaves can signal soil issues. If problems appear, sterilize soil before reuse. Regular checks keep your plants healthy and soil safe.
Common Mistakes To Avoid
Sterilizing potting soil helps protect plants from pests and diseases. Many gardeners try this but make common mistakes that reduce effectiveness. Avoiding these errors ensures healthier soil and better plant growth.
Overheating Soil
Heating soil too much can kill beneficial microbes. These microbes help plants absorb nutrients. Overheated soil also loses its texture and becomes hard. Keep temperature below 180°F (82°C) for best results. Use a reliable thermometer to check soil heat.
Ignoring Soil Moisture
Dry soil does not sterilize well. Moist soil heats evenly and kills harmful organisms better. Before heating, add water until soil feels damp but not soaked. Too much water creates mud and slows heating. Balance moisture for effective sterilization.
Skipping Nutrient Replacement
Sterilizing soil removes bad and good microbes, plus some nutrients. Plants need these nutrients to grow strong. Add fresh compost or organic fertilizer after sterilizing. This step restores soil health and supports plant growth. Do not skip nutrient replacement.
Tools And Supplies Needed
To sterilize potting soil effectively, you need the right tools and supplies. These items help ensure the process goes smoothly and safely. Preparing in advance saves time and reduces errors. Below are the essential tools you will need to get started.
Containers And Pans
Use shallow, oven-safe pans or containers to hold the soil. Metal baking pans work well for heating soil in the oven. Glass or ceramic containers can also be used but check if they are oven-safe. For steaming, use pans that fit easily inside a pressure cooker or steamer. Avoid plastic containers as they can melt or release harmful chemicals.
Protective Gear
Wear gloves to protect your hands from hot soil and steam. Use oven mitts or heat-resistant gloves when handling hot containers. Safety goggles can protect your eyes from steam or soil particles. A face mask helps prevent inhaling dust or spores during the process. Always work in a well-ventilated area to stay safe and comfortable.
Measuring Tools
Use a measuring cup or scale to portion the soil correctly. Measuring tools help maintain consistent soil depth in containers for even heating. A kitchen thermometer can check soil temperature to avoid overheating. Accurate measurements ensure the soil sterilizes properly without burning. These tools improve results and prevent mistakes.
Frequently Asked Questions
How Can I Sterilize Potting Soil To Avoid Fungus For My Plants?
Moisten soil and heat it in an oven at 180°F for 30 minutes or microwave in a safe container for 90 seconds. Alternatively, pour boiling water over soil or steam it. Always let soil cool before use and add nutrients to restore fertility.
How Do You Sanitize And Reuse Potting Soil?
Moisten soil, then heat in oven at 180°F for 30 minutes or microwave for 90 seconds. Let it cool. Add compost or fertilizer to restore nutrients before reuse.
Can I Pour Boiling Water Over Soil To Sterilize?
Pouring boiling water over soil can help sterilize it by killing many pathogens and pests. Repeat pouring and let soil drain. Allow soil to cool fully before use. This method may not eliminate all microbes, so consider supplementing with fertilizer or compost after sterilizing.
Is It Necessary To Sterilize Potting Soil?
Sterilizing potting soil helps kill harmful pests and diseases. It prevents fungus gnats and root infections. Sterilize soil if you reuse it or suspect contamination. Use heat, steam, or boiling water methods. Always cool soil before planting. This ensures healthy plant growth and soil safety.
Conclusion
Sterilizing potting soil helps keep plants healthy and free from pests. You can use heat methods like oven, microwave, or steam to kill harmful organisms. Always let the soil cool before planting. Remember to add nutrients back after sterilizing, as heat can remove good elements.
Breaking up soil clumps improves its texture and air flow. Regular sterilization prevents diseases and supports strong plant growth. Simple steps make a big difference in your gardening success. Try these easy methods to care for your plants better.
I enjoy sharing simple gardening ideas, lawn care tips, and honest product reviews that help make outdoor work easier. From home gardening guides to helpful tools and lawn care advice, I write easy-to-follow content to help readers create a healthier and better-looking outdoor space without wasting time or money.