
As an Amazon Associate, I earn from qualifying purchases.
Lift fresh residue with water; pressure wash or strip cured polymeric sand from pavers safely.
If you need to know how to remove polymeric sand from pavers without wrecking the surface, you’re in the right place. I’ve fixed white haze, hard clumps, and glued joints on hundreds of jobs. This step-by-step guide explains how to remove polymeric sand from pavers in any state—fresh, hazy, or fully cured—using safe methods that protect concrete, natural stone, and porcelain.
What Is Polymeric Sand and Why It Sticks
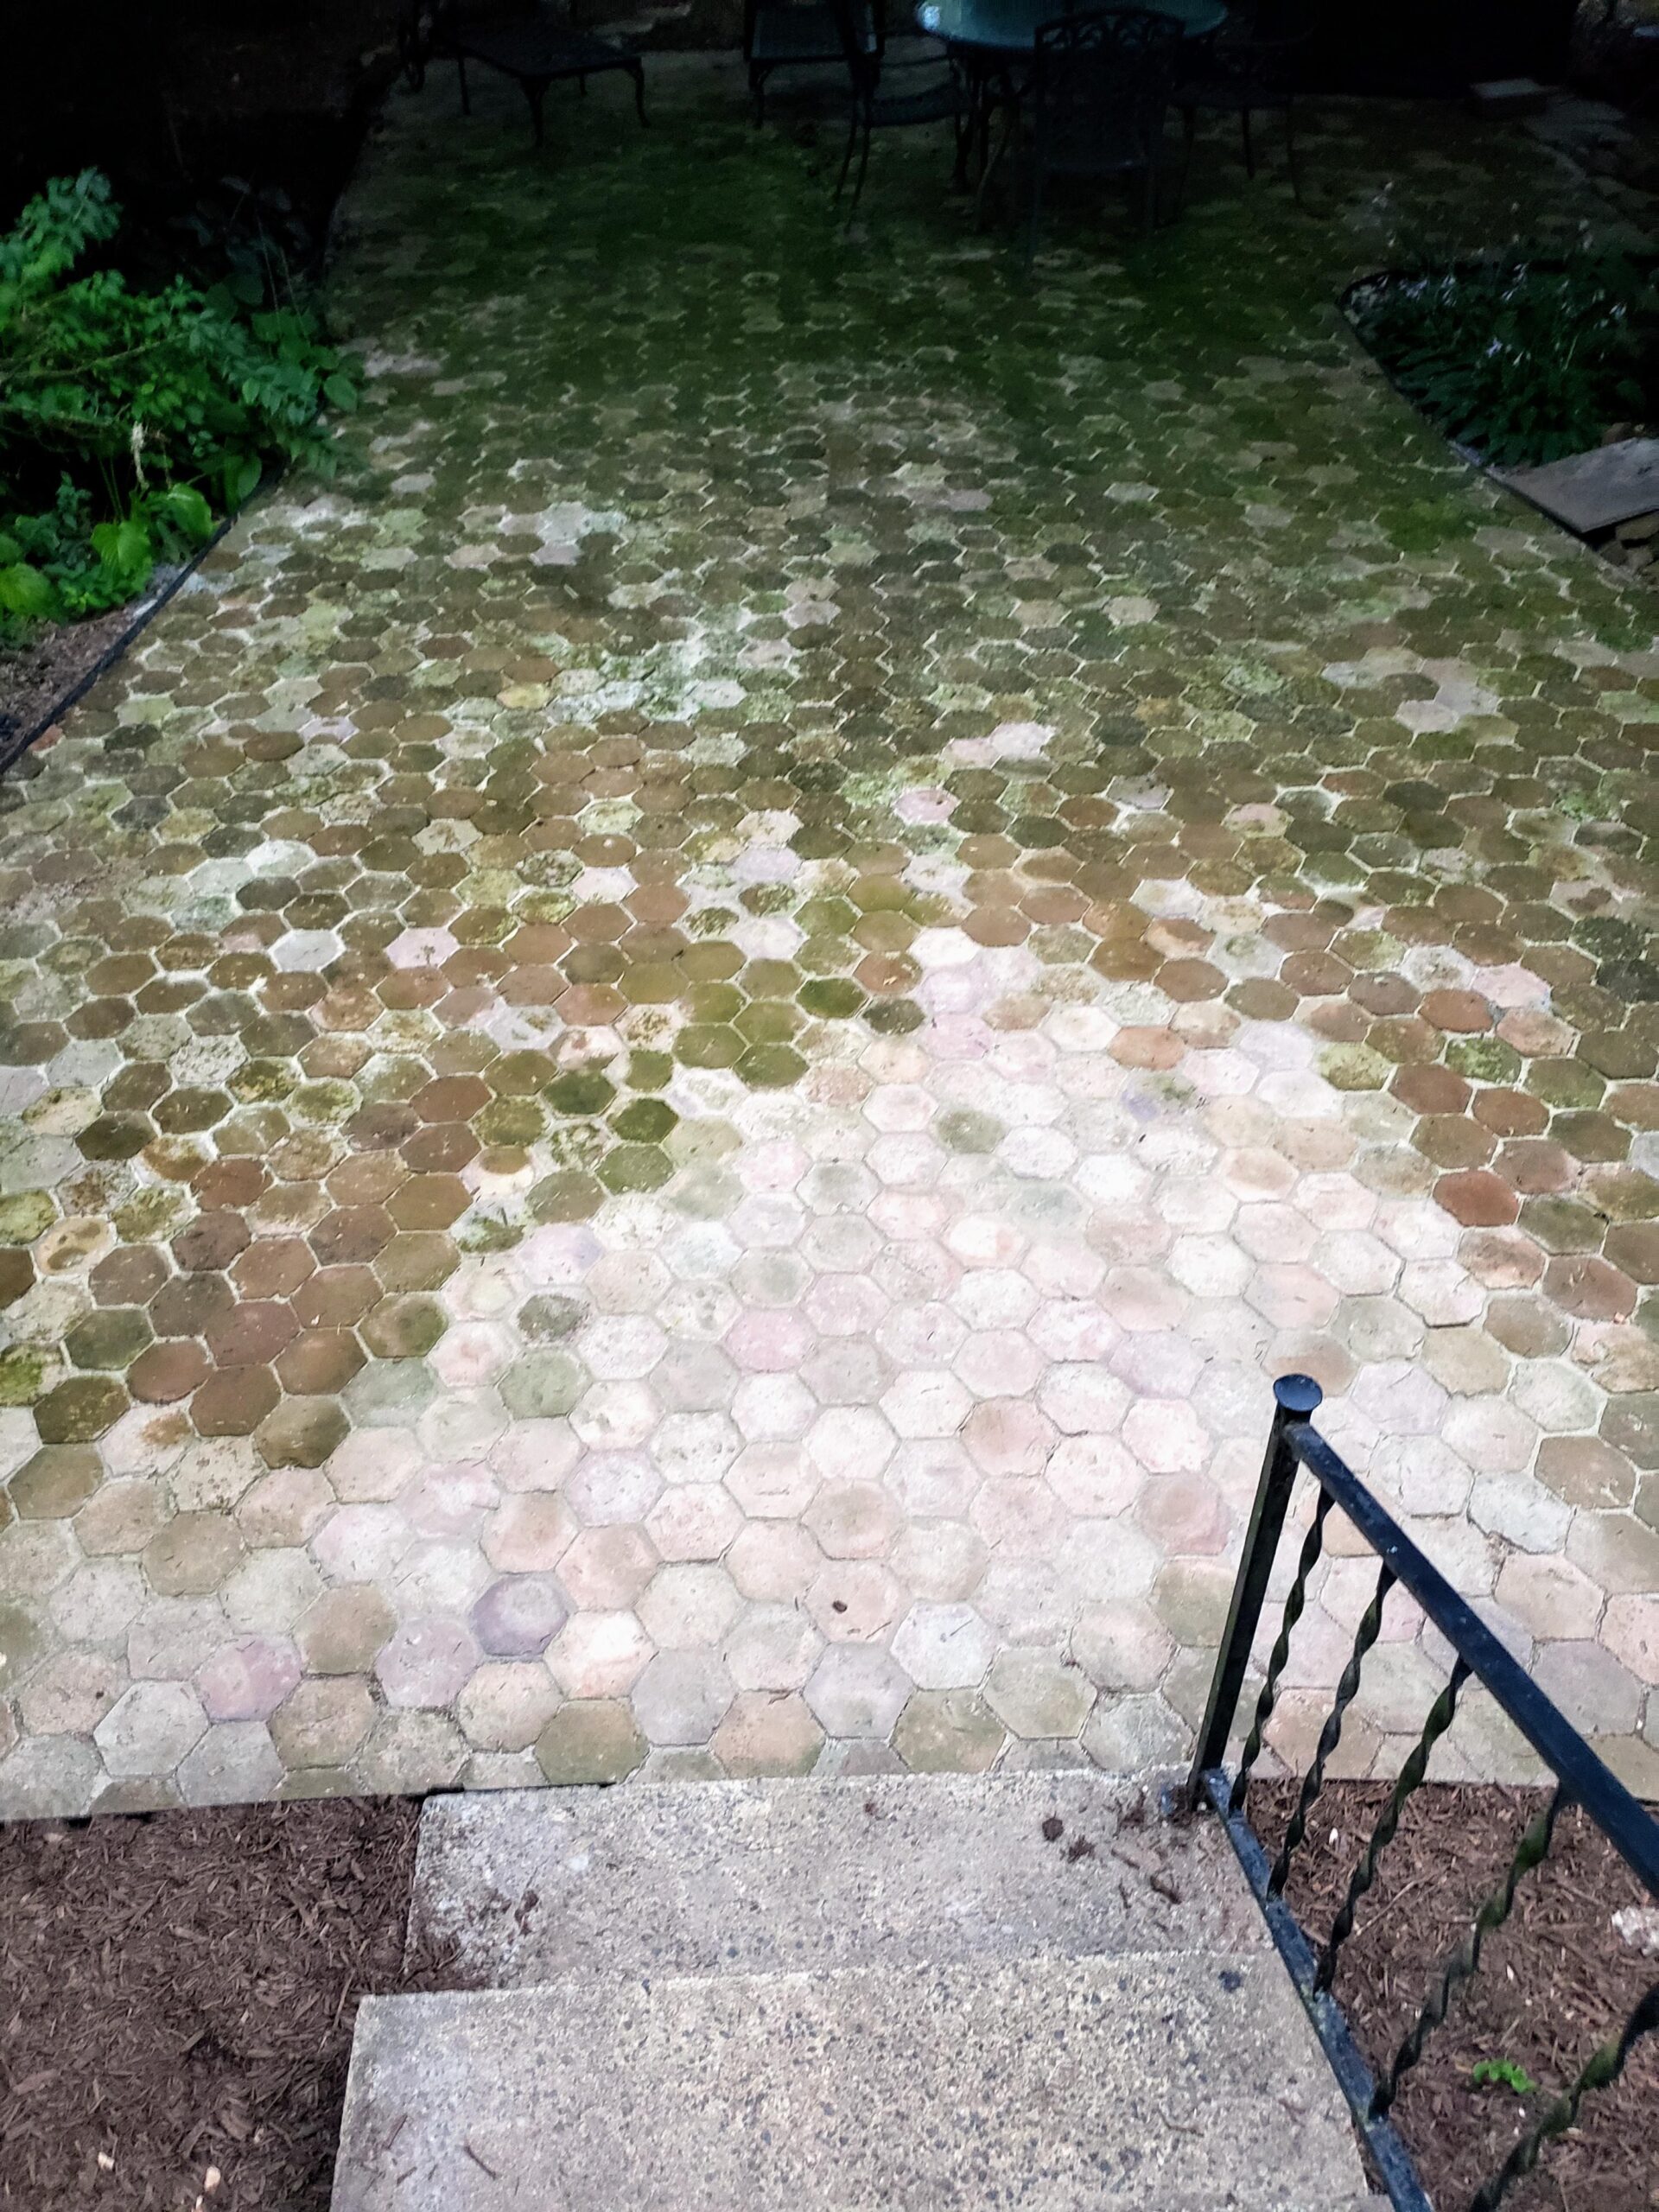
Polymeric sand is fine sand mixed with binders. Water activates it. It then hardens in the joints. It locks pavers and stops weeds. But extra sand can leave a film. If water pools on the surface, the binder can cure on top. That is what we call polymeric haze. It can look chalky or milky and feel rough.
Why this matters for removal:
- Fresh residue is easy. It breaks up with a rinse.
- Haze needs light scrubbing and a mild cleaner.
- Fully cured build-up needs pressure washing or a targeted stripper.
Knowing how to remove polymeric sand from pavers starts with the right ID. Fresh, hazy, or cured? That choice sets your tools, your pressure, and your cleaner.

Safety First and Site Prep
Work smart and protect the surface and nearby areas. Sand, silt, and cleaners can harm plants, pumps, and drains.
Do this before you start:
- Protect nearby plants with light covers. Rinse them with clean water first.
- Block off storm drains. Use filter socks to catch fines.
- Wear safety glasses, gloves, and ear protection.
- If using a chemical, wear a respirator and test a small spot.
- Check the weather. Avoid heavy rain and freezing temps in the next 24–48 hours.
These steps may feel slow. But they prevent damage and fines. They also set you up to remove polymeric sand from pavers cleanly.

Tools and Materials You’ll Need
Gather what fits your case. You will not need every item for every job.
- Soft brooms and stiff nylon brushes for scrubbing
- Leaf blower and shop vacuum for dry clean-up
- Buckets, spray bottles, and watering cans for rinsing and mixing
- Garden hose with a shower nozzle for gentle rinses
- Pressure washer with 15° or 25° nozzle; adjustable to 1,000–1,500 PSI on surface
- Plastic or wood scrapers for edges
- Oscillating multi-tool with grout blade for tight joints (use with care)
- Polymer haze remover or mild alkaline cleaner (paver-safe)
- Sealer stripper (only if a topical sealer trapped the haze)
- Clean joint sand or new polymeric sand for refilling
- Towels and squeegee for control of standing water
Having the right tools makes how to remove polymeric sand from pavers faster and safer.

Quick Assessment: Fresh, Hazy, or Fully Cured?
Use this simple test flow. It is the fastest way to pick your method.
- Fresh residue (0–24 hours): Sand is loose, tacky, or smears. It may brush off. Water softens it at once.
- Haze (24–72 hours): A thin, chalky film on the surface. Joints feel set. Water does not soften the film much.
- Fully cured build-up (72 hours+): Hard ridges or thick caps on top. Joints are rock solid. Only brushing does nothing.
Tip from the field: Wet a small spot. Scrub with a nylon brush. If it lifts fast, it is fresh. If it needs dwell time with a cleaner, it is haze. If it laughs at you, it is cured and needs pressure or a stripper.
Method 1: Fresh or Light Residue (0–24 Hours)
This is the least risky path. Move slow and keep water gentle.
Steps:
- Dry clean. Use a soft broom to sweep loose sand off the paver surface.
- Blow it. Use a leaf blower at low speed to clear joints and surface dust.
- Gentle rinse. Use a hose with a shower pattern. Rinse diagonally across the surface. Keep the water from forcing sand out of joints.
- Light scrub. Use a nylon brush and warm water for spots that stay. Short strokes help.
- Repeat once. Rinse and inspect. Do not overwork the joints.
Pro tip: If you see pooling, tilt the nozzle and break the water sheet. You want a sheet rinse, not a blast. This is how to remove polymeric sand from pavers while the binder is still weak.
Method 2: Cured Joints and Heavy Build-Up (48 Hours+)
Use controlled pressure. Too much pressure can scar concrete and open joints.
Pressure washing steps:
- Pre-wet the surface. This reduces etching and helps lift film.
- Set pressure. Start at 1,000 PSI on the surface. You can move to 1,200–1,500 if needed. Keep the nozzle 8–12 inches away.
- Choose angle. Hold the wand at about 30 degrees to the surface. Sweep in smooth, even passes.
- Work in sections. Rinse toward a drain or the lawn, not into beds or the house.
- Lift build-up on top. For thick caps, you may need gentle passes to peel layers.
- Clear joints only as needed. If you must re-open joints, keep depth even. Avoid gouging bedding sand.
For joint rework:
- Use an oscillating tool with a grout blade to score tight areas.
- Vacuum debris out of joints to avoid wash-outs.
- If you take out more than 1 inch of joint material, plan to re-sand.
This approach is how to remove polymeric sand from pavers when the binder is set hard. Patience and even motion are key.

Method 3: Stubborn Haze, Stains, and Sealed Surfaces
If a topical sealer trapped the haze, water and pressure may not be enough.
Follow this plan:
- Identify the sealer. Film-forming acrylics often trap haze. Penetrating sealers are harder to strip but less likely to trap.
- Test a haze remover. Use a paver-safe polymer haze cleaner. Apply to a small spot. Let it dwell per label. Agitate with a nylon brush. Rinse well.
- If still stuck, test a sealer stripper. Choose a product made for pavers. Follow dwell times. Keep the area wet. Do not let the product dry on the surface.
- Soft scrape. Use a plastic scraper to lift softened film. Wipe with towels.
- Rinse and neutralize if required. Some strippers need a neutralizer. Check the label.
Do not use muriatic acid on polymeric haze. It can etch concrete and stone and turn haze worse. The right cleaner and dwell time are safer and more effective. This is the careful way for how to remove polymeric sand from pavers when sealers are involved.

Special Cases: Concrete vs. Natural Stone vs. Porcelain
Not all pavers behave the same. Match the method to the material.
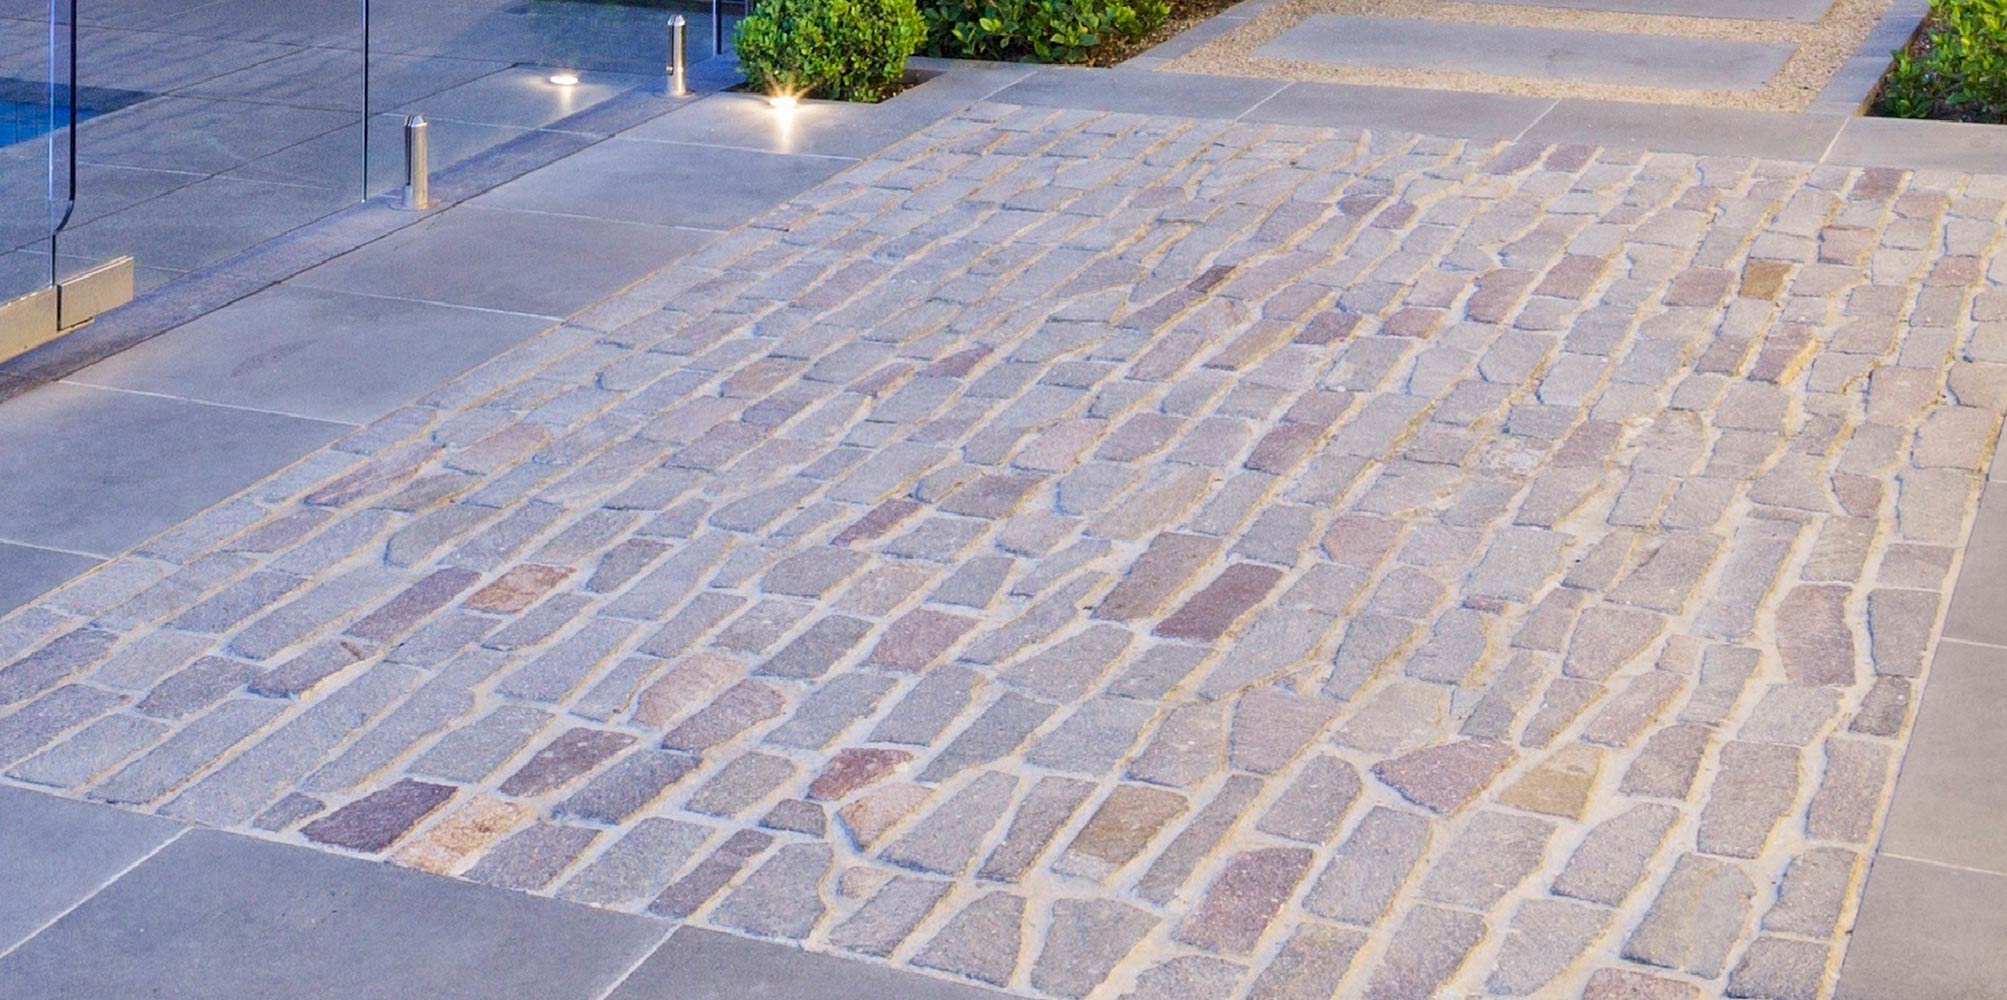
Concrete pavers:
- Handle light pressure, but avoid more than 1,500 PSI on the face.
- Acid can etch and expose aggregate. Avoid it.
Natural stone (limestone, travertine, sandstone, bluestone):
- Use low pressure and soft brushes.
- Avoid acidic cleaners. They can burn or dull the face.
- Test every product on a hidden spot.
Porcelain and ceramic pavers:
- Very dense and smooth. Haze may sit on top.
- Use mild alkaline cleaners and soft pads.
- Low pressure is best to avoid joint blow-outs.
If you are unsure, test first. That rule alone saves more surfaces than any other. It is a cornerstone in how to remove polymeric sand from pavers of any type.

Restore the Joints After Removal
After you lift haze or remove build-up, check joint depth. If joints are low, refill them.
Steps to re-sand:
- Dry the surface. Wait for the pavers and joints to be fully dry.
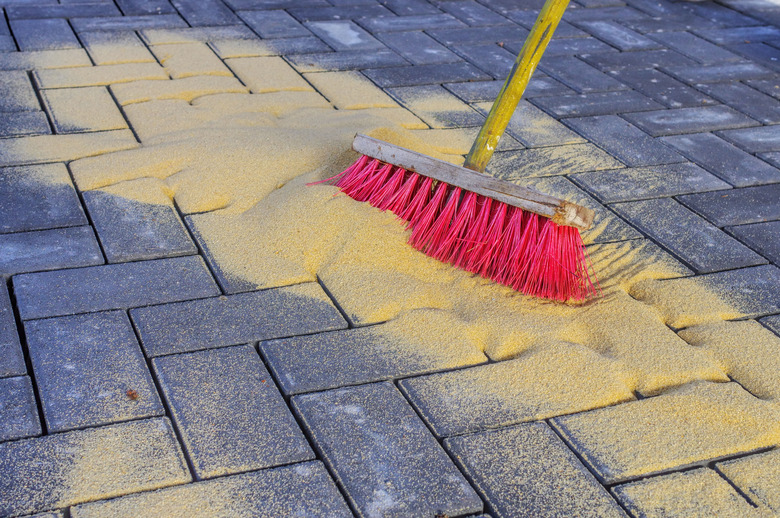
- Add sand. Use clean joint sand or new polymeric sand. Sweep in small amounts.
- Compact. Use a plate compactor with a pad, or tap with a rubber mallet. This settles the sand.
- Top up. Sweep more sand and compact again until joints reach 1/8 inch below the chamfer.
- Clean the face. Blow and sweep the surface very clean.
- Activate polymeric sand. Lightly wet per the product label. Use a shower pattern and several passes. Avoid pooling.
Do not flood the joints. Over-wetting can pull binder to the face again. This final step closes the loop on how to remove polymeric sand from pavers and restore strength.
Mistakes To Avoid
A few common errors cause the most trouble. Skip these and you will save hours.
- Using high pressure up close. It etches the face and blows out joints.
- Letting chemical cleaners dry on the surface. This can stain or leave film.
- Wire brushes on stone or concrete. They leave metal marks and scratches.
- Skipping test patches. Every surface and product can react in a new way.
- Ignoring drainage. Dirty run-off can stain pools, decks, and lawns.
Avoiding these slips makes how to remove polymeric sand from pavers safer and cleaner.
Pro Tips From the Field
Here are lessons I learned on real jobs.
- Warm water speeds softening. A bucket of warm water plus nylon scrubbing lifts fresh haze fast.
- Short dwell beats hard scrubbing. Two short dwell cycles with a paver-safe cleaner often beat one harsh scrub.
- Control water. Keep a squeegee handy. Move dirty water away so it does not dry back on the face.
- Angle matters. A 30-degree wand angle peels film without chewing the face.
- Vacuum beats flooding. A shop vac pulls loosened sand from joints without pushing it into bedding layers.
These small habits are why clients call us back. They turn a tough cleanup into a tidy finish and help with how to remove polymeric sand from pavers with less risk.
Cost, Time, and When to Call a Pro
Time and cost depend on the case.
- Fresh residue on a patio: 1–3 hours with a hose, brush, and blower.
- Cured haze on 400 sq ft: Half a day with a pressure washer and cleaner.
- Sealed, stubborn film: A full day with a stripper and lots of rinse steps.
Typical costs:
- DIY supplies: 50–200 dollars for brushes, nozzles, and cleaners.
- Pressure washer rental: 50–100 dollars per day.
- Pro service: 1.50–4.00 dollars per sq ft, more if stripping sealer.
Call a pro if:
- You see deep white film that does not budge.
- The surface is natural stone and high value.
- Joints are loose or the base is unstable.
- Run-off control is complex near pools or drains.
Smart choices save money and the surface. That is a core part of how to remove polymeric sand from pavers with confidence.
Frequently Asked Questions of How To Remove Polymeric Sand From Pavers
Can I dissolve polymeric sand with vinegar?
Vinegar is not effective on polymeric binders and can harm some stones. Use a paver-safe polymer haze remover or mild alkaline cleaner instead.
Will pressure washing ruin my pavers?
Not if you control pressure, distance, and angle. Stay near 1,000–1,500 PSI, keep 8–12 inches away, and sweep in smooth passes.
How do I tell haze from efflorescence?
Haze appears soon after install and feels chalky or plastic-like. Efflorescence is a mineral salt that can show weeks later and often brushes off when dry.
Do I need to reseal after removal?
Only if you stripped a topical sealer or want added stain resistance. Let the surface dry fully before sealing, and choose a product built for your paver type.
Can I reuse the old polymeric sand after cleaning?
No. Once disturbed and mixed with debris, it loses strength. Refill with fresh joint sand or new polymeric sand for reliable joints.
How soon can I walk or drive after re-sanding?
Follow the product label. Many polymeric sands allow light foot traffic in 24 hours and vehicle traffic in 48–72 hours when weather is dry.
What if I over-wet and the haze returns?
Let the surface dry, then use a light application of haze remover and a nylon brush. Rinse gently and avoid pooling to prevent repeat film.
Conclusion
You can fix polymeric sand residue without harming the surface. Start with a clear ID of fresh, hazy, or cured. Match your method: gentle rinse, controlled pressure, or a targeted cleaner or stripper. Work in test spots, protect run-off, and keep tools steady. Then refill joints and activate the sand the right way.
Take the next step today. Walk your patio, pick the method that fits, and tackle one small section. Share your results or questions in the comments, and subscribe for more practical hardscape tips.
I enjoy sharing simple gardening ideas, lawn care tips, and honest product reviews that help make outdoor work easier. From home gardening guides to helpful tools and lawn care advice, I write easy-to-follow content to help readers create a healthier and better-looking outdoor space without wasting time or money.