
As an Amazon Associate, I earn from qualifying purchases.
Homemade phosphorus fertilizer for plants boosts roots, blooms, and yields affordably.
If you want bigger flowers, stronger roots, and steady harvests, phosphorus is key. In this guide, I’ll show you how to make homemade phosphorus fertilizer for plants using safe, proven methods. You’ll learn when to use it, how much to apply, and how to avoid common mistakes. I’ve tested these recipes in my own beds and containers, and I’ll share what actually works, backed by solid horticultural science.

Why phosphorus matters for plant health
Phosphorus helps plants store and move energy. It powers root growth, flower set, seed formation, and early vigor. It is part of DNA, ATP, and cell membranes. When plants run short, growth slows, blooms fade, and yields drop.
You do not always need more phosphorus, though. Many soils already have enough, but it is locked up by pH or minerals. So the smartest plan is to pair homemade phosphorus fertilizer for plants with good soil testing and simple pH care.
Key benefits of adequate phosphorus:
- Strong roots in seedlings and transplants
- More flowers and fruit set
- Better stress tolerance and maturity

Do you actually need more phosphorus?
Before mixing anything, check for real need. Too much phosphorus can harm waterways and waste money. I learned this the hard way early on. I kept adding bone meal and got lush leaves but no gain in yield.
Signs you may have low phosphorus:
- Stunted growth and thin stems
- Purplish or dark leaves, especially on young plants
- Slow flowering and poor fruit set
How to confirm:
- Get a lab soil test. Ask for plant-available P (Bray or Olsen) and pH.
- Use a reliable home kit for trends, then validate with a lab.
- Track plant response after light applications.
Quick tip from my beds: cold spring soils can mimic phosphorus deficiency. Warm the soil with mulch or row cover. Often the “deficiency” fades as soil warms.
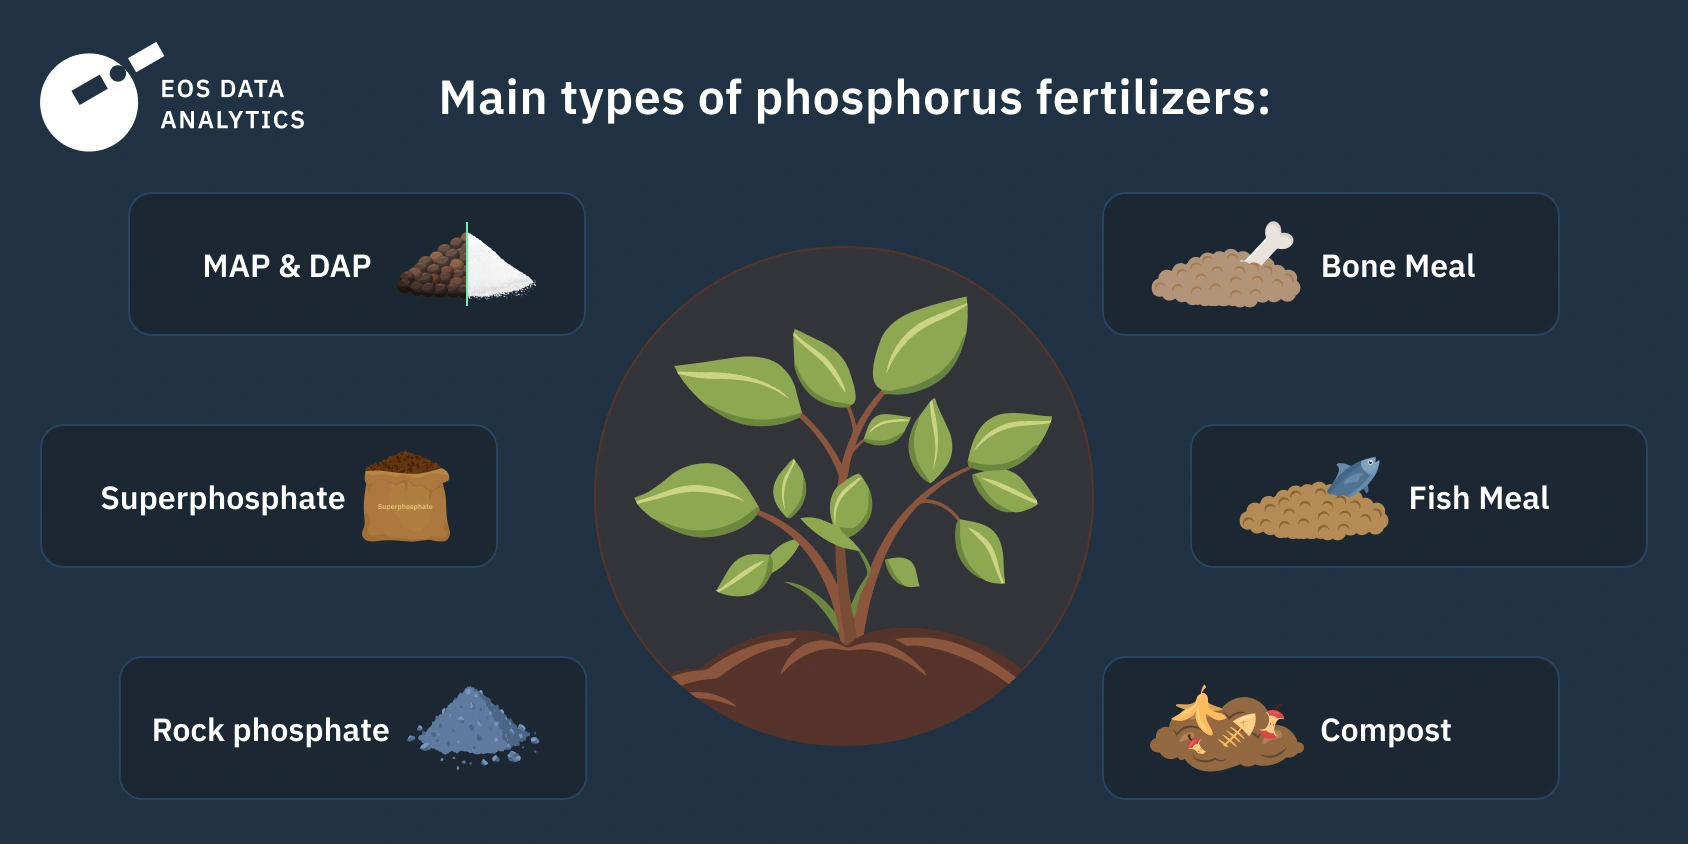
Core recipes: homemade phosphorus fertilizer for plants
Below are the best low-cost, practical options I’ve used or field-tested. Each has pros, cons, and clear directions.
1) DIY bone meal from kitchen bones
This is a classic, slow-release source rich in phosphorus and calcium.
What you need:
- Clean chicken, turkey, pork, or beef bones
- Oven and baking sheet
- Heavy-duty grinder or mortar and pestle
- Mask and gloves
Steps:
- Boil bones to remove fat. Rinse well and dry.
- Bake at 450°F (232°C) for 1–2 hours until dry and brittle.
- Let cool. Grind to a fine powder.
- Store dry, in a sealed jar.
How to use:
- Mix 1–2 tablespoons into the planting hole of transplants.
- For beds, apply 1–2 cups per 10 square feet and fork in.
- Water well.
Notes:
- Home bone meal is slow release. Expect results over weeks, not days.
- Typical store bone meal runs around 3-15-0. Homemade varies.
2) Fish bone meal from frames and heads
Fish bones are a superb phosphorus source with bonus calcium.
What you need:
- Fish frames/heads
- Oven, sheet tray, foil
- Grinder
Steps:
- Rinse, then bake at 250–300°F (121–149°C) until very dry.
- Vent the kitchen well. Odor is real.
- Grind to powder. Store sealed.
Use rates:
- 1 tablespoon per 1-gallon pot
- 1–2 cups per 10 square feet, mixed into the top 2–3 inches
Pro tip: I save fish frames in the freezer. When I have a batch, I process all at once.
3) Fully composted poultry manure blend
Composted chicken or duck manure usually has more phosphorus than many other manures.
What you need:
- Carbon sources (dry leaves, straw, shredded cardboard)
- Fresh poultry manure
- Compost bin or pile
Steps:
- Layer 2 parts carbon to 1 part manure.
- Keep moist like a wrung-out sponge.
- Heat to at least 131°F (55°C) for pathogen reduction.
- Maintain hot compost conditions for days to weeks with regular turning.
- Cure until earthy and crumbly.
Use rates:
- 0.5–1 inch across beds in spring or fall
- A handful in each planting hole for heavy feeders
Food safety:
- Follow wait times for raw manure if not fully composted: 120 days for crops touching soil, 90 days for crops off the soil.
4) Seed and nut meal mix (budget booster)
Leftover, stale, or bulk seed meals (sunflower, canola) offer modest phosphorus and steady nitrogen.
How to use:
- Sprinkle 1–2 tablespoons per gallon of soil and mix in.
- For beds, 1–2 pounds per 100 square feet every 6–8 weeks.
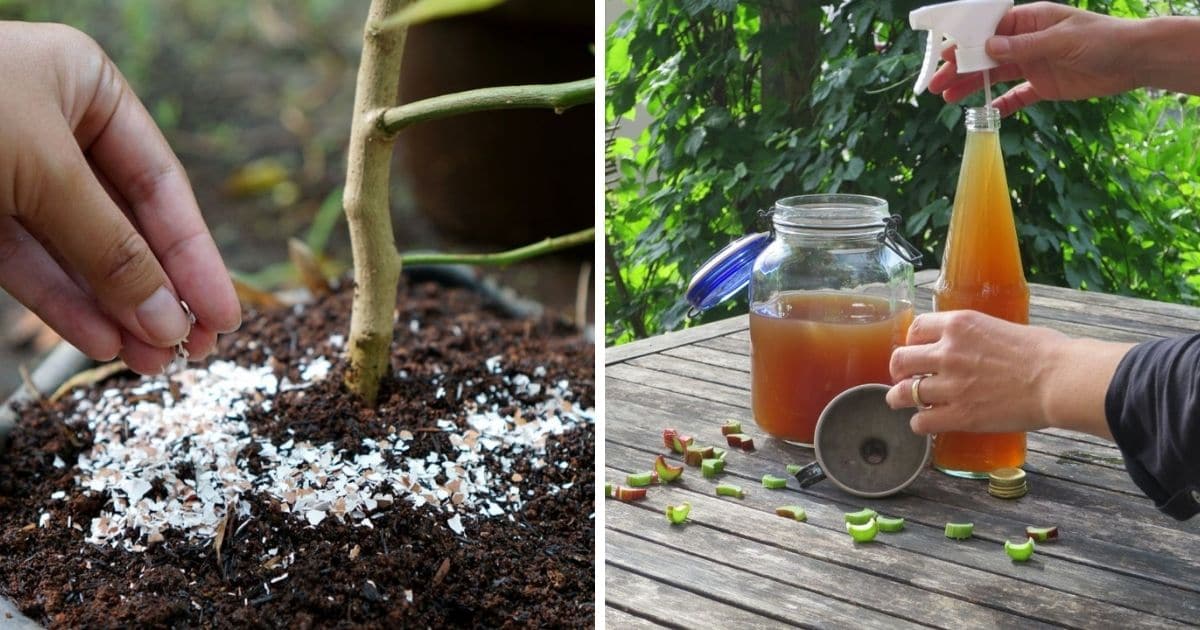
5) Fish hydrolysate from scraps (fermented)
This is a liquid feed that releases nutrients faster than dry meals.
What you need:
- Fish scraps
- Molasses
- Lactobacillus serum or a compost starter
- Bucket with a loose lid
Steps:
- Chop scraps. Mix 3 parts fish to 1 part molasses.
- Add starter culture. Stir.
- Ferment 2–4 weeks in a shaded, warm spot. Stir weekly.
- Strain. Dilute 1:100 with water to feed soil.
Odor control:
- Add a layer of biochar or finished compost on top.
- Keep lid on. Label clearly.
This is not for foliar spray. Use as a soil drench only.
Important reminder: homemade phosphorus fertilizer for plants should be measured, not guessed. Start light, watch the plants, and adjust.

How and when to apply for best results
Timing matters. Phosphorus supports early root growth and flowering. Add most of it before planting or at transplant.
Simple rules I use:
- At planting: Mix bone or fish bone meal into the root zone.
- Mid-season: Side-dress with composted poultry manure if crops lag.
- Perennials and bulbs: Feed in fall or early spring.
Suggested starting rates:
- Pots: 1 tablespoon bone meal per gallon of mix
- Beds: 1–2 cups bone meal or fish bone meal per 10 square feet
- Compost top-dress: 0.5–1 inch, then water in
Watering tip:
- After top-dressing, water deeply. Moist soil supports microbes that release phosphorus.
Two PAA-style quick answers:
Can I just sprinkle and walk away?
Yes, but results are slower. Work dry fertilizers into the top few inches to speed contact with roots and soil biology.
Will more phosphorus mean more fruit?
Only if phosphorus is the limiting factor. Balance N-P-K, keep pH right, and avoid overfeeding.
Using homemade phosphorus fertilizer for plants at the right time often doubles the benefit compared to late-season use.

Make phosphorus more available (unlock, don’t just add)
Sometimes the soil has enough phosphorus, but plants cannot reach it. Fix the bottlenecks first.
Do these simple things:
- Adjust pH. Aim for 6.0–7.0 in most garden soils. Outside this range, phosphorus gets tied up.
- Feed the microbes. Add compost. Healthy biology unlocks bound phosphorus.
- Inoculate roots. Mycorrhizal fungi help plants mine phosphorus beyond the root zone.
- Keep soil moist, not soggy. Dry, cold soils slow nutrient flow.
- Add biochar. It improves habitat for microbes and can reduce lock-up.
A quick story from my peppers: I once chased a “phosphorus deficiency” that was really high pH (7.8) from excess lime. I stopped adding lime, used compost, and added a mycorrhizal inoculant at transplant. The peppers recovered without extra phosphorus.
Using these steps with homemade phosphorus fertilizer for plants lets you apply less but get more.
Safety, sustainability, and myths to avoid
Stay safe:
- Heat-treat bones and fish well before grinding.
- Compost manures fully to reduce pathogens.
- Wear a mask when grinding powders.
Protect the environment:
- Do not over-apply. Excess phosphorus can run off and harm rivers and lakes.
- Keep at least a 10–20 foot buffer from waterways.
- Mulch and cover bare soil.
Know the myths:
- Banana peels are not a good phosphorus source. They are rich in potassium, not phosphorus.
- More bloom booster is not always better. Balance and pH matter more.
- Wood ash is high in potassium and calcium, not phosphorus. Use sparingly and monitor pH.
Advanced note for pros: struvite (magnesium ammonium phosphate) can be made from stored urine by adding magnesium salts, but check local rules and handle with strict hygiene. It is effective, yet it is not a beginner project.
When in doubt, test your soil first. Then use homemade phosphorus fertilizer for plants to fill the gap, not to guess.
Frequently Asked Questions of Homemade phosphorus fertilizer for plants
What is the fastest homemade way to add phosphorus?
A well-made fish hydrolysate soil drench acts faster than dry meals. For most cases, bone or fish bone meal mixed at planting works well within weeks.
How often should I reapply homemade phosphorus fertilizer for plants?
For annuals, apply at planting and reassess mid-season. For perennials, feed once in fall or early spring.
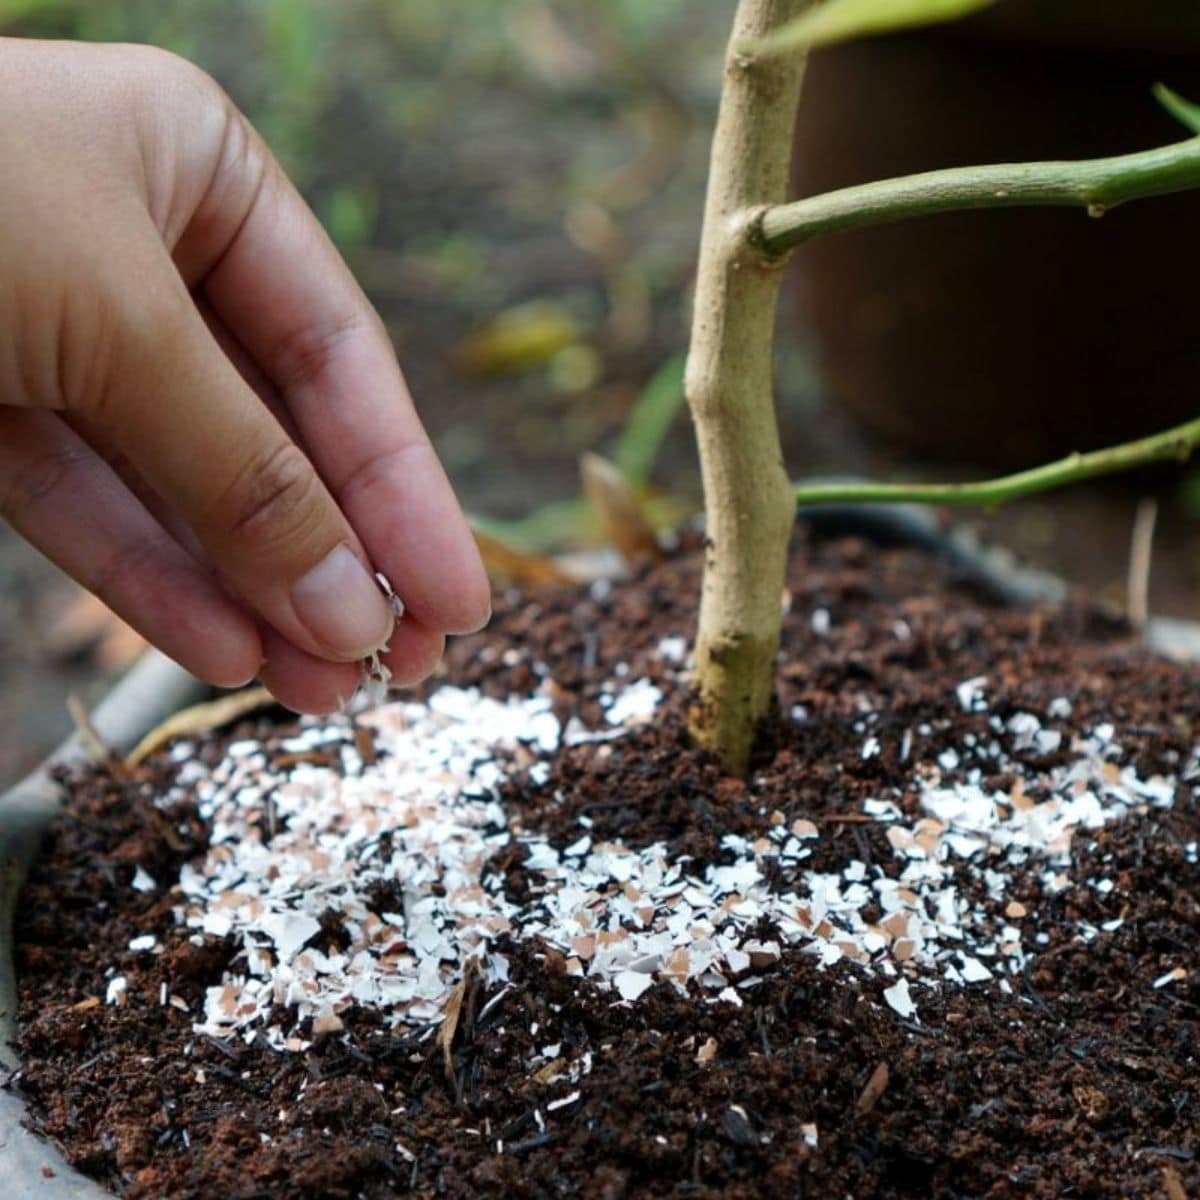
Is eggshell powder a good phosphorus source?
No. Eggshells are mostly calcium carbonate with little phosphorus. They help with calcium and pH, not with phosphorus.
Can I use fresh chicken manure for phosphorus?
Use only after proper composting. Fresh manure can burn plants and pose food safety risks.
Will adding more phosphorus fix poor flowering?
Only if phosphorus is low. Poor flowering can also come from excess nitrogen, low light, heat stress, or wrong variety.
Can I foliar spray homemade phosphorus fertilizer for plants?
Most homemade sources are best as soil applications. Foliar phosphorus uptake is limited and can cause leaf burn if too strong.
Do containers need different rates?
Yes. Use lighter doses since potting mixes hold less nutrient. Start with 1 tablespoon bone meal per gallon of mix and adjust.
Conclusion
You now have a clear path to feed roots, flowers, and fruit without breaking the bank. Test your soil, pick one or two simple recipes, and apply at planting for a strong start. Then support release with compost, healthy microbes, and the right pH. With homemade phosphorus fertilizer for plants used this way, you get steady growth, vivid blooms, and better harvests.
Ready to try it? Pick a bed or a few pots this week, make a small batch, and track the results. If you found this helpful, subscribe for more practical garden guides, or drop a comment with your own tweaks and wins.
I enjoy sharing simple gardening ideas, lawn care tips, and honest product reviews that help make outdoor work easier. From home gardening guides to helpful tools and lawn care advice, I write easy-to-follow content to help readers create a healthier and better-looking outdoor space without wasting time or money.