
As an Amazon Associate, I earn from qualifying purchases.
Build a simple indoor hydroponic garden DIY to grow fresh food year-round.
If you’ve dreamed of crisp lettuce in winter or basil on demand, you’re in the right place. I’ve built many indoor hydroponic garden DIY systems at home and for clients. This guide breaks down what works, why it works, and how you can do it today with clear steps, simple tools, and real-world tips.
What is hydroponics and why go indoors?
Hydroponics grows plants without soil. Roots sit in water with nutrients. Indoors, you control light, air, and water. That means steady harvests, even in a studio or a dark winter.
An indoor hydroponic garden DIY gives clean greens, fast growth, and less mess. It saves space and water. It also cuts food miles. You can set it on a shelf, a counter, or a spare corner.
:max_bytes(150000):strip_icc()/diy-hydroponic-systems-5093454-hero-e47eb8c4d31146ea90b44c18b7345807.jpg)
Benefits and limits of an indoor hydroponic garden DIY
Benefits:
- Faster growth and higher yields due to perfect nutrients and light.
- Less water use than soil since water recirculates.
- Clean produce with fewer pests and no weeds.
Limits:
- Upfront cost for lights and tools.
- Power use for lights and pumps.
- You must learn pH, EC, and cleaning basics.
From my builds, the payoff is clear. Fresh greens pay for the kit in a few months. But you must stay on top of care. A small lapse in pH or light can slow growth.
Choosing your hydroponic system
Start simple. Two great paths for an indoor hydroponic garden DIY:
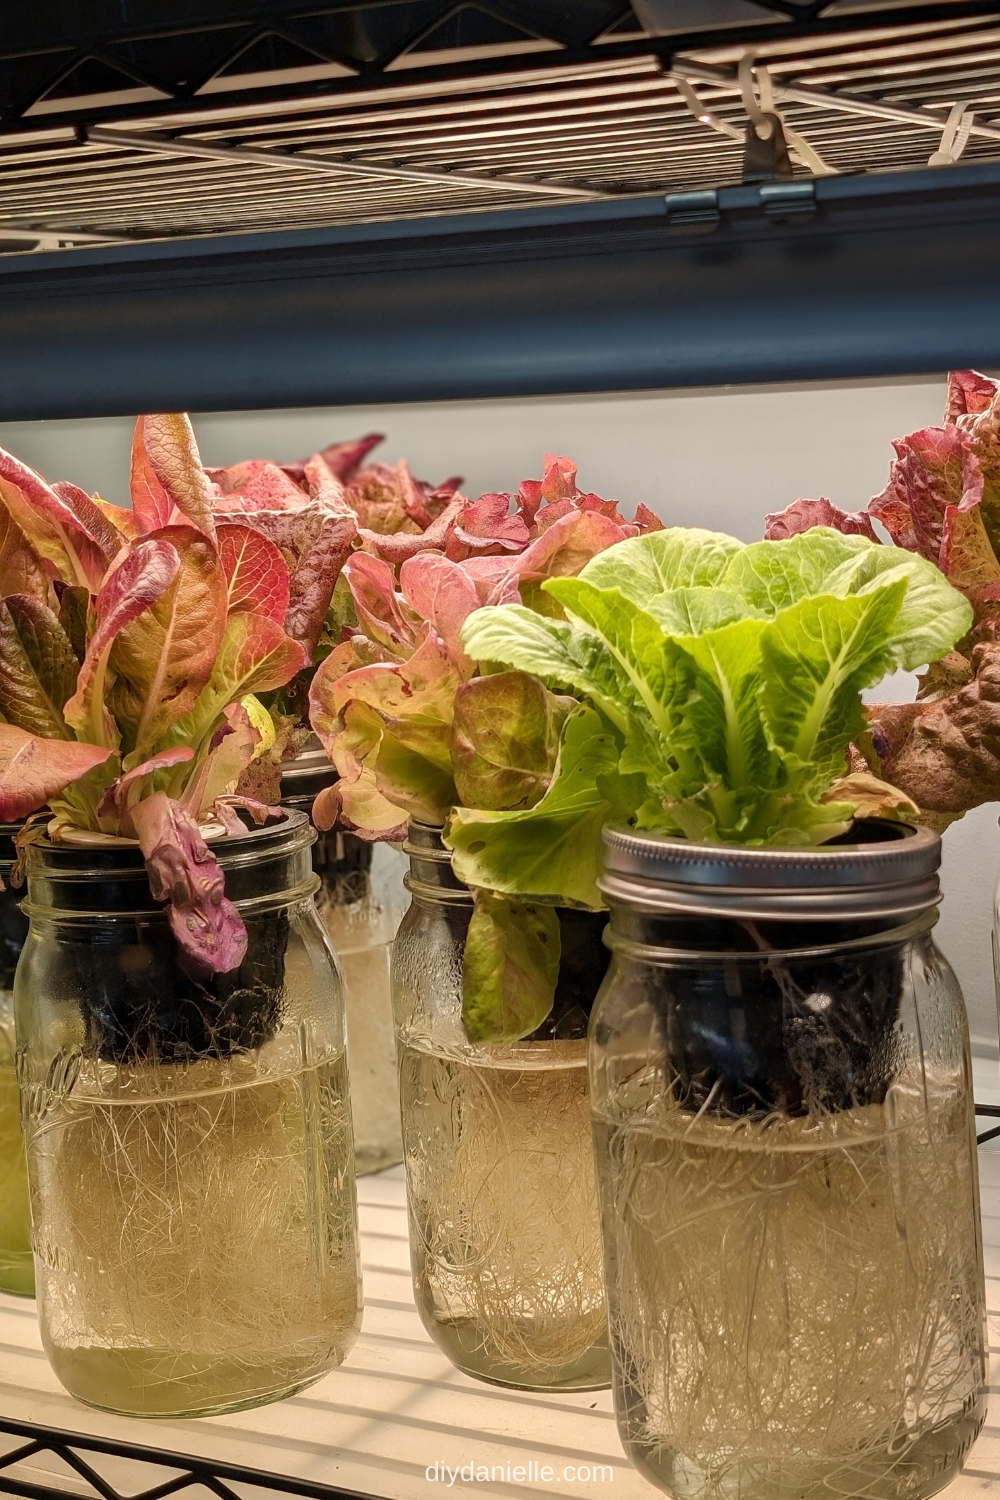
- Kratky (passive): No pumps. A jar or bin with a net pot. Good for lettuce and herbs. Very quiet. Low cost.
- Deep Water Culture (DWC): Roots hang in aerated water. Uses an air pump and air stone. Great growth and easy to scale.
Other options once you level up:
- Wick: Uses a wick to pull water to roots. Simple but slower.
- NFT: Thin film of water flows down a channel. Great for greens. Needs build skill.
- Drip: Pump sends feed to each pot. Solid for fruiting plants like peppers.
- Aeroponics: Mists roots. Fast growth but complex and higher risk if pumps fail.
I suggest DWC for your first indoor hydroponic garden DIY. It is cheap, stable, and easy to tune.

Plan your space, light, and power
Pick a cool, dry spot with a power outlet. A shelf near a window is fine. But do not rely on window light alone. Use a full-spectrum LED grow light for steady results.
Key checks:
- Floor space: A 10–20 gallon tote fits under a table.
- Airflow: A small fan helps stems and prevents mold.
- Power: A light timer and surge strip keep things safe.
Keep nutrient water between 65–72°F. This helps oxygen in water and stops root rot. In my small apartment build, I used a closet with a door gap for airflow. It worked well.
Tools and materials checklist
For a budget DWC indoor hydroponic garden DIY:
- Opaque 10–20 gallon tote with lid
- 2–6 net pots (2–3 inch)
- Clay pebbles or rockwool cubes
- Aquarium air pump and air stone with tubing
- Full-spectrum LED grow light with timer
- Liquid hydroponic nutrients (A+B or three-part)
- pH test kit or pH pen, pH up/down solutions
- EC/PPM meter (optional but very helpful)
- Hole saw or sharp knife, marker, and cleaning wipes
Optional adds:
- Small fan for airflow
- Reflective film or white board for light bounce
- Digital thermometer and hygrometer

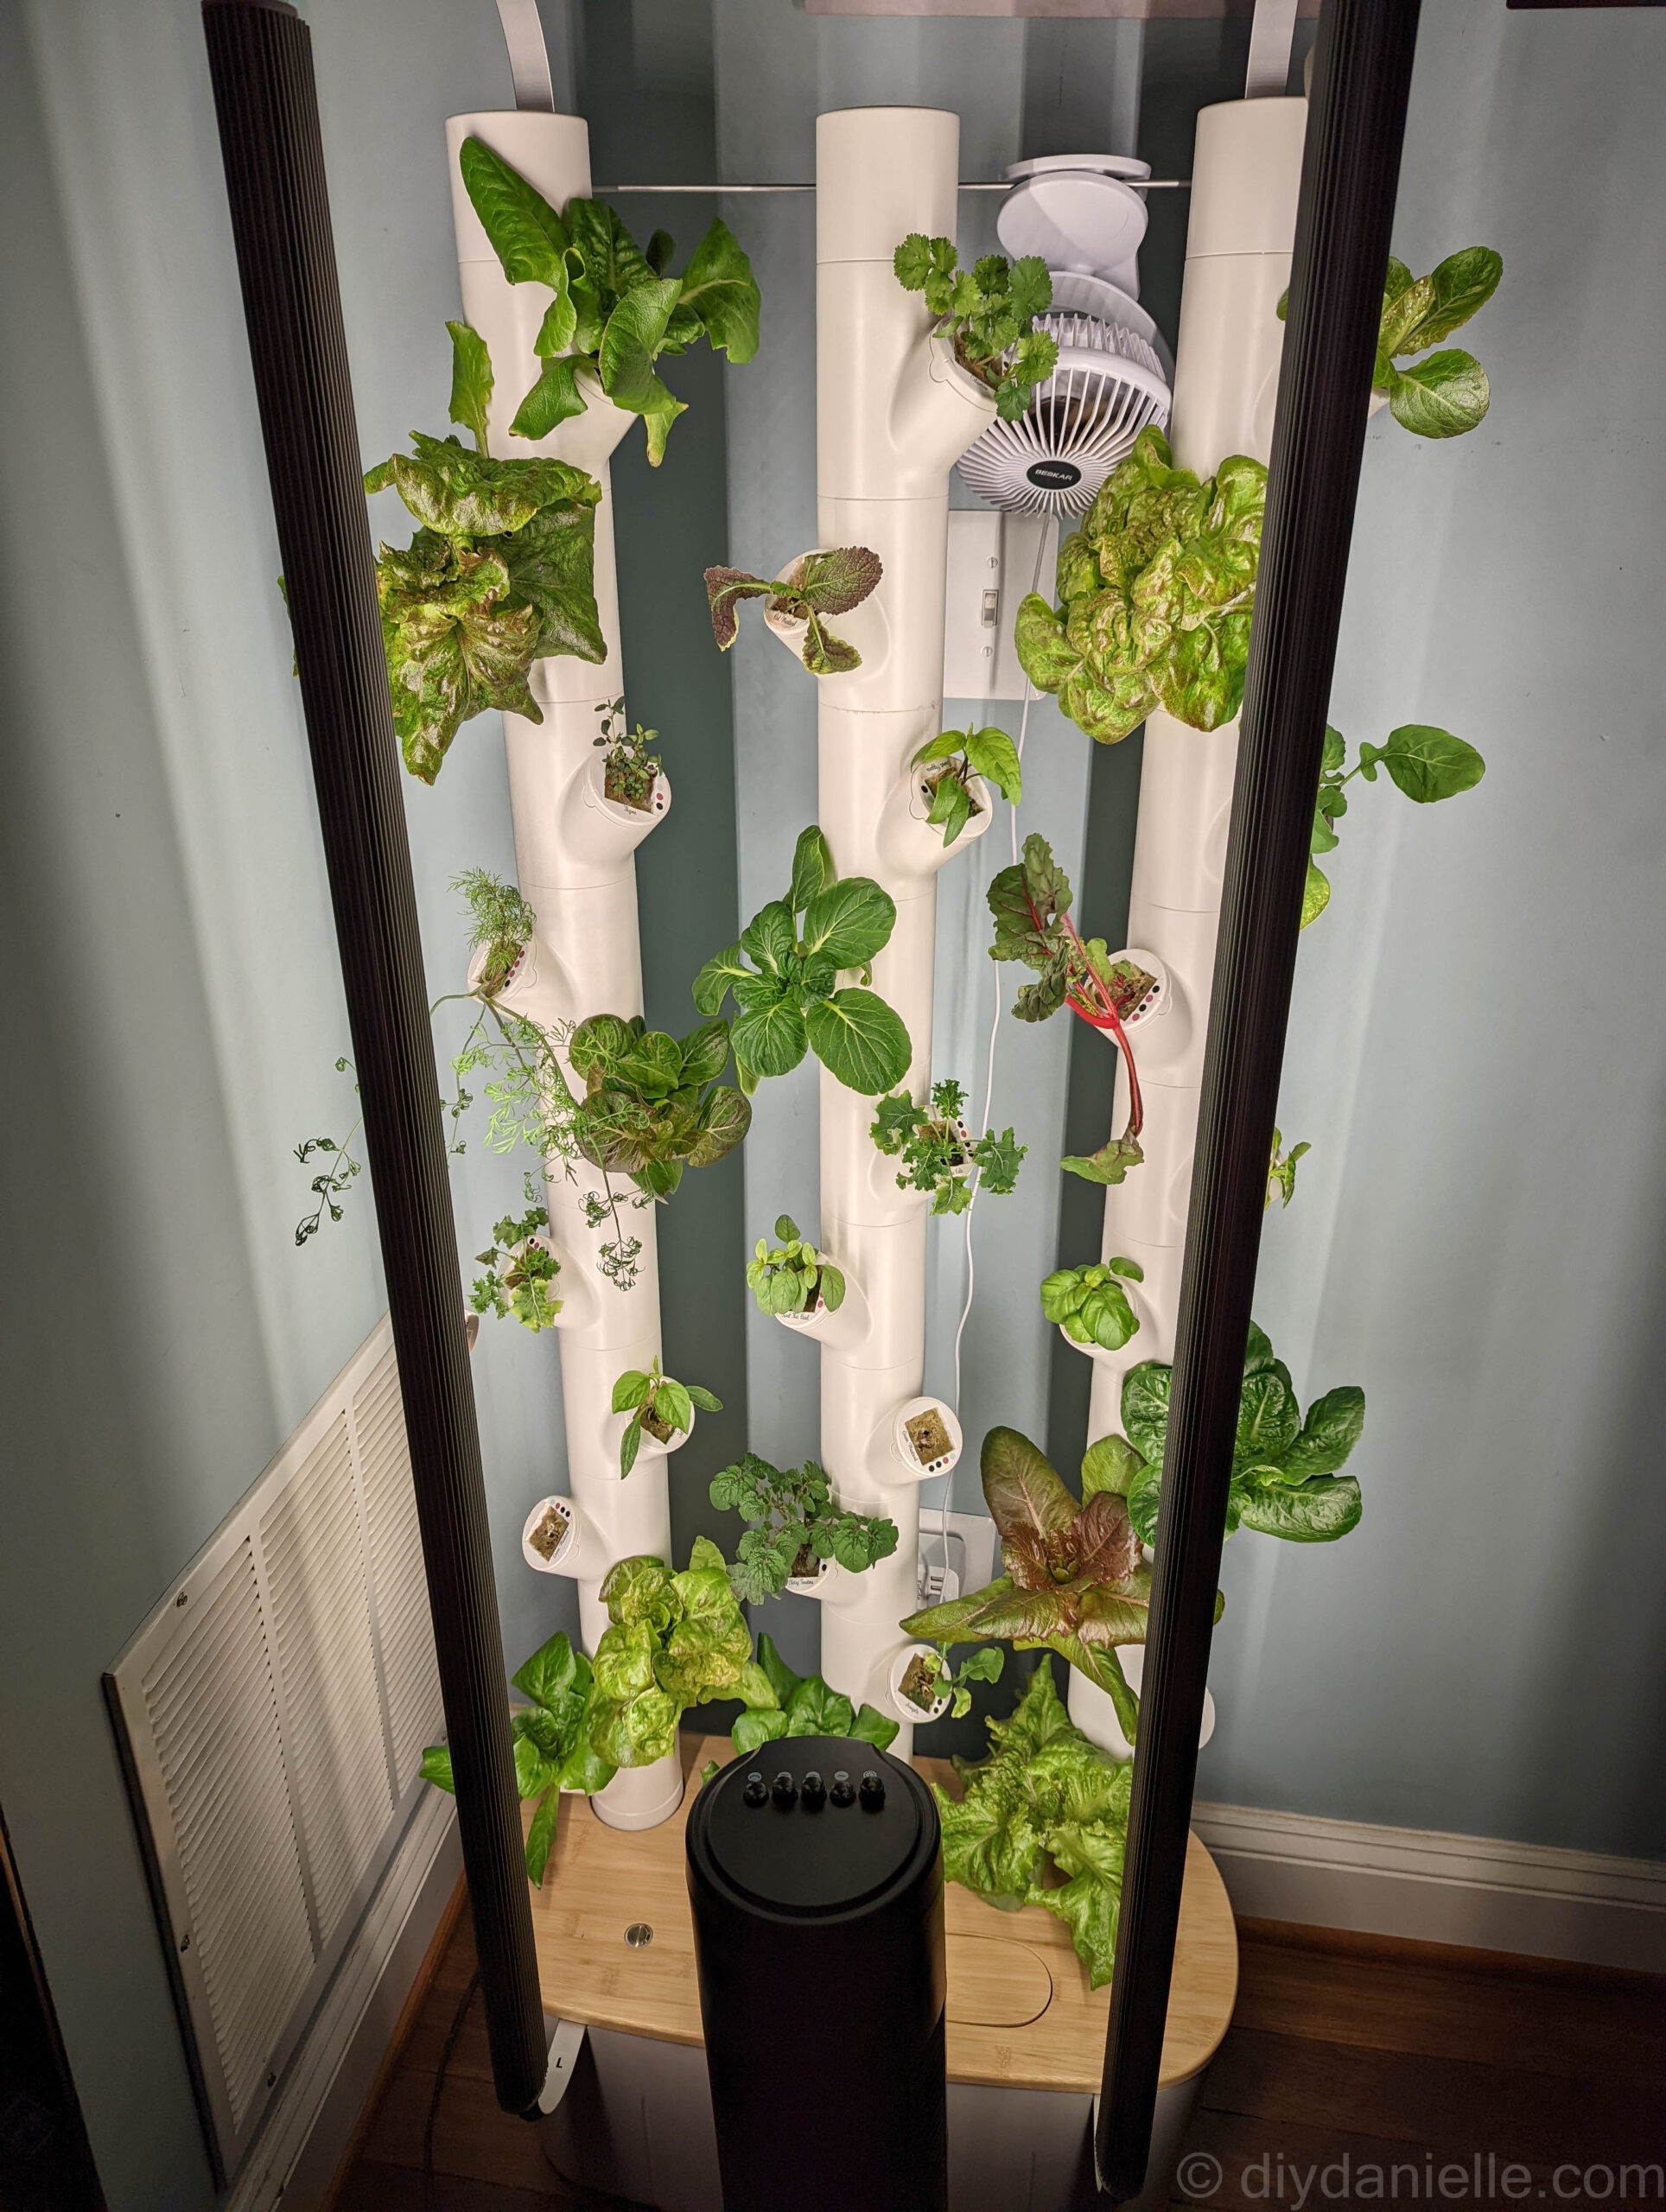
Step-by-step: Build a starter DWC tote
Follow these steps to build your indoor hydroponic garden DIY in one afternoon.
- Mark and cut the lid
- Trace circles for net pots on the tote lid.
- Space them 6–8 inches apart for lettuce.
- Add air system
- Place the air stone at the bottom of the tote.
- Run tubing to the air pump outside the tote.
- Mix nutrients
- Fill tote with water.
- Add nutrients per label for seedlings. Aim for EC 0.8–1.2.
- Set pH
- Adjust to 5.8–6.2. Use a pH kit or pen.
- Load plants
- Put seedlings in rockwool or clay pebbles in net pots.
- Ensure roots can reach water or will in a few days.
- Light and timer
- Hang the LED 12–18 inches above plants.
- Set 16 hours on, 8 hours off for greens.
- Check bubbles and leaks
- Turn on the pump. You should see steady bubbles.
- Wipe spills and keep cords tidy and dry.
My first tote ran on a kitchen cart. It held four lettuce and two basil. It paid for itself in salads in eight weeks.
Nutrients, pH, and EC basics
Plants need N, P, K, plus calcium, magnesium, and trace elements. Buy a trusted hydroponic nutrient set and follow the chart on the label. Start light, then increase as plants grow.
- pH: Keep 5.8–6.2 for most greens and herbs.
- EC/PPM: Seedlings 0.6–1.0 EC; veg 1.0–1.6 EC; fruiting 1.8–2.4 EC.
- Water changes: Swap 50–100% every 1–2 weeks to prevent salt build-up.
I once pushed EC too high. My lettuce tips burned. Dropping EC by 30% fixed it in days.
Lighting guide made simple
LED grow lights work best indoors. Look for full spectrum, high efficiency, and a clear PPFD chart. PPFD is light at the plant canopy. This matters more than bulb watts.
- Lettuce and herbs: 200–400 PPFD, 14–16 hours per day.
- Tomatoes and peppers: 500–700 PPFD, 14–16 hours per day.
- Adjust height to tune PPFD. Use a free phone app to estimate if you lack a meter.
If leaves bleach or curl up, light is too strong. Raise the light or shorten the cycle.

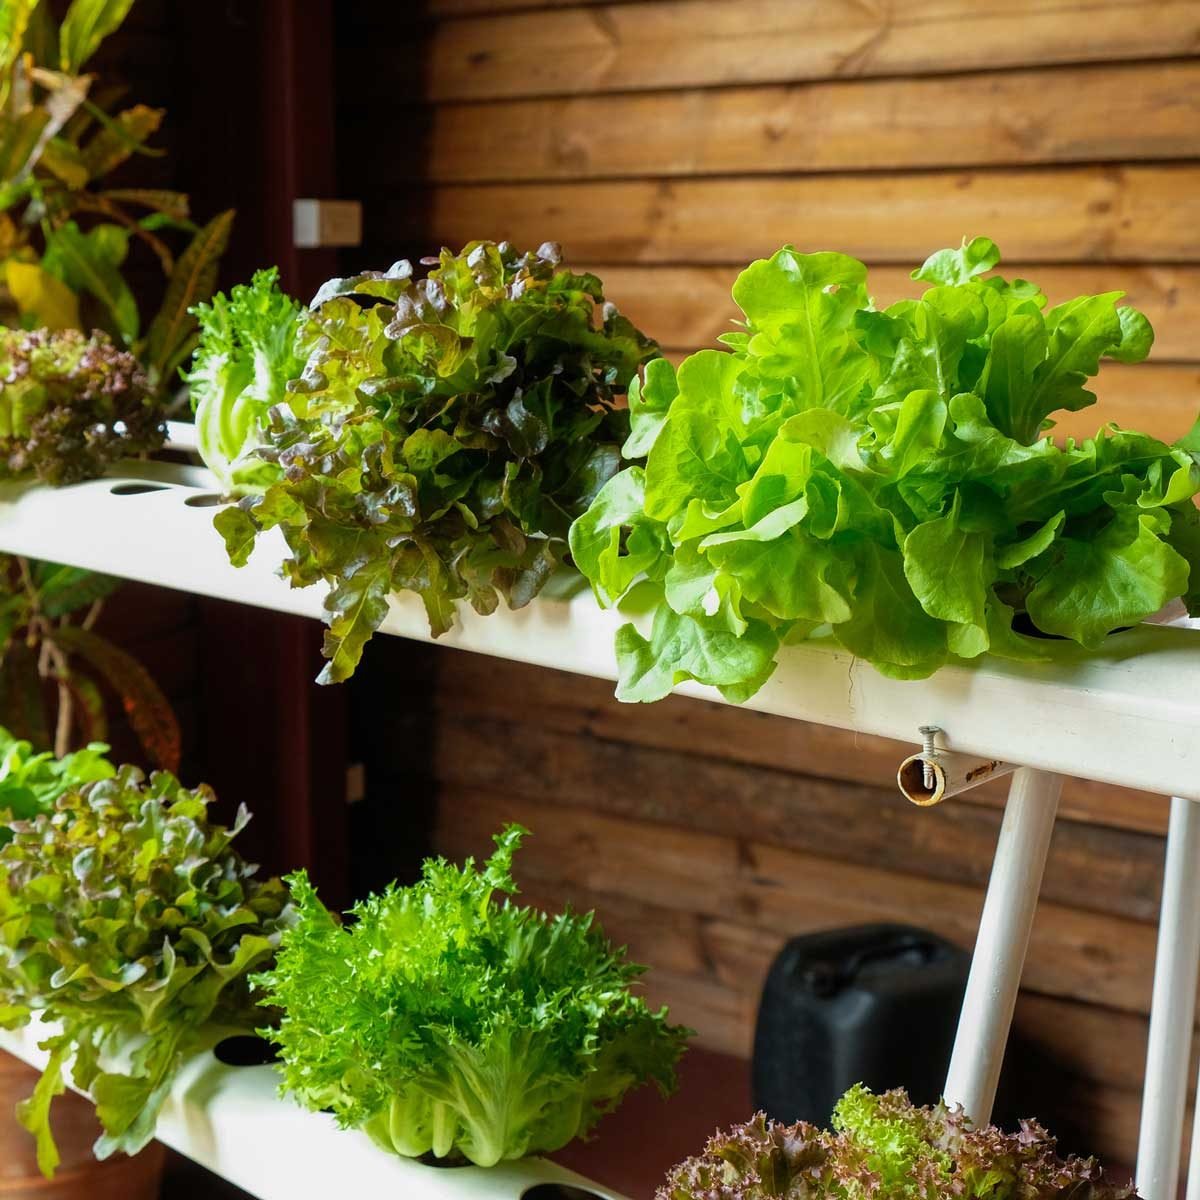
Best crops for beginners
For your first indoor hydroponic garden DIY, choose forgiving plants:
- Lettuce: Butterhead, romaine, leaf types. Harvest in 28–45 days.
- Basil: Fast and happy in DWC.
- Mint and oregano: Hardy and lush.
- Kale and chard: Sturdy and rich in nutrients.
- Green onions: Regrow from store roots if you like.
Skip big fruiting vines at first. They need more light, space, and support.
Daily, weekly, and monthly care
Daily:
- Check bubbles, light timer, and water level.
- Look at leaves. Spot pests early.
Weekly:
- Top up with water.
- Check pH and EC. Adjust as needed.
- Trim old leaves to boost airflow.
Monthly:
- Full reservoir change and light wipe down.
- Clean air stone if flow drops.
Common issues and quick fixes:
- Algae: Block light into the tank. Use a dark tote and tight lid.
- Root rot: Keep water cool and oxygen high. Add more bubbles.
- Tip burn: Lower EC and keep steady airflow.
Safety, hygiene, and food safety
Wash hands before handling plants. Rinse produce before eating. Keep wires off wet floors. Use a GFCI outlet if you can. Clean tools and totes with a mild bleach mix, then rinse well.
I keep a simple log sheet. It notes dates, pH, EC, and changes. This helps spot trends and avoid repeats of old mistakes.
Scaling up and smart automation
Once your indoor hydroponic garden DIY runs smooth, add:
- A bigger tote or more sites for plants.
- A smart plug or timer for lights and pumps.
- A pH pen and EC meter for faster checks.
- Drip rings or NFT rails if you want variety.
Automation cuts errors. It also frees time. Start small, then scale what works.
Cost, yield, and ROI example
Starter DWC cost range:
- Tote, air pump, stone, net pots, media: $40–$70
- LED grow light for a 2×2 ft area: $60–$120
- Nutrients, pH kit, timer, misc: $40–$80
Total: $140–$270. With six heads of lettuce a month and herbs, you can save $25–$40 monthly. Payback often lands in 4–8 months. Results vary by power cost and what you grow.
Eco tips for a greener setup
- Use LED lights with high efficiency to cut power.
- Reuse clay pebbles after a deep clean.
- Compost roots and trimmings.
- Collect rainwater if safe and legal, then filter before use.
- Choose compact crops with short cycles to save energy.
Your indoor hydroponic garden DIY can be clean and green. Small choices add up over time.
Frequently Asked Questions
How often do I change the nutrient water?
Change the full reservoir every 1–2 weeks. Top up with plain water between changes to keep EC steady.
Can I grow tomatoes indoors with hydroponics?
Yes, but they need strong light, support, and higher EC. Start with dwarf or patio types and give 500–700 PPFD.
What pH is best for most hydroponic plants?
Aim for 5.8–6.2. This range keeps nutrients available and prevents lockout.
Do I need an air pump for Kratky?
No. Kratky is passive. Leave an air gap so roots can breathe as water drops.
Are grow lights safe for pets and kids?
Yes when used as directed. Keep them out of reach and avoid looking straight at bright LEDs.
How do I prevent algae in my reservoir?
Block light from the water. Use a dark tote, tight lid, and cover any gaps around net pots.
What if my leaves turn yellow?
Check pH first, then EC. Yellow can mean pH drift, low nitrogen, or wet roots with low oxygen.
Conclusion
You now have a clear plan to build an indoor hydroponic garden DIY that fits your space, budget, and time. Start simple with a DWC tote, keep pH in range, give steady light, and track small changes. You will taste the win in your first crisp harvest.
Ready to grow? Set up your tote this weekend, share your build, and subscribe for more tips and project guides.
I enjoy sharing simple gardening ideas, lawn care tips, and honest product reviews that help make outdoor work easier. From home gardening guides to helpful tools and lawn care advice, I write easy-to-follow content to help readers create a healthier and better-looking outdoor space without wasting time or money.