
As an Amazon Associate, I earn from qualifying purchases.
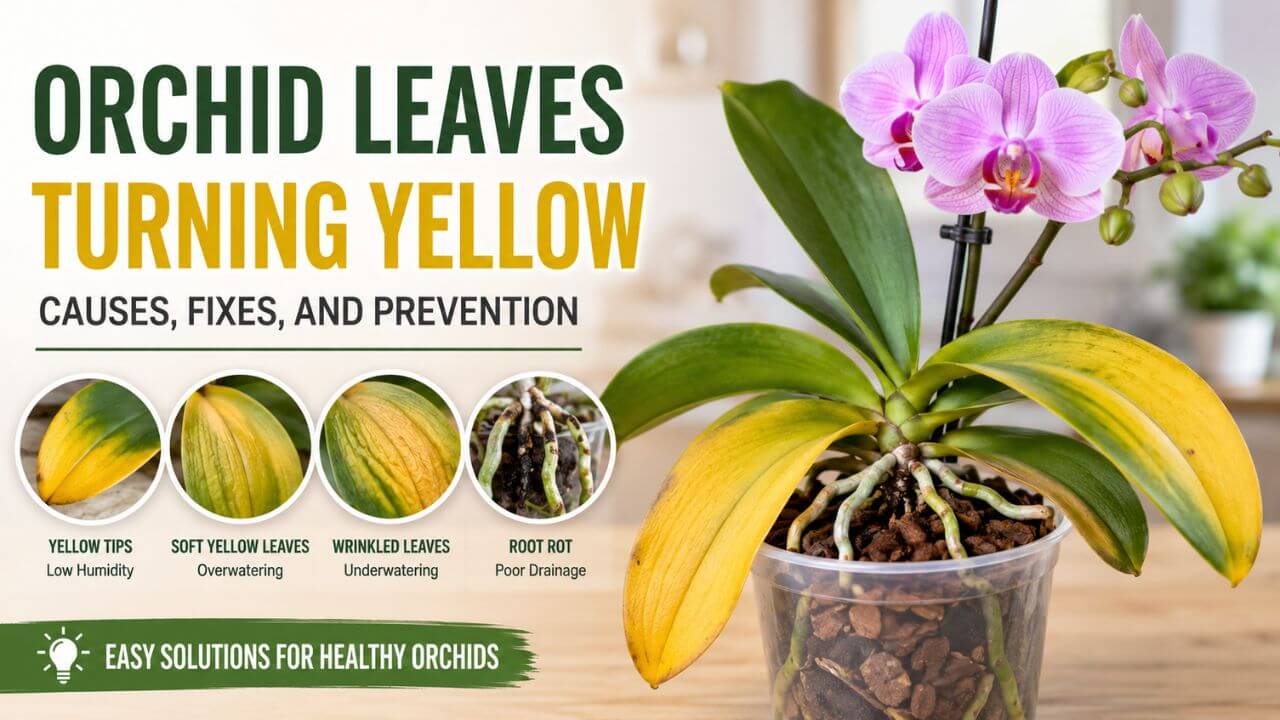
Orchid leaves turning yellow can worry even experienced plant owners. A healthy orchid should have firm green leaves, so yellowing usually signals that something has changed in the plant’s environment.
The good news is that yellow leaves do not always mean your orchid is dying. In many cases, simple adjustments to watering, light, or humidity can stop the problem and encourage healthy new growth.
What Does Yellowing Mean on an Orchid?
Orchid leaves act like an early warning system. Colour changes often appear before more serious problems develop.
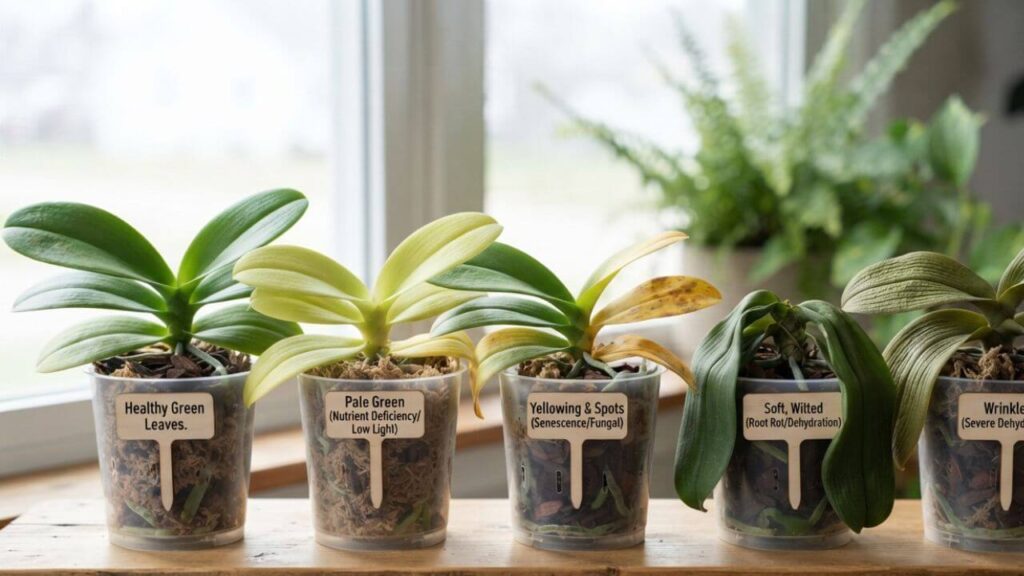
Not every yellow leaf means trouble. If a lower orchid leaf turns yellow while the rest of the plant stays healthy, natural aging may be the cause. Orchids regularly shed older leaves as new growth develops.
However, widespread orchid leaf discoloration usually points to care issues that need attention.
| Symptom | Possible Cause |
| Lower orchid leaves turning yellow | Natural aging |
| Yellow soft leaves | Overwatering |
| Yellow wrinkled leaves | Underwatering |
| Pale green leaves | Too much light |
| Yellow leaves after repotting | Transplant stress |
Learning to recognize these patterns makes troubleshooting much easier.
Why Are My Orchid Leaves Turning Yellow?
Several conditions can trigger yellow orchid leaves. Most problems involve water, roots, or light.
Overwatering Problems
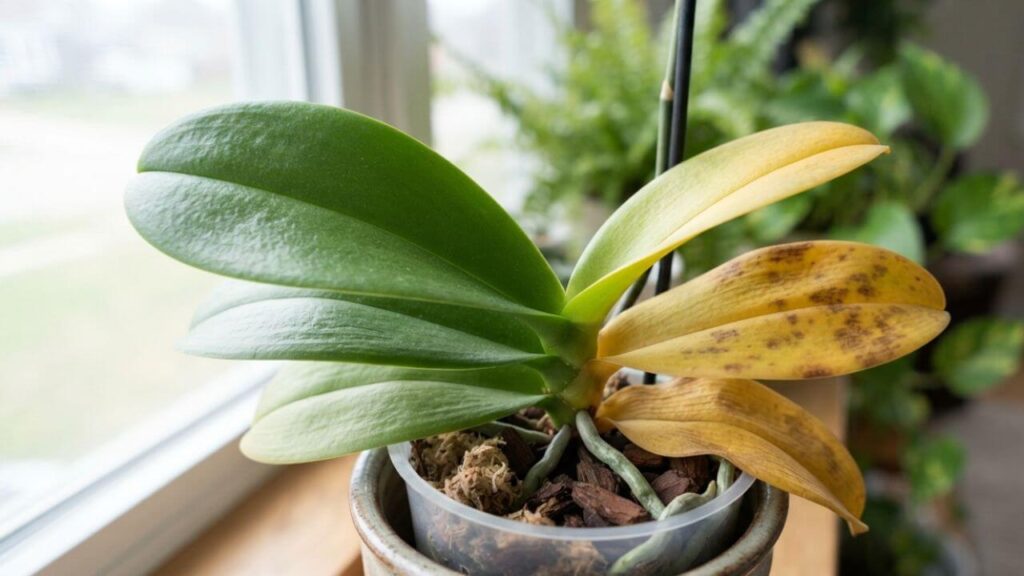
Overwatering is the most common cause of yellow leaves on indoor orchids.
Orchid roots need both moisture and air. When potting media remains wet for too long, roots lose oxygen and begin to die. The damaged roots can no longer absorb water or nutrients properly.
Common overwatered orchid symptoms include:
- Soft yellow leaves
- Mushy roots
- Wrinkled foliage despite wet soil
- Leaf drop
- Black or brown roots
In my experience, overwatering causes more orchid deaths than underwatering.
Underwatering Signs
Dry orchids can also develop yellow leaves.
Underwatered orchid signs include:
- Wrinkled leaves
- Dry roots
- Lightweight pots
- Slow growth
- Drooping foliage
Unlike overwatered plants, underwatered orchids usually have dry and firm roots rather than soft ones.
Orchid Root Rot Symptoms
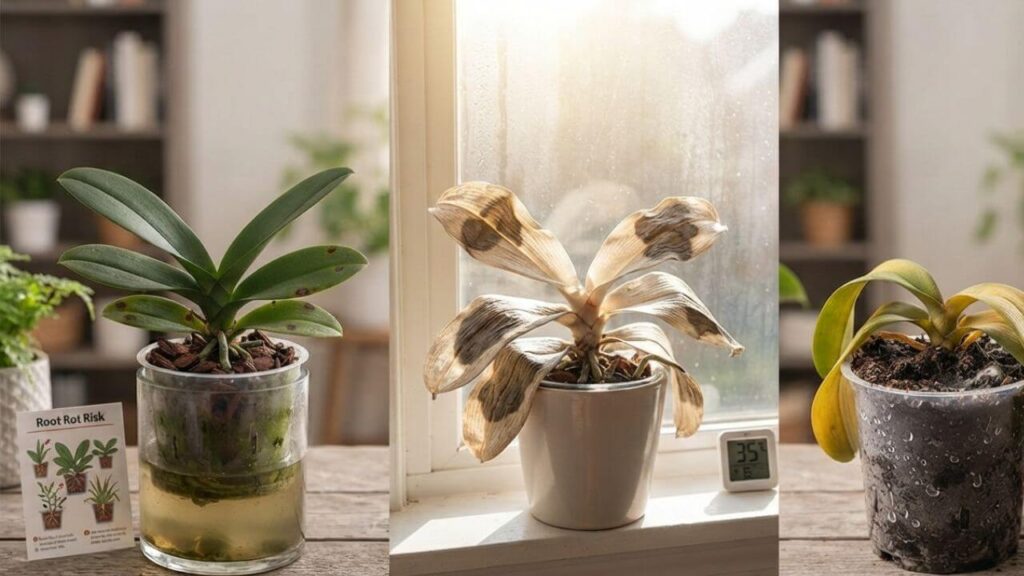
Root rot is a serious issue that develops when roots remain wet for extended periods.
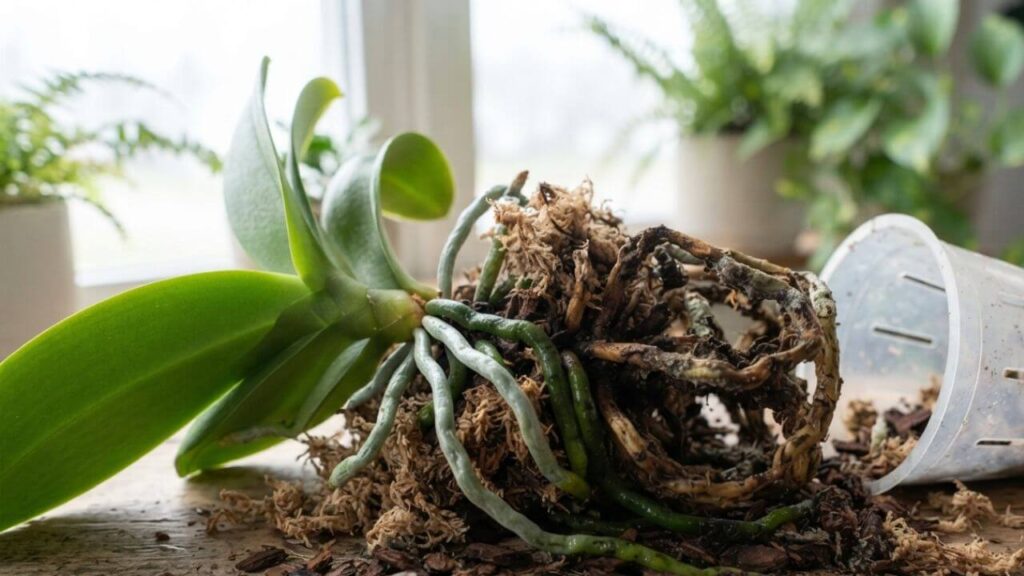
Healthy orchid roots appear firm and green or silver. Diseased roots become soft, brown, black, or hollow.
Signs of root rot include:
- Yellow leaves spreading upward
- Soft stems
- Foul smell from the pot
- Slow growth
- Root collapse
Remove the orchid from its container and inspect the roots if yellowing continues despite watering adjustments.
Orchid Light Requirements
Light problems frequently cause orchid leaves losing color.
Most popular orchids, including Phalaenopsis orchids, prefer bright indirect light rather than direct sun.
Too much sunlight may cause:
- Pale green leaves
- Yellow patches
- Leaf burn
- Dry leaf edges
Too little light may lead to:
- Dark green leaves
- Weak growth
- Lack of blooms
An east-facing window often provides ideal conditions.
Orchid Humidity Requirements
Orchids are tropical houseplants that prefer higher humidity than most homes provide.
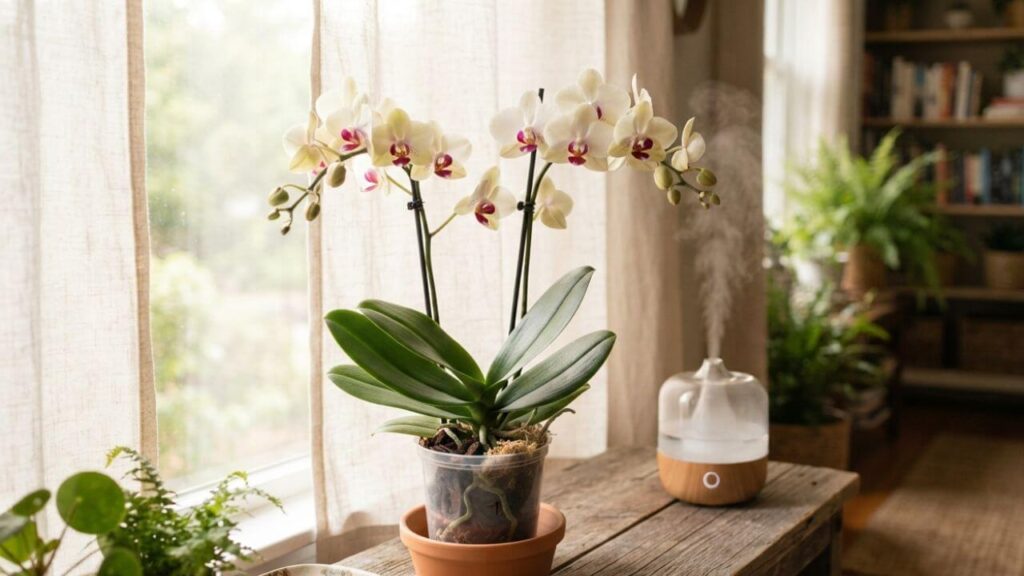
Most orchids grow best between 40% and 60% humidity.
Dry indoor air may contribute to:
- Orchid yellow leaf tips
- Bud drop
- Wrinkled leaves
- Slow growth
Winter heating systems can reduce humidity dramatically.
I recommend using a humidifier if your home stays very dry during winter months.
Orchid Fertilizer Problems
Too much fertilizer can damage orchid roots and leaves.
Excess fertilizer causes salt buildup inside the potting mix, which burns roots and interferes with water uptake.
Signs include:
- Yellow leaf edges
- Brown root tips
- White crust on potting media
- Stunted growth
Feed orchids lightly during active growth periods and flush the pot with clean water occasionally to remove salts.
Orchid Leaves Turning Yellow After Repotting
Repotting places temporary stress on orchids.
Some orchids respond by yellowing one or two older leaves while adjusting to their new environment.
This reaction is normal if:
- New roots continue growing.
- The crown remains firm.
- Yellowing stays limited to older leaves.
However, severe yellowing after repotting may indicate root damage or poor drainage.
Best Potting Mix for Orchids
Regular potting soil is one of the biggest orchid care mistakes.
Orchid roots require airflow that standard soil cannot provide.
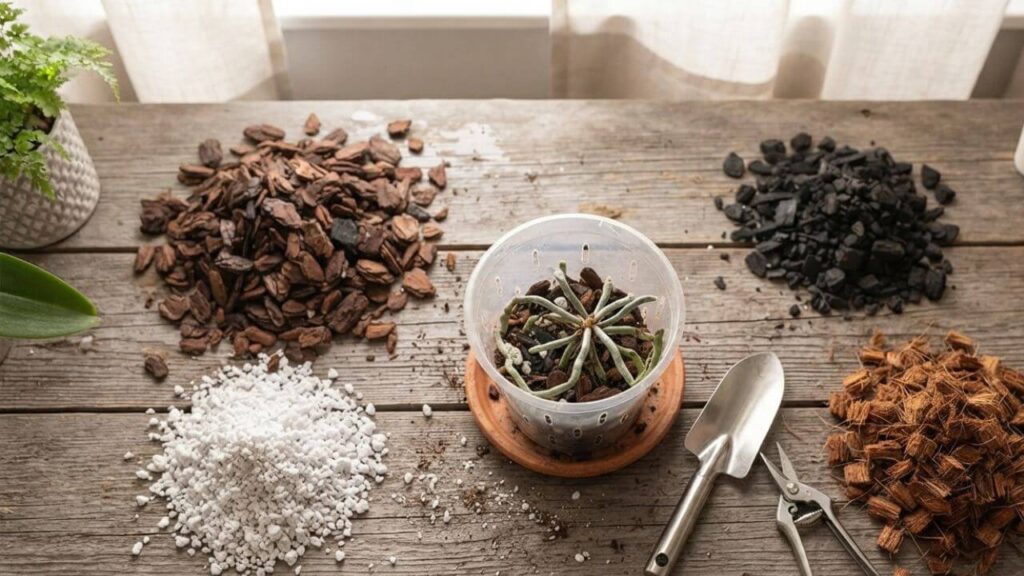
The best potting mix for orchids usually contains:
- Bark chips
- Perlite
- Charcoal
- Coconut husk
These materials allow moisture retention while maintaining air circulation around roots.
How to Fix Yellow Orchid Leaves
Once you identify the cause, treatment becomes straightforward.
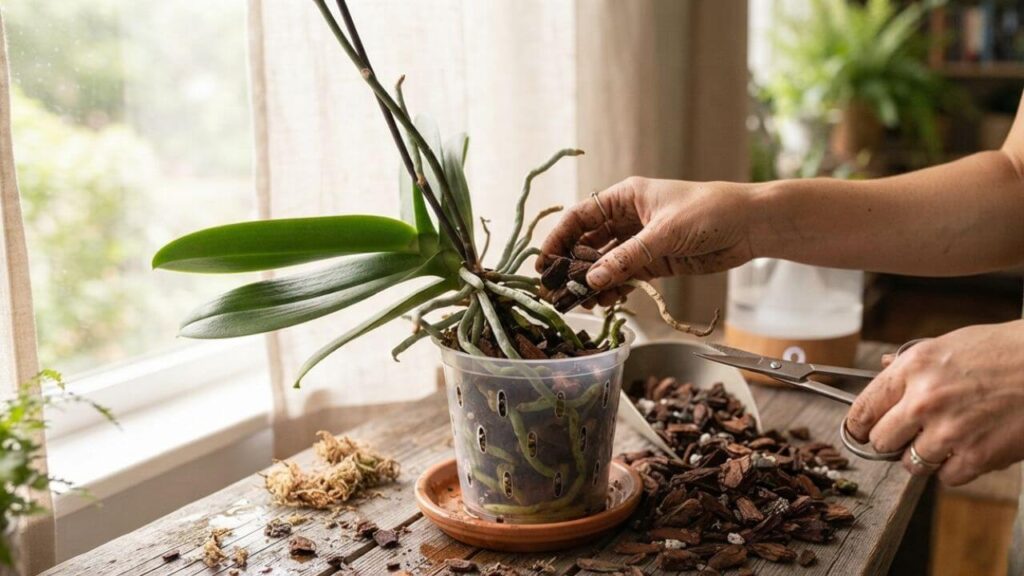
Step 1: Inspect the Roots
Healthy roots are firm and green or silver.
Remove dead roots using sterilized scissors.
Step 2: Adjust Watering
Water only when the potting mix approaches dryness.
Avoid watering on a fixed schedule.
Step 3: Improve Drainage
Ensure the pot has drainage holes and uses orchid bark rather than standard soil.
Step 4: Move to Better Lighting
Provide bright indirect light rather than direct afternoon sun.
Step 5: Increase Humidity
Use pebble trays, humidifiers, or group plants together to improve humidity levels.
Tools and Materials Needed
Several simple tools make orchid care easier.
| Tool | Purpose |
| Clear orchid pot | Root monitoring |
| Orchid bark mix | Better drainage |
| Pruning scissors | Root trimming |
| Humidifier | Increase humidity |
| Moisture meter | Water management |
These tools reduce guesswork and improve long-term success.
Common Orchid Care Mistakes
Beginners often repeat the same mistakes.
Avoid:
- Watering on a schedule
- Using regular potting soil
- Placing orchids in direct sun
- Leaving water inside decorative pots
- Overfertilizing
Correcting these habits prevents most yellow leaf problems.
Expert Tips for Healthier Orchids
Small improvements make a big difference.
I recommend using clear orchid pots because they allow you to monitor root health easily.
Rotate the plant every few weeks for balanced growth. Dust leaves occasionally to improve light absorption.
Remember that orchids prefer consistency more than frequent changes.
Preventing Yellow Leaves on Orchids
Preventing yellow leaves on orchids is easier than fixing them later.
Follow these habits:
- Use well-draining orchid bark.
- Water only when needed.
- Provide bright indirect light.
- Maintain moderate humidity.
- Repot every two to three years.
Stable conditions help orchids thrive for many years.
Frequently Asked Questions
Why are my orchid leaves turning yellow and falling off?
One older leaf falling off can be normal aging. Multiple yellow leaves usually indicate watering or root problems.
Can yellow orchid leaves turn green again?
No. Once a leaf becomes fully yellow, it will not recover. Focus on protecting new growth.
Why are orchid leaves turning yellow and soft?
Soft yellow leaves usually point to overwatering or root rot.
How often should I water an orchid?
Most indoor orchids need water every 7 to 14 days, but always check the potting mix first.
Should I remove yellow orchid leaves?
Allow leaves to fall naturally unless they are diseased or completely dead.
Conclusion
Orchid leaves turning yellow can result from natural aging, watering mistakes, root problems, or environmental stress. The pattern of yellowing provides important clues about the cause.
Start by checking roots, potting media, light levels, and watering habits. Most orchids recover well once conditions improve. Small adjustments today can prevent bigger problems and help your orchid produce healthy leaves and beautiful blooms for years to come.
Last Updated on July 31, 2026 by Saad Abdullah

I enjoy sharing simple gardening ideas, lawn care tips, and honest product reviews that help make outdoor work easier. From home gardening guides to helpful tools and lawn care advice, I write easy-to-follow content to help readers create a healthier and better-looking outdoor space without wasting time or money.