As an Amazon Associate, I earn from qualifying purchases.
To terrace a sloped yard, divide the hillside into level or gently sloping sections, support the soil with suitable retaining walls, and direct rainwater away from structures and unstable ground. Plan the layout before digging, check local rules, and hire a qualified professional when the slope, soil, drainage, or wall height creates a structural risk.
Across the United States, a sloped backyard can be hard to mow, difficult to use, and prone to soil washout during heavy rain. In places with wet winters, intense summer storms, or freeze-thaw cycles, a poorly planned hillside can also put pressure on fences, patios, foundations, and nearby yards. Terracing can turn one steep stretch of land into a series of more useful outdoor spaces.
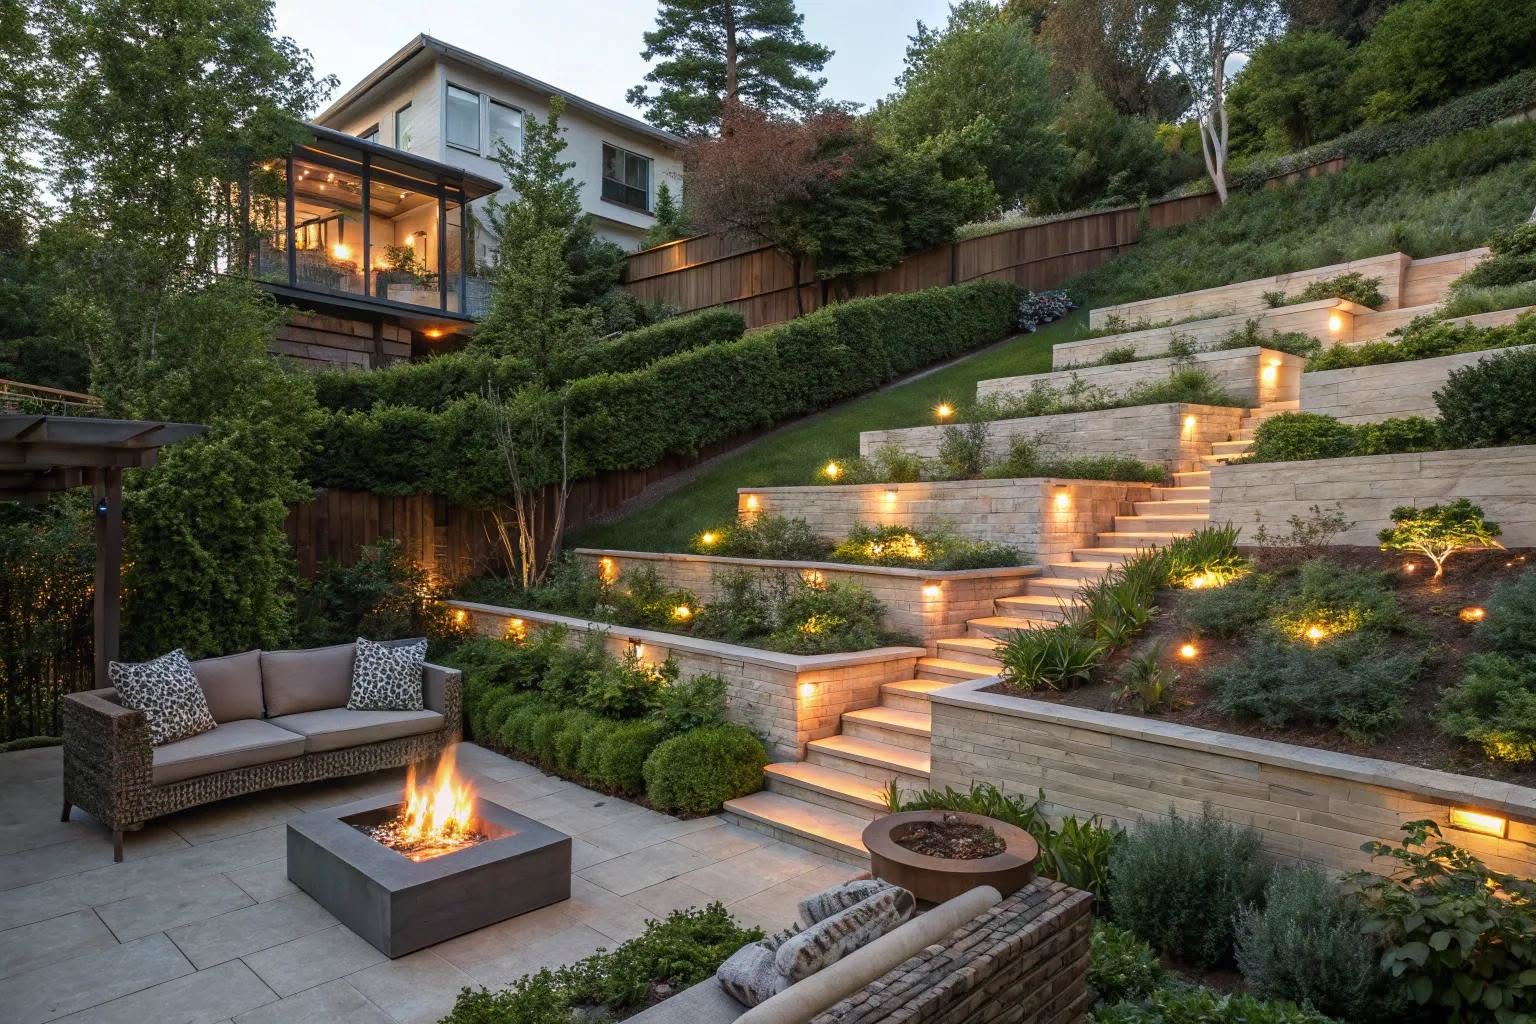
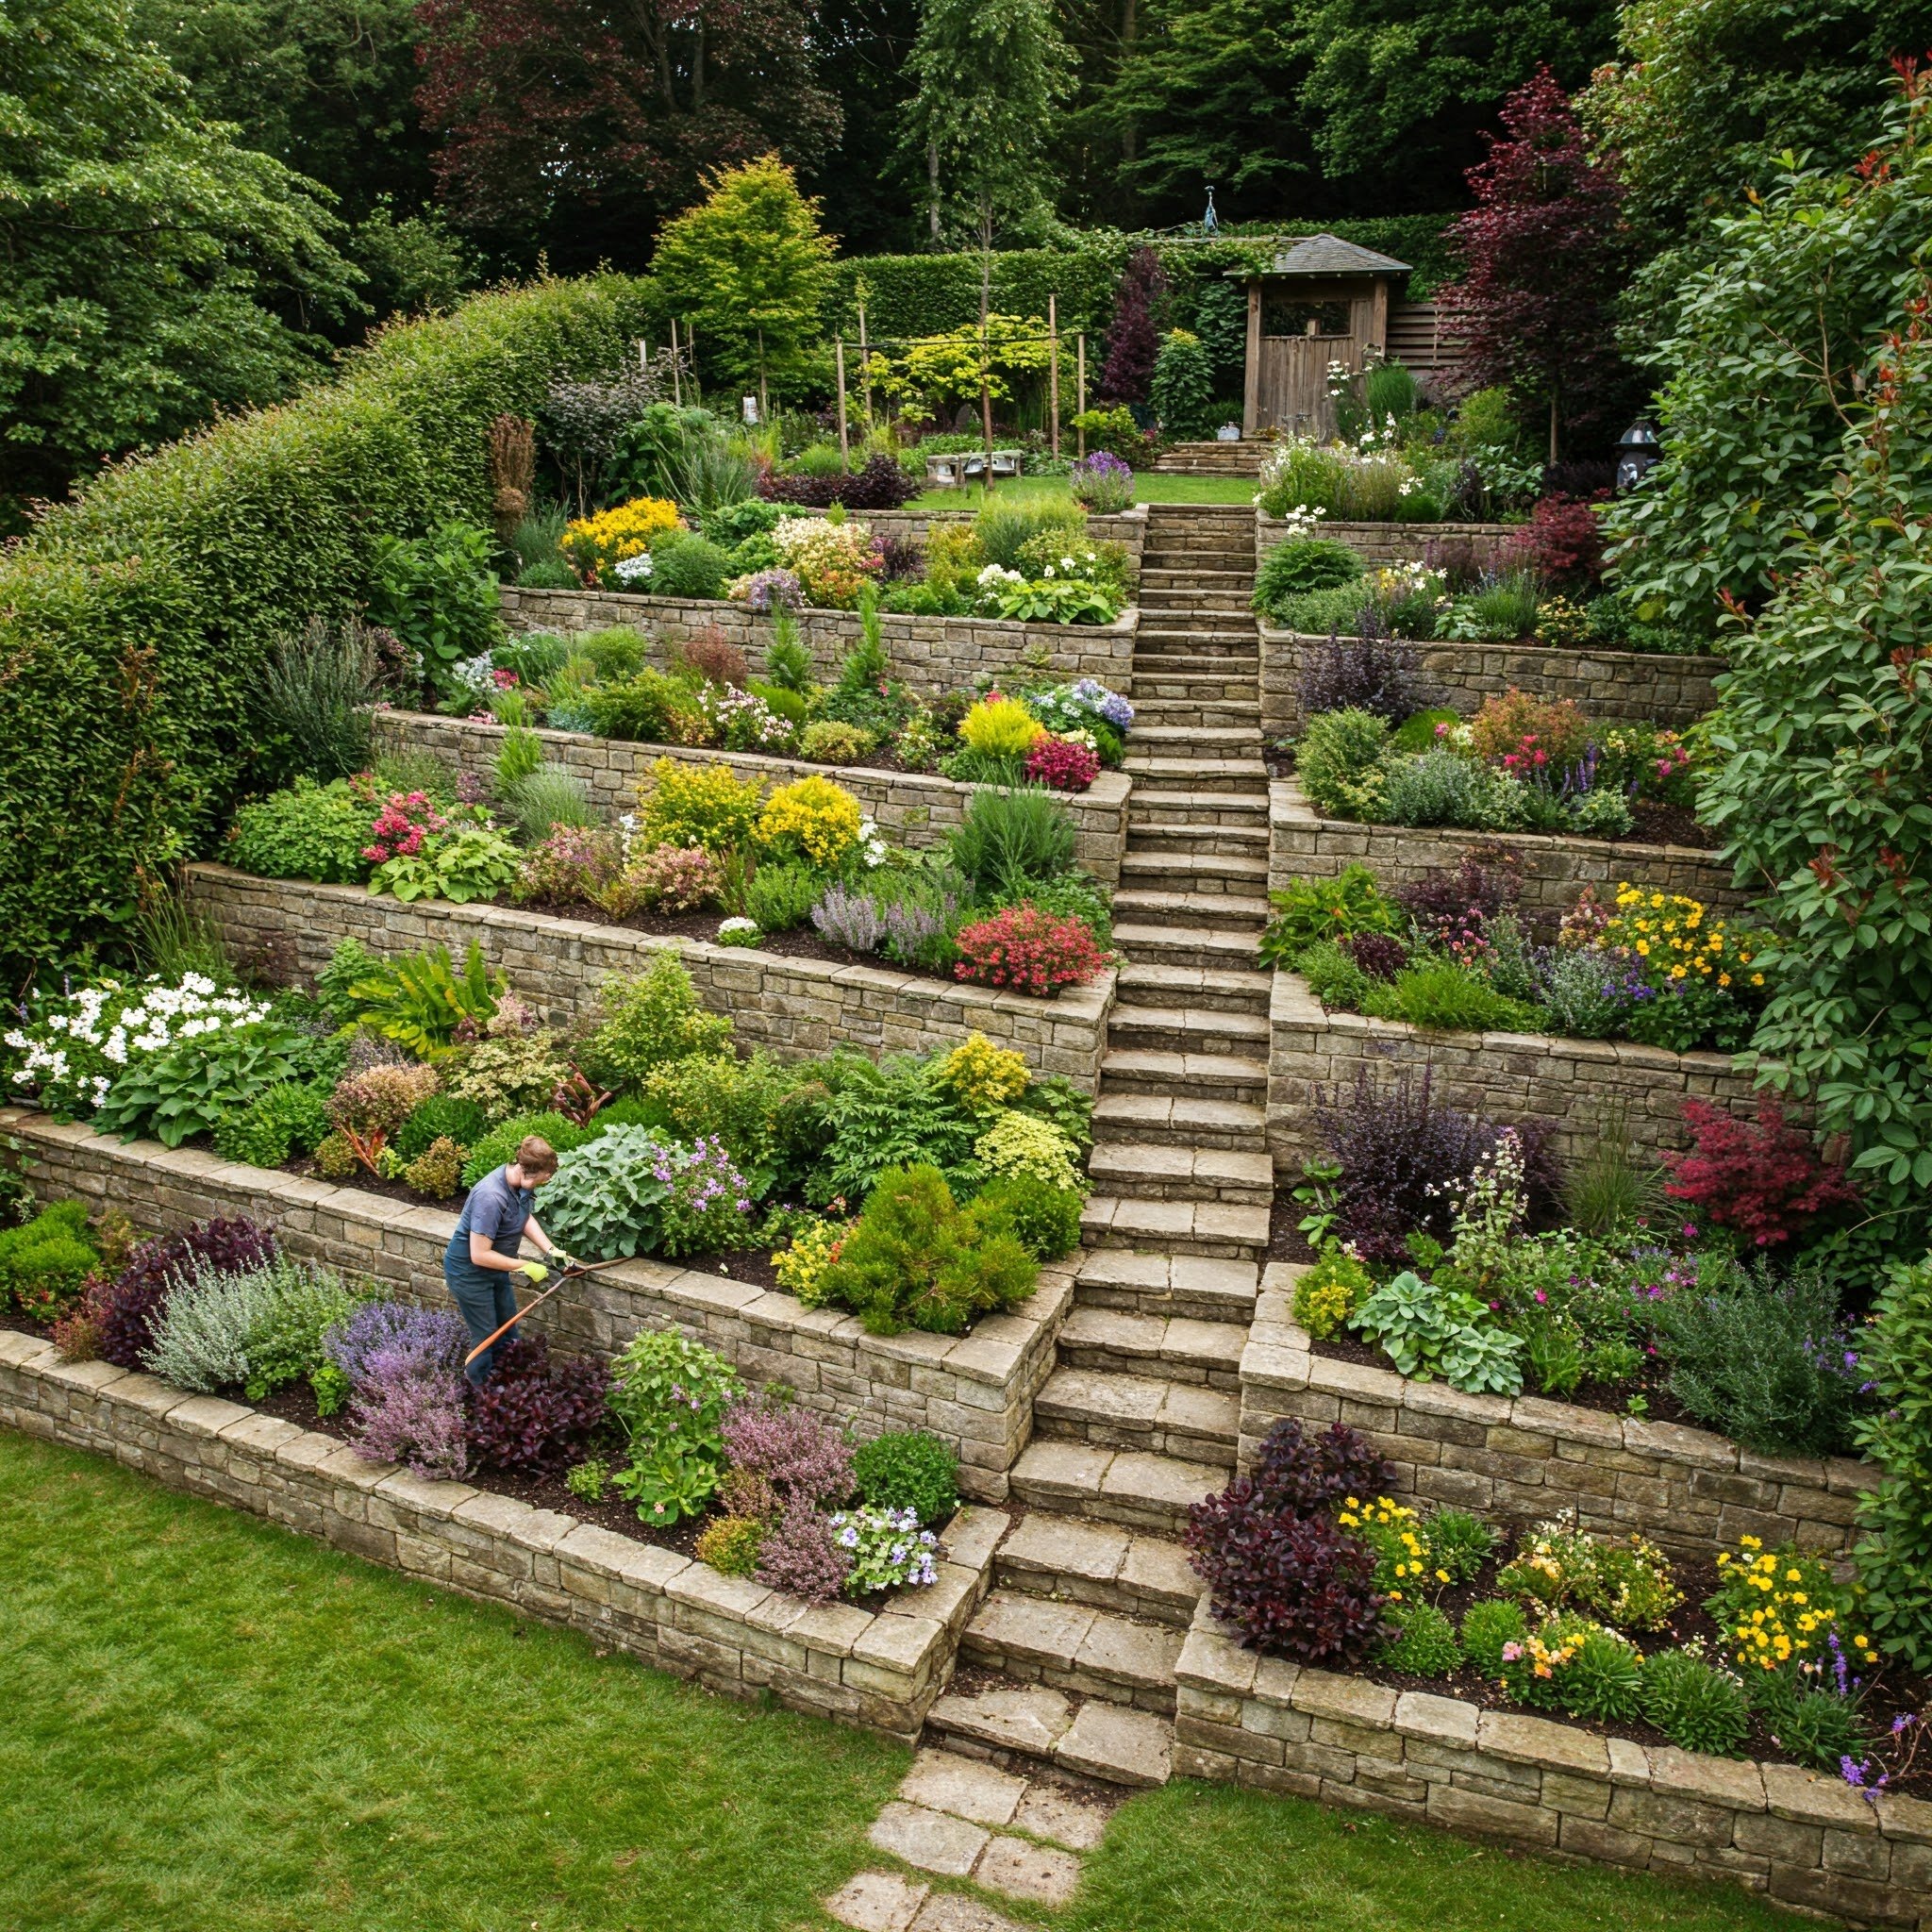
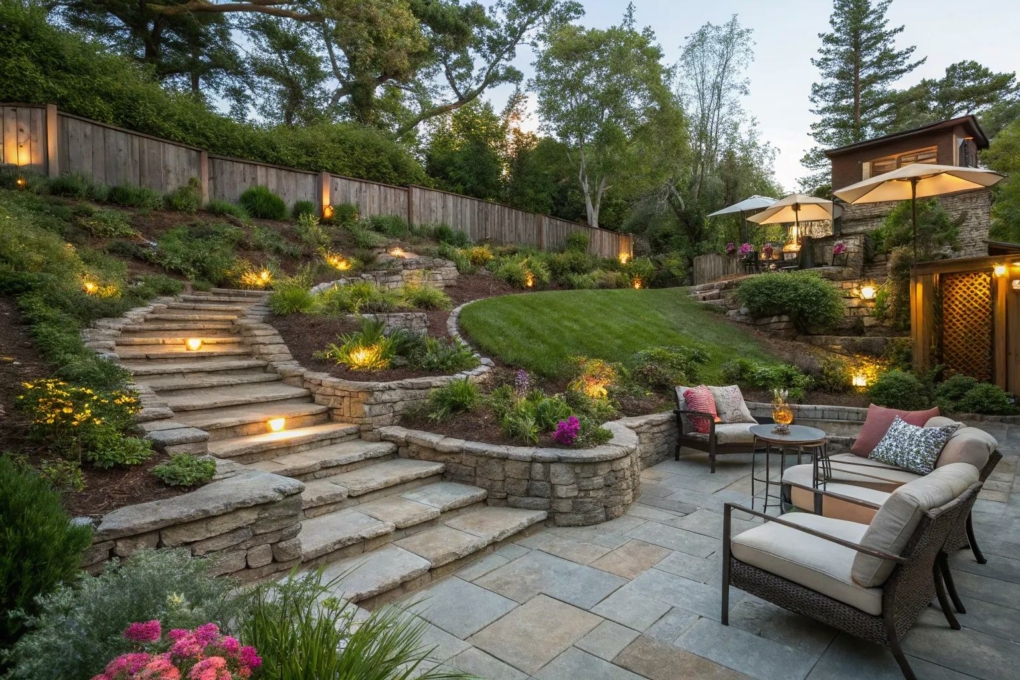
The basic idea is simple: create several flatter areas rather than trying to make the entire yard level. Each terrace may hold a garden, a lawn, a seating area, or a path. Retaining walls support the soil between levels, while careful grading and drainage help control water as it moves downhill.
The work is more involved than stacking landscape blocks. The right design depends on the slope, soil type, rainfall, available space, and planned use of each level. A small planting terrace may be suitable for a capable homeowner, but a tall wall, unstable hillside, or drainage problem may require an engineer or experienced landscape contractor.
Terracing means shaping a hillside into a series of distinct levels, with each flatter area separated by a slope, retaining wall, or reinforced earth edge. Instead of allowing the whole yard to fall away at one angle, the design creates several usable zones at different elevations.
A terrace does not always need a tall wall. A gentle hillside may support broad planted benches with low edges, while a steep backyard may need engineered retaining structures. The goal is to manage the change in elevation without creating unstable soil or harmful runoff.
Terracing can make gardening, walking, and outdoor seating easier. It may also reduce the length of an uninterrupted slope over which water can gain speed. However, terraces do not automatically stop erosion or flooding; their success depends on sound grading, stable construction, and a safe outlet for water.
Source: storage.googleapis.com
Garden terraces
Use level planting beds for flowers, shrubs, vegetables, or small trees. Leave enough soil depth for the plants you select.
Lawn terraces
Create broad areas that are easier to maintain, with safe access between levels and a surface suited to mowing.
Living and recreation terraces
Set aside space for a patio, seating area, or play zone. These uses can add loads that affect wall and foundation design.
Mixed-use terraces
Combine planted beds, steps, paths, and sitting areas to make better use of a yard with limited flat ground.
When Is Terracing Worth Considering?
Terracing is worth considering when the slope limits how you use the yard, soil repeatedly washes away, or a hillside needs a more organized planting layout. It can be especially useful when a single steep grade makes routine maintenance awkward.
It may not be the best answer for every property. A broad, gentle slope may need only ground cover, contour planting, or a modest path. A slope with active movement, large cracks, leaning trees, or recurring water seepage needs an assessment before landscaping begins.
Consider simpler options first
For mild slopes, deep-rooted plants, mulch, erosion-control blankets, or a gently graded path may meet the need with less excavation.
Assess the site before changing it
Do not cut into an unstable hillside or add fill near a property edge without understanding how the work may affect neighboring land.
Step 1: Assess the Slope and Measure the Yard
Start with measurements, not digging. You need to know how much the yard drops, how much horizontal space is available, where water flows, and which parts of the property must remain undisturbed.
Measure the horizontal distance from the upper edge of the proposed terrace area to the lower edge. Then measure the vertical change in elevation over that same distance. A site plan or a basic sketch can record these figures, along with trees, fences, buildings, drains, and existing paths.
For a simple preliminary check, use a long level and a straight board where the terrain permits. On a larger or irregular hillside, a laser level, survey equipment, or a professional site survey can provide more reliable measurements. Do not walk onto a steep or slippery slope just to collect a measurement.
Source: energy.tt-segeberg.de
Record the total rise
The rise is the vertical difference between the high and low points of the area you plan to terrace.
Record the horizontal run
The run is the horizontal distance between those points, measured on a plan rather than along the sloping ground.
Mark water paths
Look for rills, gullies, puddles, wet spots, and areas where runoff enters from a roof, driveway, or neighboring property.
Check the surroundings
Note nearby foundations, decks, fences, large trees, septic systems, and property lines before choosing where to cut or add soil.
Calculate the Slope Percentage
You can estimate the slope percentage by dividing the vertical rise by the horizontal run and multiplying by 100. Use matching units for both measurements.
For example, if a yard drops 6 feet over a horizontal distance of 24 feet, the slope is 25 percent: 6 divided by 24, multiplied by 100. This figure helps describe the terrain, but it does not by itself determine a safe wall height or suitable terrace design.
A steeper slope usually calls for closer attention to soil stability, erosion, access, and drainage. Structural design still depends on site-specific conditions.
Check Soil and Drainage Conditions
Soil affects how a terrace behaves. Dense clay can drain slowly and hold water, while loose or sandy soil may wash out more readily if it lacks protection. Soil that has been filled or disturbed in the past may behave differently from undisturbed native soil.
Watch the yard during and after rain if it is safe to do so. Water that flows toward a building, seeps from the hillside, or collects behind an existing wall is a warning that drainage needs careful attention. Do not assume that a dry surface means the soil below is stable.
Clay-rich soil
Plan for slow drainage and possible changes in soil volume with moisture. Avoid trapping water behind retaining structures.
Loose or sandy soil
Protect exposed ground from runoff and confirm that any wall or reinforced slope is suitable for the soil.
Signs of movement
Cracks, bulges, fresh soil scars, leaning walls, or newly tilted trees may signal instability. Seek a qualified assessment before proceeding.
Step 2: Plan the Number, Width, and Height of Each Terrace
Choose terrace dimensions based on how you intend to use each level, the room available, and the wall or slope system the site can safely support. A garden bed can be narrower than a lawn or seating terrace, while a path needs enough space for comfortable, stable movement.
There is no universal terrace height or width that suits every yard. Shorter walls may reduce the amount of soil held at each edge, but several closely spaced walls can still affect one another because the upper terrace adds load to the ground behind the lower wall. The full arrangement must be considered, not each wall in isolation.
Sketch the levels from the side and from above. Include steps, paths, planted strips, drainage routes, and access for moving soil and materials. Leave room for the actual thickness of the walls and their foundations; these take up space that a simple sketch may overlook.
Source: www.pinterest.com
Choose a Layout That Fits the Yard
Straight terraces work well in a rectangular yard and can create clear zones for a lawn, beds, and a patio. Curved terraces can soften the look of an irregular slope, but their walls and drainage details may be more complex to build.
Wide terraces usually offer more usable space, while narrow benches may be easier to fit into a small yard. Avoid planning a terrace so shallow that it leaves no room for planting, maintenance, or a safe walking route.
For a vegetable garden
Allow space for beds, paths, watering, and access to each row without walking on loose terrace edges.
For a lawn
Plan a broad enough surface for normal use and maintenance. Avoid abrupt drops where people may walk or children may play.
For a patio
Account for paving, furniture, foot traffic, and other loads when planning the retaining system and base.
For a narrow yard
Use a scaled drawing to compare fewer broad levels with several smaller planting benches before committing to excavation.
Estimate the Number of Levels
A rough planning exercise can help you compare layouts before you pay for a survey or design. If a yard has a total rise of 6 feet, dividing that rise into three equal changes would give a nominal 2-foot rise per level. This is only a geometric example, not a recommendation for wall height or a construction specification.
The usable height, footing depth, wall thickness, setback, and space needed for drainage all affect the finished layout. If a proposed design needs substantial excavation or tall walls, have the arrangement reviewed before deciding how many terraces to build.
Keep the sketch flexible
Compare layouts on paper first. Changing terrace positions on a drawing is much easier than moving soil and rebuilding a wall.
Account for the whole hillside
Include the combined effects of upper levels, slopes between walls, water flow, and nearby structures in the final design.
Step 3: Check Permits, Utilities, and Safety Requirements
Before you dig, check local building rules and arrange utility marking. Requirements vary by city, county, and state, and they may depend on wall height, location, drainage, surcharge loads, and other site conditions. Some jurisdictions also regulate grading, tree removal, work near property lines, and changes that affect stormwater runoff.
In the United States, contact the local utility-marking service before excavation; 811 is the nationwide starting point for requesting the marking of participating underground utilities. Follow the applicable state process and wait until the required markings and clearance steps are complete. Private lines, such as some irrigation pipes, lighting cables, and privately installed utilities, may not be included in a standard public utility-marking request.
Do not assume a wall is exempt from review because it looks short. Local rules may count exposed height in a particular way, and a wall supporting a driveway, building, or another loaded area may need special design even where a basic height threshold would otherwise apply.
Source: www.pinterest.com
When to Hire a Professional
A landscape contractor may be suitable for straightforward planting terraces and small projects within local rules. A structural or geotechnical engineer may be needed when a wall is tall, the slope is steep, soil conditions are uncertain, or the work could affect a home, road, neighboring property, or other structure.
Professional advice is also warranted when water emerges from the slope, the hillside shows movement, the design requires extensive cut and fill, or several retaining walls will sit close together. The cost of an assessment can help prevent expensive repairs and reduce the risk of a wall or slope failure.
Stop before cutting a steep slope
Excavating the toe or base of a hillside can remove support from the ground above. Have the proposed cut assessed if stability is uncertain.
Do not build over unknown utilities
Resolve utility conflicts and confirm private service locations before setting wall foundations or digging drainage trenches.
Keep people clear of excavations
Open cuts can collapse without warning. Follow local excavation safety rules and use qualified workers where protective systems are required.
Step 4: Select a Retaining Wall System
Choose a wall system that fits the height, soil, water conditions, available space, appearance, and required design. A retaining wall does more than hold up its visible face; it must resist the sideways pressure of soil and water and remain stable against sliding, overturning, and bearing failure.
The wall’s design may also need to account for extra loads behind it, known as surcharge loads. These can come from vehicles, buildings, patios, stored materials, or an upper terrace. The closer and heavier the load, the more important it becomes to check the system as a whole.
Material alone does not make a wall safe. A well-chosen block or timber system can still fail if the base is poorly prepared, drainage is blocked, or the wall is too small for its conditions. Follow the manufacturer’s system details and the approved design rather than improvising dimensions.
Source: easydecor101.com
Concrete Retaining Wall Blocks
Interlocking concrete blocks are commonly used for landscape walls because their shape and system components can help create a stable face. Some systems suit low garden edges, while others are designed for taller reinforced walls. Use blocks intended for retaining walls rather than ordinary decorative pavers.
Check the system’s limits, required base, drainage details, setbacks, and reinforcement requirements. Taller or heavily loaded walls may require geogrid, engineered backfill, or other reinforcement designed for the actual site.
Best fit
A planned landscape wall where a compatible block system is available and its design limits match the site.
Main caution
Do not assume that stacking more courses automatically makes the wall suitable for a taller terrace.
Natural Stone and Mortared Masonry
Natural stone can blend into a garden and work well for suitable landscape edges. Its stability depends on stone size, wall geometry, foundation conditions, construction method, and drainage. A dry-stacked wall and a mortared stone wall are different systems and should not be built as though their requirements were identical.
Mortared masonry may need a designed footing, reinforcement, and drainage details. Stone walls that support significant soil or extra loads should be assessed for the conditions they will face.
Best fit
A design that suits the local landscape and uses stone of an appropriate size and type.
Main caution
Irregular stone does not eliminate the need for stable foundations and a safe way to release water.
Timber and Other Wall Materials
Landscape timbers can create a natural look and may suit some low terrace edges when installed with an appropriate design. Wood can decay over time, and ground contact, moisture, fasteners, and soil pressure affect its service life. Use material intended for the application and follow current product guidance.
Poured concrete, reinforced masonry, gabions, and reinforced earth systems may suit other sites. These options differ in cost, space needs, appearance, and installation demands. Compare complete installed systems rather than material prices alone.
Best fit
A system whose design, durability, and maintenance needs fit the intended terrace and local conditions.
Main caution
Avoid mixing components or changing installation details in ways the system designer or manufacturer has not approved.
Step 5: Prepare the Ground and Build the Terraces
Build only after the layout, wall system, drainage plan, and any required approvals are settled. The exact construction sequence varies by system, so the approved plans and manufacturer instructions must control the work. The steps below describe the general process rather than a universal engineering specification.
Mark the terrace edges and wall locations on the ground. Use stakes and string to identify finished levels, access routes, and excavation limits. Recheck measurements before moving soil, because even a small layout change can alter the amount of fill, wall height, and drainage path.
Excavate in a controlled manner and avoid removing support from the slope below an area that must remain stable. Large cuts, deep excavations, and work near structures should be handled under a suitable professional plan. Keep heavy machinery and spoil piles away from edges where their weight could add pressure to the slope.
Source: in.pinterest.com
Prepare a Stable Base
A retaining wall needs a suitable foundation or leveling base. Depending on the system and site, this may involve removing weak material, placing and compacting specified granular material, and creating a level bearing surface. Some walls require concrete footings or other foundation details.
Do not place a wall on loose topsoil, buried organic matter, or soft ground simply because the surface looks flat. A poorly prepared base can settle unevenly and cause the wall to tilt, crack, or separate. The required base depth and width must come from the selected system and site design.
Remove unsuitable material
Follow the design for removing topsoil, roots, loose fill, or weak soil from the wall’s bearing area.
Compact as specified
Use the required material and compaction method. Do not substitute garden soil for specified structural base material.
Check the level
Confirm the base elevation and alignment before setting the first course or installing the foundation.
Install the Wall and Backfill in Stages
Place the wall components in the sequence required by the system. Keep courses aligned, build any specified setback into the face, and install reinforcement where the design calls for it. Check the wall as work progresses instead of waiting until the entire structure is finished.
Backfill in controlled lifts using the specified material and compaction method. Heavy compaction equipment too close to a wall can add pressure or damage the structure. The appropriate equipment and lift thickness depend on the system and the design.
Do not fill the terrace completely before installing required drainage components or reinforcement. These parts are difficult to inspect or repair after the soil covers them. Photograph concealed work and keep installation records when useful for future maintenance.
Follow the wall system
Use the required components, fasteners, reinforcement, and construction sequence for the selected design.
Protect the wall during backfill
Keep compaction equipment and material placement within the limits set by the design and installation instructions.
Inspect each stage
Check alignment, drainage, and reinforcement before covering components that will become hidden.
Step 6: Manage Water Before Planting
Drainage is a core part of a terrace, not a finishing touch. Water trapped behind a retaining wall adds pressure, and runoff across exposed soil can carry away the material needed to support the terrace. Plan how water enters, moves through, and leaves the site before completing the walls.
A wall system may call for free-draining backfill, a drainage layer, perforated pipe, filter fabric, or other components. These parts are not interchangeable in every design. Install the specified combination and provide a safe outlet that does not undermine the wall, erode a lower terrace, or send unwanted runoff onto a neighbor’s property.
Surface grading also matters. Shape the terrace to prevent water from collecting against a house or wall, and avoid directing a concentrated flow over an unprotected edge. Roof downspouts and paved surfaces may add large amounts of runoff, so account for them in the drainage plan.
Source: pl.pinterest.com
Use Surface Drainage and Subsurface Drainage Together
Surface drainage manages water that flows across the ground. Subsurface drainage manages water moving through soil or collecting behind a wall. Many sites need both, but the exact arrangement depends on soil, rainfall, slope, and the wall design.
Do not route a drain to a point where it causes erosion, flooding, or damage. Where gravity drainage is not practical, a professional may need to assess other options. A pipe that ends at the foot of the slope without erosion protection can create a new problem instead of solving the old one.
Grade away from buildings
Maintain drainage patterns that carry water away from foundations and other vulnerable structures, in line with local requirements.
Keep outlets stable
Use an approved discharge point and suitable erosion protection so flowing water does not cut a channel through the yard.
Maintain drainage paths
Keep surface inlets and outlets clear of leaves, sediment, and plant debris.
Watch for Drainage Problems
After rain, look for new puddles, water stains, muddy flow lines, or soil washing out around terrace edges. A wall that begins to bulge, lean, or crack needs prompt attention, especially if the change appears after a storm.
Do not drill random holes through a wall or dig behind it to release water. Such work can weaken the structure or disturb the soil it supports. If drainage appears blocked or the wall shows movement, keep people away from the affected area and seek a qualified inspection.
Pooling water
Check whether the surface grade or drainage path is blocked, but avoid excavation until you understand the cause.
Fresh erosion
Protect exposed soil and review the flow path. Repeated washout may require a revised drainage design.
Wall movement
Treat new bulges, leaning, or widening cracks as possible structural warning signs rather than cosmetic defects.
Step 7: Add Steps, Paths, and Safe Access
Plan how people will move between levels before planting fills the terrace edges. Steps can connect levels directly, while a gently graded path may work better where there is enough room. Choose a route that remains usable in wet weather and does not send runoff down the walking surface.
The rise and run of steps should be consistent, with stable footing and a design suited to outdoor conditions. Local building rules may apply, particularly near a home or deck. Where a large elevation change or frequent use is involved, have the stairs and supporting structures planned by a qualified professional.
Paths need a stable base and a finish that suits the expected traffic. Loose gravel may work in some garden settings but can shift on a steep grade. Pavers, stone, or concrete may need edging, drainage, and a properly prepared base to limit movement.
Source: fity.club
Make Each Terrace Easy to Reach
Put paths where people naturally need to go, such as between the house, garden beds, storage area, and seating terrace. Avoid forcing people to walk along narrow wall tops or cross exposed soil to reach the next level.
Add lighting where people use the yard after dark, and keep plants from hiding changes in level. If children or older adults use the space, consider edge protection and routes that reduce trip and fall risks.
Provide stable footing
Choose surfaces that remain firm and usable in the site’s rain, frost, and seasonal conditions.
Keep access clear
Leave enough room for maintenance, moving tools, and reaching drainage outlets without climbing on walls.
Protect terrace edges
Use suitable barriers or landscape design where a drop creates a fall hazard, following local requirements.
Step 8: Plant the Terraces and Protect Exposed Soil
Plant only after the retaining structures, drainage, and access routes are ready. Choose plants based on the amount of sun, local climate, soil conditions, and water available on each level. The upper terrace may dry out faster than a lower bench, while a shaded area may stay damp for longer.
Ground covers, grasses, shrubs, and perennials can help protect soil once they establish. Their roots bind soil to varying degrees, but plants do not replace a properly designed retaining wall where structural support is needed. Keep woody roots away from drainage components and wall parts when the system’s guidance requires separation.
For a vegetable terrace, plan soil depth and irrigation before filling beds. Use suitable clean soil and compost rather than assuming that any excavated subsoil will grow healthy crops. Raised beds may help separate crops from poor native soil, but they still need a stable base and a safe water path.
Source: www.pinterest.com
Match Plants to Sun and Moisture
Observe the yard through the day before choosing plants. A sunny upper terrace may suit sun-loving flowers or herbs, while a lower area shaded by a fence or trees may favor plants that tolerate less light. Local native plant guides and extension resources can help narrow the options for your region.
Use mulch to reduce soil splash and slow moisture loss, but keep it away from wall drainage openings and avoid piling it against wood siding or building foundations. Secure mulch on exposed slopes where wind or runoff could carry it away.
For sunny terraces
Choose plants that tolerate the site’s heat and light, and group plants with similar water needs.
For shaded terraces
Select plants suited to lower light and the moisture pattern rather than forcing sun-loving plants to grow there.
For erosion-prone edges
Use suitable ground cover or other erosion-control methods while permanent plants establish.
For edible gardens
Check soil quality, irrigation access, and safe walking space before planting crops.
Water New Plants Without Washing Out the Soil
Water slowly enough that moisture enters the root zone instead of running off the terrace. Drip irrigation or carefully placed emitters may help on planted levels, provided the system does not leak behind retaining walls or keep structural backfill saturated.
Inspect the yard after the first heavy rains and after irrigation changes. Repair small areas of surface erosion early, and investigate recurring washout rather than repeatedly adding loose soil to the same spot.
Use gentle watering
Avoid a strong hose stream on fresh soil, mulch, or newly seeded areas.
Check for leaks
Keep irrigation lines in good repair and watch for persistently wet spots near walls.
How Much Does It Cost to Terrace a Sloped Yard?
The cost depends on the amount of excavation, wall system, access for machinery, soil conditions, drainage needs, steps, finishes, and local labor rates. A small planting bench with a low landscape edge can cost far less than a multi-level yard with engineered retaining walls and a paved patio.
There is no reliable single price for every sloped yard. Quotes can differ substantially when one includes excavation, haul-away, drainage, permits, engineering, and planting while another covers only the visible wall. Compare the full scope of work before choosing a contractor.
Make a budget that includes both construction and follow-up care. Drainage outlets need inspection, plants need water while they establish, and walls should be checked for signs of movement. A lower initial price may not represent better value if it omits essential site preparation or water management.
Source: storage.googleapis.com
Build a Useful Project Budget
Ask contractors to separate the major cost items so you can compare proposals on equal terms. Include a contingency for conditions that cannot be confirmed until excavation exposes the soil, but do not use a contingency as a substitute for a site assessment.
If the full project is too costly, consider phasing the work. Complete the drainage plan and the most necessary stabilization first, then add planting, paths, and decorative features as funds allow. Do not build partial walls that leave a cut slope or unfinished edge in an unsafe state.
Survey and design
Include measurements, engineering where needed, drainage planning, and permit-related costs.
Excavation and soil handling
Account for machinery access, soil removal, suitable fill, compaction, and disposal fees.
Walls and foundations
Compare the full installed system, including its base, reinforcement, drainage, and any required inspection.
Access and finishes
Include steps, paths, lighting, planting soil, mulch, irrigation, and any patio or lawn work.
Long-term care
Allow for drainage maintenance, plant replacement, irrigation repairs, and periodic wall inspections.
Common Mistakes When Terracing a Sloped Yard
Most serious terrace problems start with a poor site plan, an unsuitable wall, or water that has nowhere safe to go. A design that looks good in dry weather can behave very differently during a long storm or a period of saturated soil.
Avoid shortcuts that change how the hillside carries soil or water. If a wall begins to move or the slope develops fresh cracks, stop adding weight or digging nearby and get the area assessed. Cosmetic repairs will not fix a structural or drainage problem.
Source: storage.googleapis.com
Building without checking the rules
Confirm permits, wall requirements, property boundaries, and utility marking before excavation.
Ignoring water pressure
Install the drainage system required by the design and keep outlets functional.
Using the wrong base
Do not build on loose topsoil or skip required foundation preparation and compaction.
Making each wall decision in isolation
Assess how upper terraces, slopes, and nearby loads affect the lower walls and the whole hillside.
Adding fill without checking stability
Uncontrolled fill can add weight, settle unevenly, or change water flow. Use suitable material and a planned placement method.
Planting before construction is finished
Excavation and material handling can damage plants, block drains, and compact garden soil. Finish heavy work first.
Leaving soil bare
Protect exposed ground with suitable temporary or permanent erosion control while plants establish.
Treating wall movement as a cosmetic issue
New leaning, bulging, or widening cracks may signal failure. Arrange a qualified inspection rather than hiding the damage.
How to Tell Whether the Finished Terrace Is Working
A well-functioning terrace has stable surfaces, clear drainage paths, and no unexpected soil loss. The wall should match its intended alignment, and the levels should remain usable after normal rain and irrigation.
Keep an eye on the yard through the first wet season. Note new cracks, settling, blocked outlets, muddy channels, and changes in wall alignment. Small surface issues may be easy to correct, but any sign of structural movement deserves prompt attention.
Signs of success
Water follows the planned route, surfaces remain stable, plants establish, and there is no new erosion or visible wall movement.
A rapidly leaning or bulging wall, sudden ground movement, or a fresh crack near a structure. Keep people away and seek urgent professional advice.
Frequently Asked Questions
Q
Can I terrace a sloped yard myself?
You may be able to build simple planting benches or low landscape edges if the slope is stable, the work meets local rules, and the chosen system is suitable for the site. Start with measurements, utility marking, a drainage plan, and a clear construction method.
Do not treat a tall retaining wall, steep hillside, unstable soil, or area near a foundation as a routine DIY project. These conditions may require engineering, permits, specialized equipment, or a qualified contractor.
Q
How many terraces should a sloped yard have?
The number depends on the total elevation change, the available yard depth, how each level will be used, and the wall system. A broad, gentle slope may need only one or two planting benches, while a larger hillside may call for several levels.
Do not select the number of terraces using height alone. The combined wall arrangement, soil stability, drainage, and loads on each level must work as a complete design.
Q
Do terraced yards need retaining walls?
Not every terrace needs a conventional retaining wall. Gentle slopes may support planted benches, broad earth slopes, or low landscape edges if the soil remains stable and local conditions allow them.
Steeper cuts or sharp changes in elevation usually need a suitable means of supporting the soil. The right solution may be a retaining wall, a reinforced slope, or another designed system.
Q
How do I stop water from collecting behind a retaining wall?
Use the drainage system specified for the wall, which may include free-draining backfill, drainage aggregate, a suitable pipe, and a safe outlet. Grade the surface so water does not collect behind the wall or flow over exposed soil.
If water is already pooling behind an existing wall, do not dig into the backfill or drill holes without advice. A blocked drain, unsuitable outlet, or structural issue may be the cause and should be assessed before repairs.
Q
What plants are best for a terraced slope?
The best plants depend on your USDA hardiness zone, sunlight, soil, moisture, and maintenance needs. Ground covers, suitable grasses, native perennials, and shrubs can protect exposed soil after they establish, while edible plants can work well on accessible garden terraces.
Choose plants for the actual conditions on each level and avoid species with growth habits that could damage walls or block drains. Plants can help control surface erosion, but they cannot replace structural support where a retaining system is required.
Q
Can I terrace a yard without heavy machinery?
Small projects may be possible with hand tools when the soil is stable, access is safe, and only modest amounts of soil need to move. Hand work can also help with planting and finishing once the major grading is complete.
Large volumes of excavation, heavy wall components, deep cuts, or difficult access can make machinery and professional help necessary. Do not attempt to move heavy materials or work in an unsafe excavation just to avoid equipment costs.
✦ Wrapping Up
Conclusion
Learning how to terrace a sloped yard starts with understanding the land. Measure the rise and run, map water flow, decide how each level will be used, and choose a retaining system that fits the site’s soil and loads. A good plan makes room for drainage, safe access, and plants that can thrive in the local climate.
The most important part of the job is not the finished wall’s appearance. It is whether the whole hillside stays stable and handles water without harming the house, the yard, or neighboring land. Check permits and utility locations before excavation, follow the wall system’s design, and seek qualified help when the site presents structural or drainage risks.
💡 Key Takeaway
Start by sketching the yard, measuring its total rise and horizontal run, and marking buildings, utilities, trees, and runoff paths. Use that information to compare terrace layouts before digging, and arrange professional review whenever wall height, slope stability, or drainage makes the design uncertain.
I enjoy sharing simple gardening ideas, lawn care tips, and honest product reviews that help make outdoor work easier. From home gardening guides to helpful tools and lawn care advice, I write easy-to-follow content to help readers create a healthier and better-looking outdoor space without wasting time or money.