As an Amazon Associate, I earn from qualifying purchases.
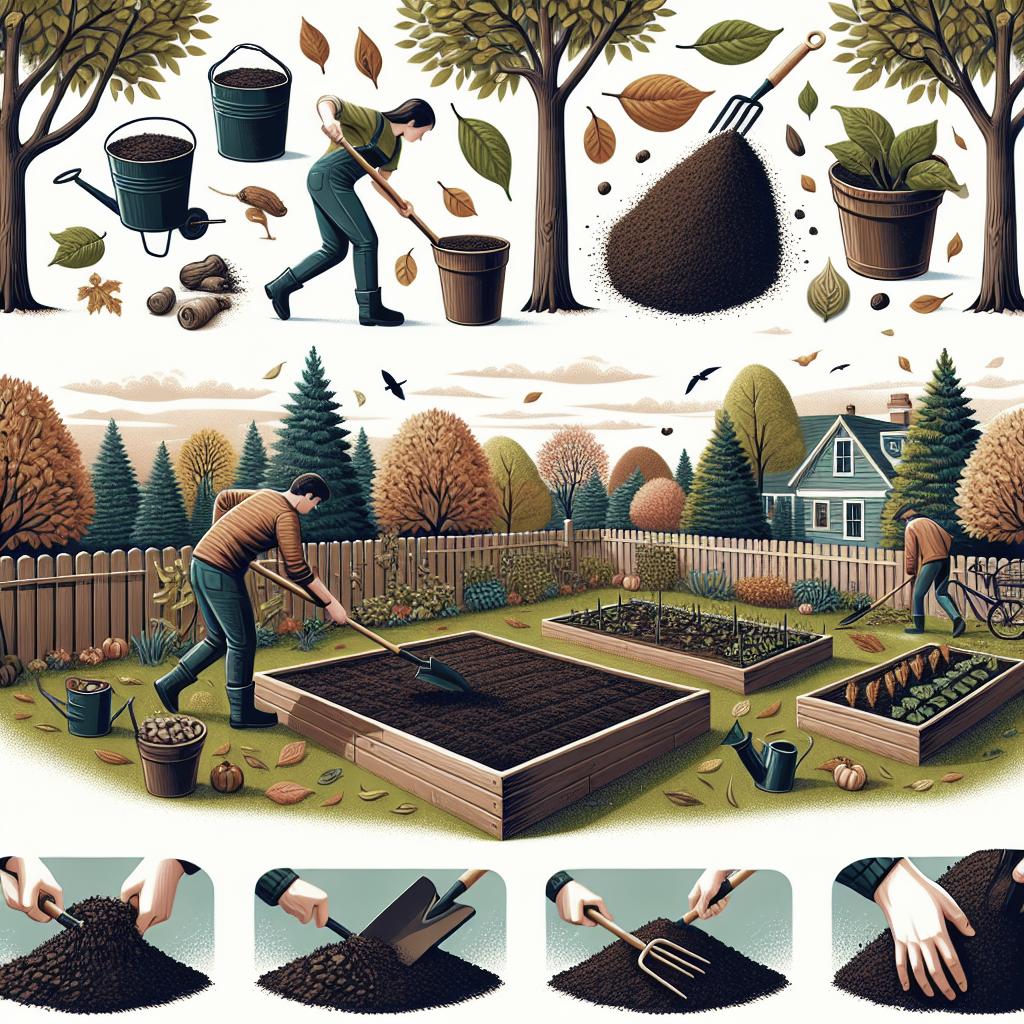
Autumn garden bed preparation means clearing spent plants, removing weeds, checking soil, adding suitable organic matter, and protecting bare ground before winter. These steps help preserve soil structure and make spring planting easier.
Across the United States, fall brings a useful chance to prepare garden beds for the next growing season. In New England, frost may arrive early, while gardeners in Texas, Georgia, and parts of California may keep growing vegetables well into winter. Your local weather and the crops you plan to grow should guide the work.
A good fall cleanup does not mean stripping every bed bare. Healthy soil needs organic matter, living roots when possible, and protection from heavy rain and wind. The goal is to remove diseased plant material, manage weeds, improve soil where needed, and leave the bed in a condition that suits your climate.
You do not need to dig up every bed or buy a long list of supplies. A garden fork, hand trowel, rake, compost, and mulch can handle much of the work. Start with the soil and plants you have, then choose the steps that will make the biggest difference before cold weather arrives.
Autumn garden bed preparation is the work you do at the end of the growing season to help garden soil remain healthy through winter. It can include removing old crops, controlling weeds, adding compost, protecting exposed soil, and repairing the bed itself. The exact steps depend on whether you grow vegetables, flowers, herbs, or shrubs.
Think of the process as getting a room ready before the next season begins. You clear what is no longer useful, repair what is damaged, and protect the parts you want to keep. In a garden, that means making room for future roots without removing every useful source of organic matter.
Fall preparation can also reduce the amount of work waiting for you in spring. You may have fewer weeds to remove, a clearer planting plan, and soil that is easier to assess. However, winter weather, soil type, and drainage still affect what you can achieve.
Source: leafyjournal.com
For vegetable beds
Remove finished crops, check for disease, review crop rotation, and prepare the soil for spring vegetables or a fall cover crop.
For flower beds
Remove diseased foliage, cut back plants when appropriate, divide suitable perennials, and protect exposed soil without burying crowns.
For raised beds
Check soil levels, repair loose boards, clear clogged drainage paths, and cover the surface to reduce winter soil loss.
Why Fall Is a Useful Time to Work on Soil
Fall often brings cooler weather and fewer urgent watering tasks. That can make it easier to remove weeds, spread compost, and inspect soil before winter sets in. In regions with mild winters, gardeners may also have time to plant cool-season crops or cover crops.
Organic matter added in fall can begin to blend into the soil through natural weathering and soil life. Yet compost does not fix every problem. Poor drainage, compaction, unsuitable soil pH, and recurring disease may need separate attention.
Less spring pressure
Completing basic cleanup and bed repairs leaves more time for sowing seeds and transplanting when conditions are right.
Better soil protection
Mulch and cover crops shield exposed ground from rain impact and help reduce erosion.
Step 1: Check the Bed Before You Start
Walk around each garden bed before removing anything. Look for standing water, compacted paths, damaged edging, bare patches, weeds, and plants that still produce useful flowers, fruit, or foliage. This first check helps you avoid doing unnecessary work.
Notice how the soil feels under your fingers. Soil that crumbles gently when squeezed may be workable, while soil that sticks to tools and forms a slick lump is too wet for digging or tilling. Sandy soil behaves differently from clay, so use the condition of the soil rather than a fixed calendar date to decide when to work.
Also check the plants for signs of disease or insect damage. Powdery growth, unusual spots, rotting stems, and heavy pest activity may affect how you handle the remains. Do not assume every brown leaf is diseased; normal seasonal dieback is common.
Source: lsgardensco.com
Check drainage
Look for puddles that remain after rain, waterlogged low spots, and soil that smells sour. These signs may point to poor drainage or excess moisture.
Check bed structure
Look for leaning raised-bed boards, loose stones, damaged edging, and paths that direct runoff into the growing area.
Record recurring problems
Make a note of persistent weeds, plant diseases, poor harvests, and areas where crops struggled. Use these notes to guide soil tests and spring planning.
When Should You Begin Fall Bed Preparation?
Start when summer crops begin to finish and you have enough time before severe weather. In northern states, this may mean working in late summer or early fall. In warmer parts of the South and Southwest, the useful planting and preparation window may extend much later.
Use your local frost dates as a planning guide, not as a guarantee. A sudden cold snap, heavy rainfall, or early snow can change your schedule. If the soil is saturated, postpone digging and focus on light cleanup or repairs that do not compact the bed.
Cold-winter areas
Finish major cleanup and establish soil cover before the ground freezes or repeated storms make the bed difficult to reach.
Mild-winter areas
Prepare beds in stages while continuing to grow suitable cool-season crops where local conditions allow.
Step 2: Remove Spent Plants and Manage Weeds
Remove finished annual crops, dead plant material, and weeds that could set seed before winter. Clearing these materials makes it easier to inspect the soil and prepare the bed for the next crop. Keep healthy plant material separate from anything that may carry a serious disease or pest.
Pull young weeds when the soil is slightly moist, as their roots often come out more easily. For deep-rooted perennial weeds, remove as much of the root system as practical without turning the entire bed into a mass of disturbed soil. A thick mulch layer can help suppress remaining small weeds, but it will not reliably eliminate established perennial weeds.
Do not clear every healthy plant by default. Perennials, ornamental grasses, and some seed-bearing plants may offer winter structure, wildlife food, or shelter. Follow the needs of each plant and the disease risks in your garden rather than applying one cleanup rule to every bed.
Source: www.pinterest.com
Remove diseased material
Bag or dispose of plants affected by serious disease when local waste rules or the disease guidance calls for removal. Avoid placing suspect material in a home compost pile that may not heat evenly.
Prevent weed seeds
Remove mature weeds before seeds spread. Even a small number of weeds left to seed can create extra work next season.
Keep useful residues
Healthy, soft crop residues can sometimes be chopped and left on the soil or composted. Remove thick, woody, diseased, or pest-infested material when it could cause trouble.
Should You Pull Every Plant Out in Fall?
No. Remove plants that have finished producing, are diseased, or are likely to harbor pests that threaten next year’s crops. Healthy perennial roots can help hold soil in place, and suitable plant residues can return organic matter as they break down.
For example, after harvesting beans, you can cut healthy stems near the soil and leave the roots in place if disease is not a concern. Roots from legumes may leave nitrogen-rich residues, but the amount available to the next crop varies. Do not count on those roots as a complete fertilizer.
Usually remove
Diseased crop debris, weeds with mature seeds, fallen fruit that may harbor pests, and plants known to carry a recurring garden problem.
May remain
Healthy roots, suitable crop residues, and ornamental stems that provide winter interest or wildlife value and do not create a management problem.
Step 3: Test Your Soil Before Adding Amendments
A soil test is one of the most useful steps in fall garden bed preparation. It can show whether your soil pH is suitable for the crops you plan to grow and whether certain nutrients are low or high. The results help you avoid adding materials that your soil does not need.
In the United States, many state cooperative extension services provide soil testing instructions or direct gardeners to a university or approved laboratory. Follow the lab’s sampling directions. In a typical bed, you collect small samples from several spots at a consistent depth, mix them in a clean container, and submit the requested amount.
Test separate areas when they have different histories or conditions. A vegetable bed that receives compost every year may not need the same treatment as a new flower bed or a patch where plants have repeatedly struggled. Do not mix soil from very different beds into one sample if you need specific recommendations for each area.
Source: help.gardeningexpress.co.uk
Soil pH
Soil pH affects how readily plants can access nutrients. The ideal range varies by crop, so use the recommendations for the plants you intend to grow.
Nutrient levels
A soil test can help determine whether phosphorus, potassium, or other measured nutrients need adjustment. Avoid adding fertilizer just because fall has arrived.
Organic matter and texture
Observe whether the soil is sandy, silty, clay-rich, or already high in organic matter. These traits influence water movement, drainage, and the best way to improve the bed.
Should You Add Lime or Sulfur in Autumn?
Add lime or sulfur only when a soil test and crop requirements support the change. Lime is commonly used to raise soil pH, while elemental sulfur may be used to lower it. The amount needed depends on the starting pH, soil texture, material, and target pH.
Fall may provide time for certain amendments to react before spring, but the timing and rate still depend on the product and the soil. Do not guess at an application rate or assume that every acidic soil needs lime. Follow the laboratory recommendation and the product label.
Use the test result
Apply only the amendment and rate recommended for the bed and intended crop.
Avoid quick fixes
Wood ash can raise pH and add soluble salts. Do not use it as a routine substitute for soil testing, especially where pH or potassium levels are already high.
Step 4: Add Compost and Improve Soil Structure
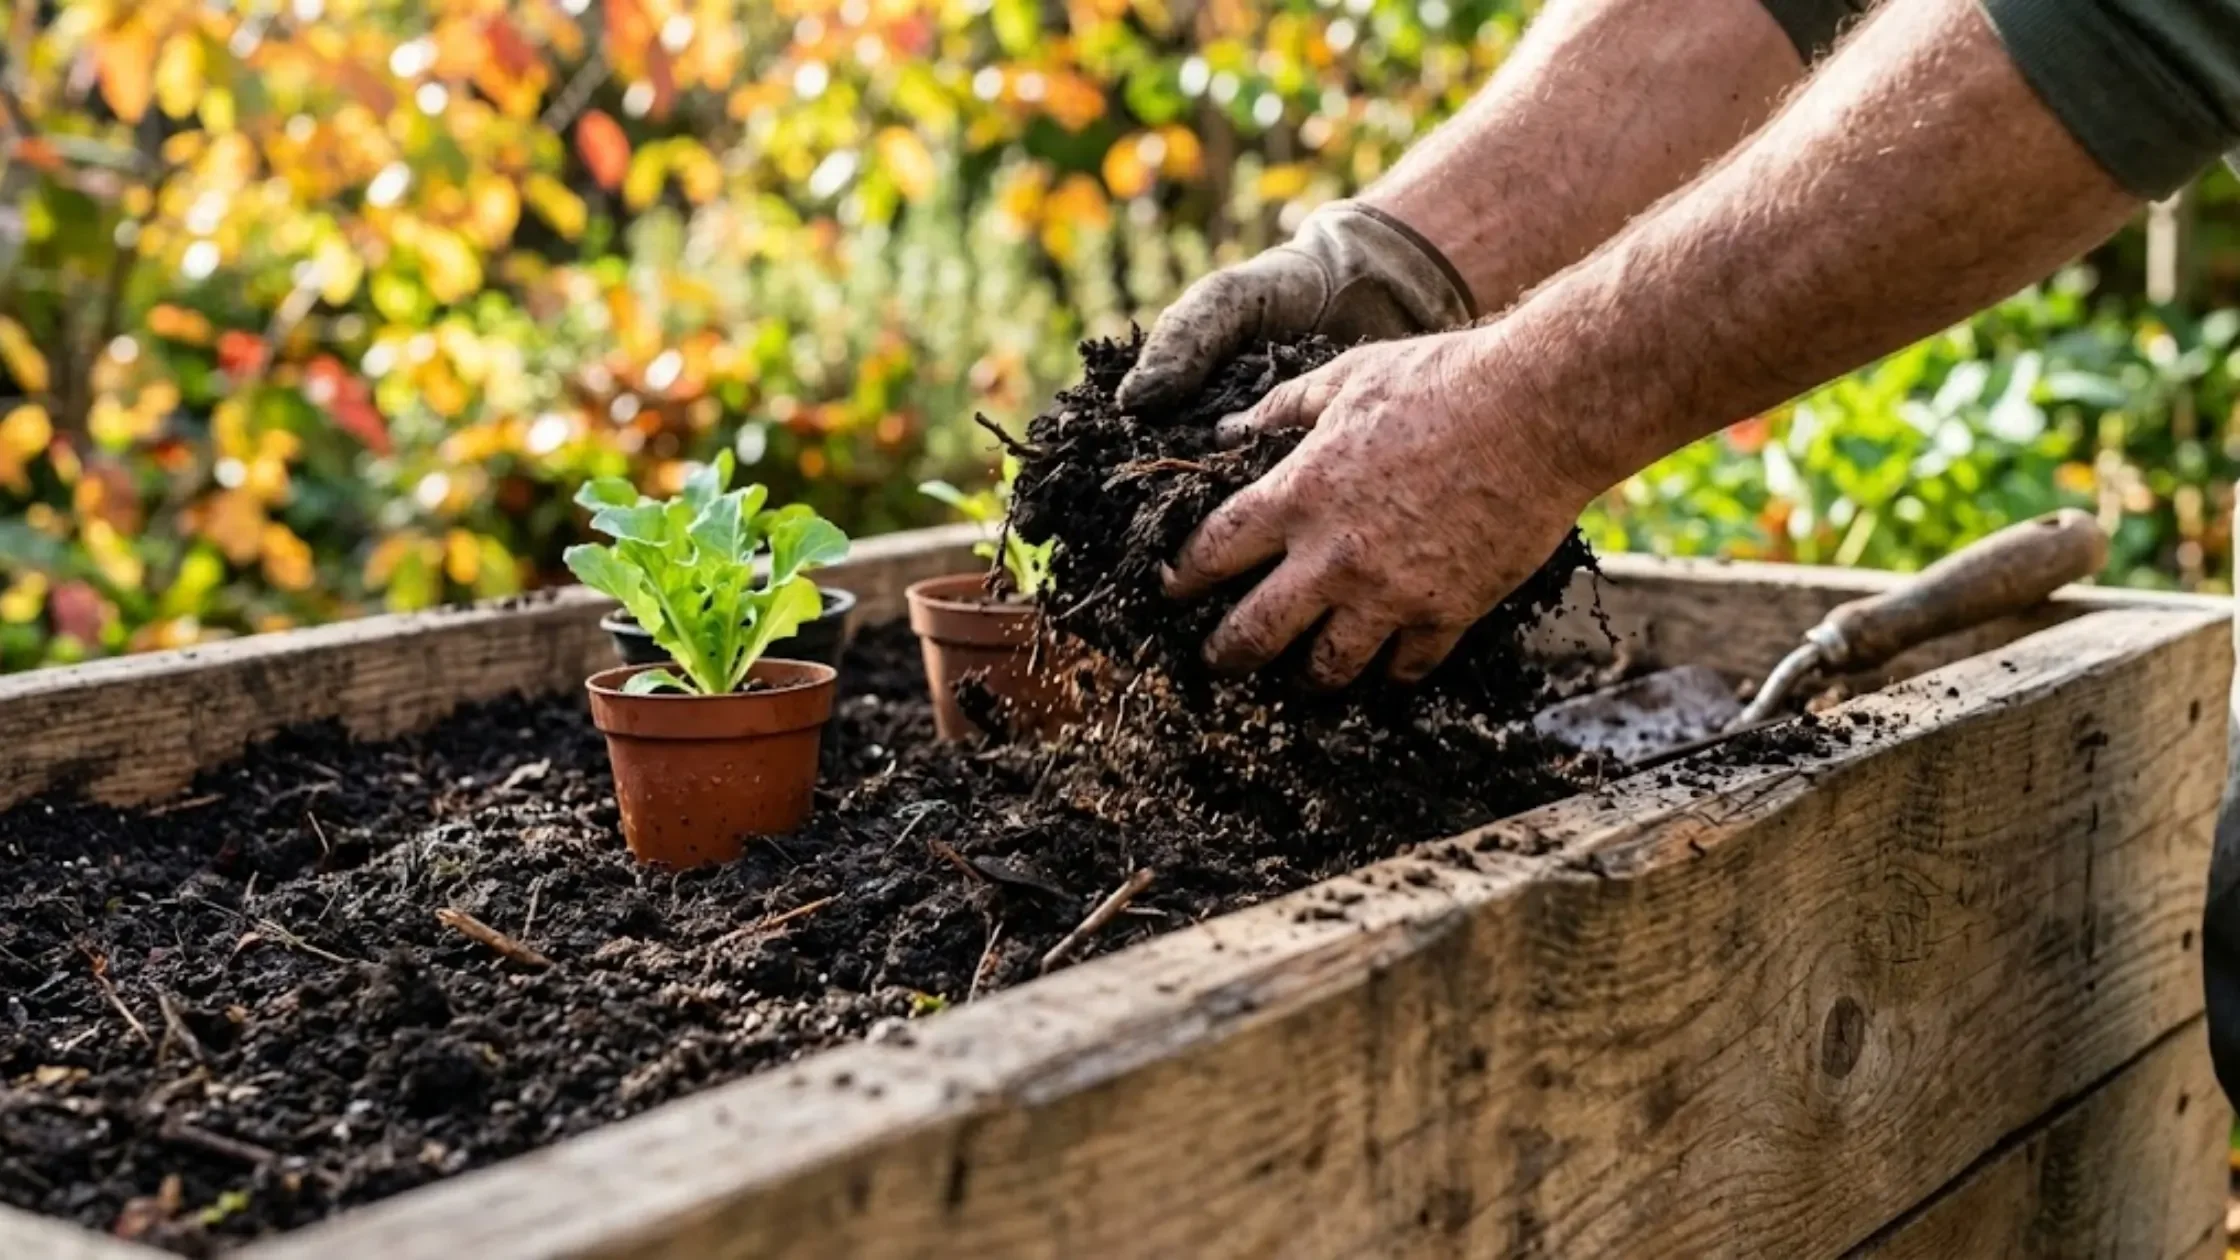
Mature compost can improve many garden soils by adding organic matter and supporting soil organisms. It can help sandy soil hold water and nutrients, while repeated additions can improve the structure of many clay-rich soils. Compost also supports the gradual return of nutrients as organic materials break down.
Spread a modest layer of finished compost over the bed, then mix it into the upper soil only if the soil is dry enough to work and mixing suits your garden system. You can also leave compost on the surface and cover it with mulch. No single depth is right for every bed, because existing organic matter, crop needs, and compost quality differ.
Use finished compost that has broken down into a dark, crumbly material with an earthy smell. Unfinished compost may contain recognizable plant pieces and can temporarily tie up available nitrogen as it continues to decompose. Compost made with contaminated materials or excessive salts can also harm plants, so the source matters.
Compost is not the same as fertilizer. It supplies organic matter and may provide nutrients, but its nutrient content varies. If a soil test shows a specific nutrient shortage, use the test recommendation rather than assuming compost alone will meet the crop’s needs.
Source: cambridgesculpturegarden.ca
For sandy soil
Add suitable mature compost over time to improve water retention and nutrient holding capacity. Avoid relying on one large application to solve every issue.
For clay soil
Use organic matter and avoid working the soil while wet. Do not add small amounts of sand to clay as a general fix; an unsuitable mix can make the soil denser.
For established raised beds
Top up settled soil with an appropriate blend of soil and finished compost rather than filling the bed with pure compost.
How Much Compost Should You Use?
For a simple planning estimate, measure the bed’s length and width, then decide on the depth of compost you want to spread. A layer of one inch over a bed that measures 4 feet by 8 feet requires about 2.7 cubic feet of material before allowing for settling.
This is a volume calculation, not a universal application recommendation. A bed with high phosphorus, excess salts, or abundant organic matter may need less compost or a different amendment. Use soil test results and crop needs to decide whether the planned layer is suitable.
Measure the area
Multiply the bed’s length by its width to find the surface area in square feet.
Calculate the volume
Multiply the surface area by the planned depth in feet. For a one-inch layer, divide the square-foot area by 12 to estimate cubic feet.
Should You Till Compost Into the Bed?
Not always. In an established no-till bed, spreading compost on the surface and covering it with mulch can limit disturbance to soil structure and organisms. Earthworms and other soil life help incorporate organic material over time.
If the soil is compacted or you are building a new bed, some loosening may be useful when the ground is dry enough. Use a garden fork to loosen the soil without repeatedly turning every layer. Avoid power tilling wet or sticky soil.
Choose light disturbance
Loosen only the area that needs it, and keep healthy soil layers as intact as practical.
Stop when soil is wet
If soil sticks to the tool or smears into a smooth surface, wait for it to dry before digging.
Step 5: Protect the Soil With Mulch or a Cover Crop
Do not leave garden soil exposed all winter if you can protect it with a suitable cover. Bare soil can lose fine particles to wind and rain, and repeated rain can break down its surface structure. Mulch or a living cover crop helps shield the soil and can reduce the space available for weeds.
For many home gardens, clean straw, shredded leaves, or other suitable plant-based mulch works well. Spread it loosely enough to allow air and water to move through it. Keep mulch from pressing against the crowns of perennials, the trunks of shrubs, or the stems of young plants.
A cover crop is a plant grown mainly to protect or improve soil rather than to provide a direct harvest. Options include cereal rye, oats, field peas, and clovers, but the best choice depends on climate, planting date, and the next crop. Some cover crops survive winter, while others die during hard freezes.
Choose the cover before you sow it. A vigorous winter cover crop may need to be cut or terminated before spring planting, and some species can become weeds if allowed to set seed. Read regional planting guidance and allow enough time for establishment before the growing season slows.
Source: plankville.co.nz
Shredded leaves
Use clean leaves, preferably chopped or shredded so they form a loose layer instead of a dense mat. Avoid leaves contaminated with chemicals or collected from heavily polluted areas.
Clean straw
Straw can protect vegetable beds, but check its source and avoid material heavily mixed with weed seeds or unwanted residues.
Cover crops
Select a species suited to your region and planting window, and plan how you will manage it before spring vegetables need the space.
Mulch Depth and Placement
A loose layer of a few inches is often enough for seasonal soil protection, but the right depth depends on the material and the plants in the bed. Fine leaves settle differently from straw or coarse wood chips. Keep mulch away from plant crowns and do not bury low-growing foliage that needs airflow.
In wet climates, a very thick, dense layer can hold too much moisture around vulnerable plants. In dry, cold regions, a suitable mulch layer can help reduce temperature swings and moisture loss. Check the bed after heavy rain and adjust any layer that has become compacted or waterlogged.
Keep the surface breathable
Use a loose, even layer rather than pressing leaves into a thick, wet blanket.
Watch for pests
Mulch can provide shelter for some slugs, rodents, or insects. Check vulnerable crops and use a different approach if pest pressure becomes a problem.
When Is a Cover Crop Better Than Mulch?
A cover crop may be useful when you have a large bare bed, enough growing time for establishment, and a plan to manage the plants before the next crop. Its roots help hold soil, and the plant material can contribute organic matter when managed correctly.
Mulch is often simpler when fall is already late, the bed is small, or spring planting will begin early. It also avoids the need to terminate a living crop. In either case, local conditions matter more than choosing a method that sounds best in general.
Choose a cover crop
Use it when the species fits your climate and you can establish and terminate it at the right time.
Choose mulch
Use it when you want quick protection with less planting and spring management.
Step 6: Prepare Different Types of Garden Beds
The best autumn routine depends on what grows in the bed. Vegetable plots need crop cleanup and rotation planning, perennial flower beds need selective pruning, and raised beds may need soil-level checks and repairs. Treating every bed the same can remove useful plant material or create extra work.
Source: plankville.co.nz
Vegetable beds
Remove finished crops, assess disease and pest problems, test soil when needed, and plan where next year’s plant families will grow.
Perennial flower beds
Remove diseased leaves, retain healthy plant structure when useful, and avoid burying crowns with compost or mulch.
Annual flower beds
Remove spent annuals, pull weeds, add compost if needed, and cover the soil before winter rain or snow.
Raised beds
Check the frame, clear drainage routes, replace lost soil with an appropriate mix, and protect the surface from erosion.
Autumn Preparation for Vegetable Gardens
Vegetable beds benefit from a clear record of what grew in each area. Keep track of crop families such as tomatoes and peppers, which are both in the nightshade family, or cabbage and broccoli, which belong to the brassica family. Rotating crop families can help reduce some recurring pest and disease problems, although rotation alone cannot prevent every issue.
Do not plant a cover crop without considering the next vegetable crop. Some plant families share pests or diseases, and some cover crops may attract insects that also feed on garden vegetables. Choose a crop suited to your growing season and avoid letting it interfere with the next planting.
Record crop locations
Write down which plant families occupied each bed so you can rotate crops where space allows.
Remove volunteer plants
Pull unwanted seedlings from previous crops when they could host pests, spread disease, or crowd next year’s vegetables.
Autumn Preparation for Flower Beds
Flower beds often need selective rather than complete cleanup. Some perennials benefit from being cut back in fall, while others are best left standing until late winter or spring. Seed heads and stems may provide food and shelter for wildlife, and some plants offer useful winter structure.
Check the needs of each species before pruning or dividing it. Fall division works for some perennials when roots have time to settle before hard freezes, but it is not suitable for every plant or climate. Water newly divided plants when needed and follow local planting guidance.
Protect plant crowns
Keep heavy mulch away from the base of plants that are prone to rot or need an open crown.
Avoid blanket pruning
Retain healthy stems when they provide winter interest, wildlife value, or protection for the plant.
Step 7: Fix Drainage and Avoid Soil Compaction
Healthy garden soil needs both water and air. If water sits on the surface for long periods, roots may struggle to get oxygen, and repeated wet conditions can damage soil structure. Fall is a useful time to notice these problems, but major drainage work should be planned carefully.
Start by identifying where water enters and where it goes. Roof runoff, compacted paths, blocked drains, and low spots can send too much water into a bed. Simple changes such as clearing a drain or redirecting a downspout may help, but do not direct runoff onto a neighbor’s property or toward a building foundation.
Avoid walking on wet beds. Foot traffic presses soil particles together and reduces the spaces that hold air and water. Use paths or boards to spread your weight if access is unavoidable, and wait until the soil dries before loosening it.
If a bed stays waterlogged despite basic maintenance, the cause may be a high water table, dense subsoil, or a poor site location. Adding a small amount of compost may improve surface structure but will not correct every drainage problem. Consider a raised bed or qualified local advice when the site has persistent water issues.
Source: birbalnews.com
Keep paths separate
Use defined walkways so you do not need to step into growing soil during cleanup and planting.
Check runoff routes
Make sure gutters, downspouts, and nearby hard surfaces do not flood the bed.
Do not dig wet clay
Wait until the soil crumbles instead of smearing or sticking heavily to tools.
What If the Soil Is Hard and Compacted?
First, find out whether the soil is truly compacted or simply dry and hard. If it breaks apart into firm clods when dry, adding organic matter over time and reducing foot traffic may help. If it is wet and sticky, working it now can make the problem worse.
For a small area, a garden fork can loosen the soil with limited disturbance. Push the fork into the ground and gently rock it to open the soil without turning every layer upside down. For widespread compaction or recurring drainage issues, consider a soil assessment before attempting extensive digging.
Loosen only where needed
Avoid repeated deep tilling when surface compost and reduced traffic may be enough.
Improve the cause
Fix recurring foot traffic or runoff problems so the soil does not become compacted again.
Step 8: Plan Spring Planting and Protect Perennials
Use fall preparation to make a practical planting plan. Record the crops that grew well, note where disease appeared, and decide which beds need compost or a soil test. Planning now can also help you avoid putting related crops in the same place year after year.
Keep the expected size of mature plants in mind. Crowded vegetables and flowers compete for light, water, and nutrients, while trees and shrubs need room for their roots and branches. If you plan to add permanent plants, check their mature dimensions and light requirements before digging.
Protect perennials according to their needs rather than covering all plants with the same material. Some plants need a light mulch after the soil cools, while others are vulnerable to rot if covered too deeply. In cold regions, a stable insulating layer can help protect certain shallow-rooted plants from repeated freeze-thaw cycles.
Water newly planted trees, shrubs, bulbs, and perennials as needed while the soil remains workable and dry weather persists. Roots can continue to establish when temperatures allow, but saturated soil and frozen ground change what plants can absorb. Follow the watering needs of the plant and local weather conditions.
Source: www.pinterest.com
Make a crop map
Mark each bed, note what grew there, and plan a suitable rotation for next season.
Label bulbs and perennials
Use durable labels or a simple garden map so you can find plants after winter.
Protect new plantings
Water when needed and apply suitable mulch after the soil cools, keeping it clear of vulnerable crowns and stems.
Should You Fertilize Garden Beds Before Winter?
Not every bed needs fall fertilizer. The right choice depends on soil test results, crop requirements, and whether plants are still actively growing. Adding nutrients without a clear need can waste money and increase the risk of nutrients moving into groundwater or nearby waterways.
Some perennial plants and fall crops may need specific nutrients at particular stages, but a general fertilizer application is not a substitute for a soil test. Avoid applying fertilizer to frozen ground or before heavy rain when runoff is likely. Follow product directions and local recommendations.
Test before feeding
Use soil test results and crop needs to decide whether nutrients are required.
Avoid excess nitrogen
Too much nitrogen can encourage unsuitable late growth in some plants and can be lost from the bed during wet weather.
A Simple Autumn Garden Bed Preparation Checklist
A short checklist helps you finish the important tasks without spending every mild day in the garden. Start with cleanup and soil assessment, then add amendments only when they are useful. Finish by protecting the soil and recording what you want to change next spring.
Source: help.gardeningexpress.co.uk
Inspect the bed
Look for drainage problems, compaction, damaged edging, weeds, and signs of plant disease.
Clear finished crops
Remove diseased plants, unwanted weeds, and debris that may harbor pests.
Test the soil
Collect samples according to laboratory instructions, especially if growth has been poor or you plan to change soil pH.
Add suitable organic matter
Spread mature compost when it fits the bed’s needs, and avoid excessive applications.
Loosen carefully
Work only when soil conditions are suitable, and limit disturbance to what is necessary.
Protect bare ground
Apply a suitable mulch or establish a cover crop that fits the local planting window.
Plan the next season
Record crop locations, order needed seeds, and note repairs or soil issues to address.
Tools and Supplies to Have Ready
Most home gardeners can prepare a bed with a few basic tools. A hand trowel, garden fork, rake, gloves, and a wheelbarrow cover the main tasks. Add compost, mulch, labels, or a soil sampling kit only as needed.
Wear sturdy footwear and gloves when handling rough plant material. If you remove thorny plants or potentially irritating weeds, use suitable protective clothing. Clean tools after working with diseased plants, and avoid carrying contaminated soil from one bed to another.
Garden fork and hand trowel
Useful for loosening small areas, lifting weeds, and removing crop roots when necessary.
Rake and wheelbarrow
Help clear loose debris and move compost or mulch with less lifting.
Gloves and clean tools
Reduce contact with rough plant material and help limit the spread of some plant diseases.
Soil test supplies
Use a clean container and the sampling tools recommended by the testing laboratory.
Common Fall Garden Preparation Mistakes to Avoid
The most common mistakes come from doing too much, working at the wrong time, or adding materials without checking what the soil needs. Fall preparation should protect the garden, not create extra problems. A light, targeted approach often works better than turning every bed over and applying several amendments at once.
Source: lsgardensco.com
Digging wet soil
Wet soil can smear, compact, and form hard clods. Wait until it is workable before loosening or tilling.
Adding too much compost
Excess compost can contribute to nutrient imbalances or high salt levels, depending on its source and the soil. Use soil test results and a measured application.
Leaving diseased debris in place
Some pathogens and pests survive in plant remains. Remove material known to carry a serious problem and follow crop-specific disease guidance.
Using fresh manure carelessly
Fresh manure may contain pathogens, weed seeds, and high levels of nutrients. Use properly composted manure or a suitable finished product and follow food-safety guidance for edible crops.
Covering crowns too deeply
Heavy mulch piled against perennial crowns or woody stems can trap moisture and encourage rot or pest damage.
Applying fertilizer without a reason
Unneeded nutrients may harm plants or wash away during winter rain. Test the soil and follow crop requirements.
Planting a cover crop too late
A cover crop needs enough time and suitable temperatures to establish. Choose a local recommendation or use mulch when the planting window has passed.
What If You Miss the Best Time for Fall Preparation?
You can still protect a garden bed after the ideal window has passed. Remove obvious diseased debris, pull mature weeds where the soil is workable, and cover exposed ground with suitable mulch. Leave heavy digging and major soil changes until conditions are right.
If the ground is frozen or saturated, do not force the job. Make a short list of tasks for the next suitable weather window and plan to test the soil or add compost before spring planting. A bed does not need to look perfectly tidy to make it through winter well.
Late fall
Focus on disease cleanup, mature weeds, basic protection, and quick repairs that can be completed safely.
Frozen or waterlogged ground
Avoid digging and tilling. Wait for suitable conditions and protect the bed when you can do so without damaging the soil.
Frequently Asked Questions
Q
When should I prepare my garden beds for autumn and winter?
Begin when summer crops finish and before the ground becomes frozen or repeatedly waterlogged. In colder parts of the United States, this may be late summer or early fall. In milder areas, preparation can continue later, and some beds may support cool-season crops through winter.
Use local frost dates and weather forecasts as guides, but let soil moisture determine when you dig or till. Soil that sticks heavily to tools or smears when pressed is too wet to work.
Q
Should I turn over my garden soil in the fall?
No, not every garden bed needs to be turned over. Repeated digging can disturb soil structure and bring buried weed seeds closer to the surface. In established beds, surface compost and mulch may be enough.
If you need to loosen compacted soil or prepare a new bed, use a garden fork or another suitable tool when the soil is dry enough. Avoid working wet soil, especially clay-rich soil.
Q
What is the best thing to add to garden soil in autumn?
Finished compost is a useful option for many beds because it adds organic matter and may supply nutrients. However, the best amendment depends on the soil’s texture, pH, nutrient levels, and intended crops.
Use a soil test to decide whether lime, sulfur, fertilizer, or another amendment is needed. Avoid adding several products at once without a clear reason.
Q
Should I cover my garden beds over winter?
Yes, protecting bare soil is often helpful. Suitable options include shredded leaves, clean straw, or a locally appropriate cover crop. These covers can reduce erosion, limit weed growth, and protect the soil surface.
Choose a material that fits your climate and plants. In wet areas, avoid a dense, soggy layer, and keep mulch away from vulnerable plant crowns and woody stems.
Q
Can I leave dead plants in the garden over winter?
Some healthy plants and stems can remain, especially perennials that provide winter structure or wildlife shelter. Healthy crop roots may also be left in place when they do not create a disease or pest risk.
Remove plants with serious diseases, unwanted weeds with mature seeds, and debris that may harbor pests. When you are unsure about a specific disease, consult your state cooperative extension service for guidance on disposal.
Q
Is fall a good time to add manure to a vegetable garden?
Properly composted manure may be useful when it fits the soil’s needs, but it should not be added automatically. Fresh or incompletely composted manure can contain harmful pathogens, weed seeds, and excess nutrients.
For edible crops, follow current food-safety guidance and local recommendations on manure treatment and application timing. Soil testing can help you avoid excess phosphorus and other nutrient buildup.
Q
How do I prepare raised garden beds for winter?
Remove finished or diseased crops, pull weeds, inspect the frame, and check for drainage problems. If the soil level has dropped, top it up with an appropriate soil and compost blend rather than filling the bed with pure compost.
Cover the surface with suitable mulch or plant a cover crop when enough growing time remains. Check the bed after heavy rain to make sure water can drain freely.
✦ Wrapping Up
Conclusion
Autumn garden bed preparation is a practical way to protect soil, reduce spring cleanup, and make better use of the next growing season. Start by checking the bed, removing diseased material and mature weeds, and testing the soil when an amendment may be needed. Add finished compost only when it suits the bed, then protect bare ground with mulch or a suitable cover crop.
The best plan depends on your local climate, soil type, and plants. A vegetable bed in a cold northern state may need early cleanup and winter cover, while a garden in a mild southern region may continue producing crops. You can adapt the same basic process without following a rigid calendar or doing unnecessary work.
Healthy soil is built through steady care rather than one large fall project. Keep useful roots where appropriate, avoid working wet soil, and make notes about crop rotation, drainage, and recurring plant problems. These small steps can help you begin spring with a clearer plan and fewer avoidable tasks.
💡 Key Takeaway
This week, inspect each bed, remove diseased plants and mature weeds, and check whether the soil needs testing. Add a suitable amount of finished compost only if needed, then cover bare soil with clean mulch or a locally suitable cover crop before winter weather limits your options.
I enjoy sharing simple gardening ideas, lawn care tips, and honest product reviews that help make outdoor work easier. From home gardening guides to helpful tools and lawn care advice, I write easy-to-follow content to help readers create a healthier and better-looking outdoor space without wasting time or money.