As an Amazon Associate, I earn from qualifying purchases.
To prevent damping off naturally, start seeds in clean containers with fresh, well-drained seed-starting mix. Water with care, provide enough light and airflow, avoid crowding, and keep the growing medium moist rather than soggy. Remove diseased seedlings at once, because plants that collapse from damping off rarely recover.
Across the United States, gardeners start tomatoes, peppers, lettuce, herbs, and other crops indoors before the growing season begins. In colder regions, this often happens weeks before the last spring frost. In warmer states, gardeners may raise seedlings for fall gardens or grow plants indoors throughout much of the year. Whatever the climate, young seedlings need a clean start and the right balance of water, warmth, light, and air.
Damping off is a common problem during this early stage. A seed may rot before it sprouts, or a young seedling may develop a thin, dark stem near the soil line and fall over. The damage can spread through a crowded tray in a short time. The good news is that careful growing habits can greatly lower the risk without routine use of synthetic fungicides.
The key is prevention, not a single homemade cure. Damping off is linked to several soilborne organisms, including species of Pythium, Rhizoctonia, and Fusarium. Some are fungi, while Pythium belongs to a group of fungus-like organisms called oomycetes. They can thrive when the growing medium stays wet and seedlings face poor airflow or other stress. No natural treatment can promise complete protection, but a clean setup and sound care give seedlings a much better chance.
Damping off is a disease problem that affects seeds and very young plants. It can occur before a seedling emerges or after it appears above the growing medium. Infected seeds may soften and rot. New seedlings may look healthy at first, then develop a weak stem at the surface of the mix and collapse.
The condition is often associated with organisms that survive in soil, plant debris, water, or contaminated containers. Their activity depends on several factors, including moisture, temperature, the type of growing medium, and the health of the plant. A wet tray with poor airflow creates conditions that can favor disease and slow the growth of young roots.
Damping off is not the same as every case of a seedling falling over. A plant may also collapse because it lacks water, has a damaged stem, receives too much heat, or grows too close to a light source. Look closely at the stem and the growing medium before deciding what went wrong.
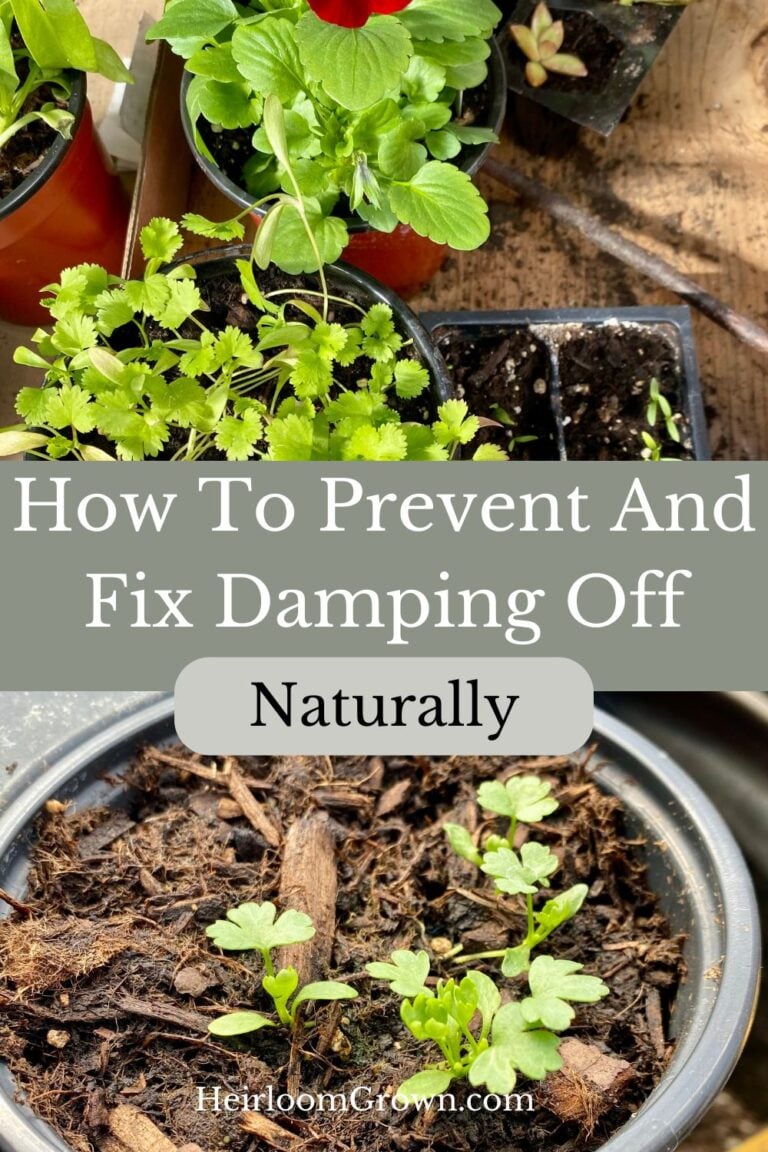
Source: heirloomgrown.com
Pre-emergence damping off
Seeds or newly germinated seedlings rot below the surface, leaving empty spaces where sprouts should appear.
Post-emergence damping off
A young plant develops a weak, often brown or pinched stem near the mix line, then bends or falls over.
Other causes of collapse
Dry soil, stem injury, heat stress, and weak growth can look similar. Check moisture and inspect the stem before assuming infection.
Which Plants Are Most at Risk?
Many common garden crops can be affected, especially while they are small. Tomatoes, peppers, cabbage-family crops, lettuce, cucumbers, squash, and many herbs may suffer when growing conditions favor disease. The risk is often greatest soon after germination, when stems and roots are still tender.
A strong older plant is generally less vulnerable than a newly emerged seedling, but older plants can still develop root or stem disease. Prevention matters most during germination and the first stages of growth, when small errors in watering or cleanliness can affect an entire tray.
Watch crowded trays
Seedlings that touch one another and stay wet around the base may dry slowly and compete for light.
Watch slow-growing crops
Seedlings that remain in a damp, dim environment for too long may become weak and take longer to outgrow the vulnerable stage.
Start With Clean Trays and Fresh Seed-Starting Mix
The best first step is to remove likely sources of contamination before you sow. Used pots, dirty tools, and old growing mix may carry disease organisms into a new batch of seedlings. Cleaning the growing area is often more useful than adding a homemade treatment after a problem begins.
Choose a fresh, packaged seed-starting mix from a reputable supplier. These mixes are made for young roots and usually have a finer, more consistent texture than garden soil. Garden soil may compact in a small container, drain poorly, and contain organisms that can harm tender seedlings.
Do not assume that every mix labeled natural, organic, or compost-based is automatically free of disease risks. Organic describes how certain materials are produced or managed; it does not guarantee that a growing medium is sterile. Select a mix intended for seed starting and follow the package directions.
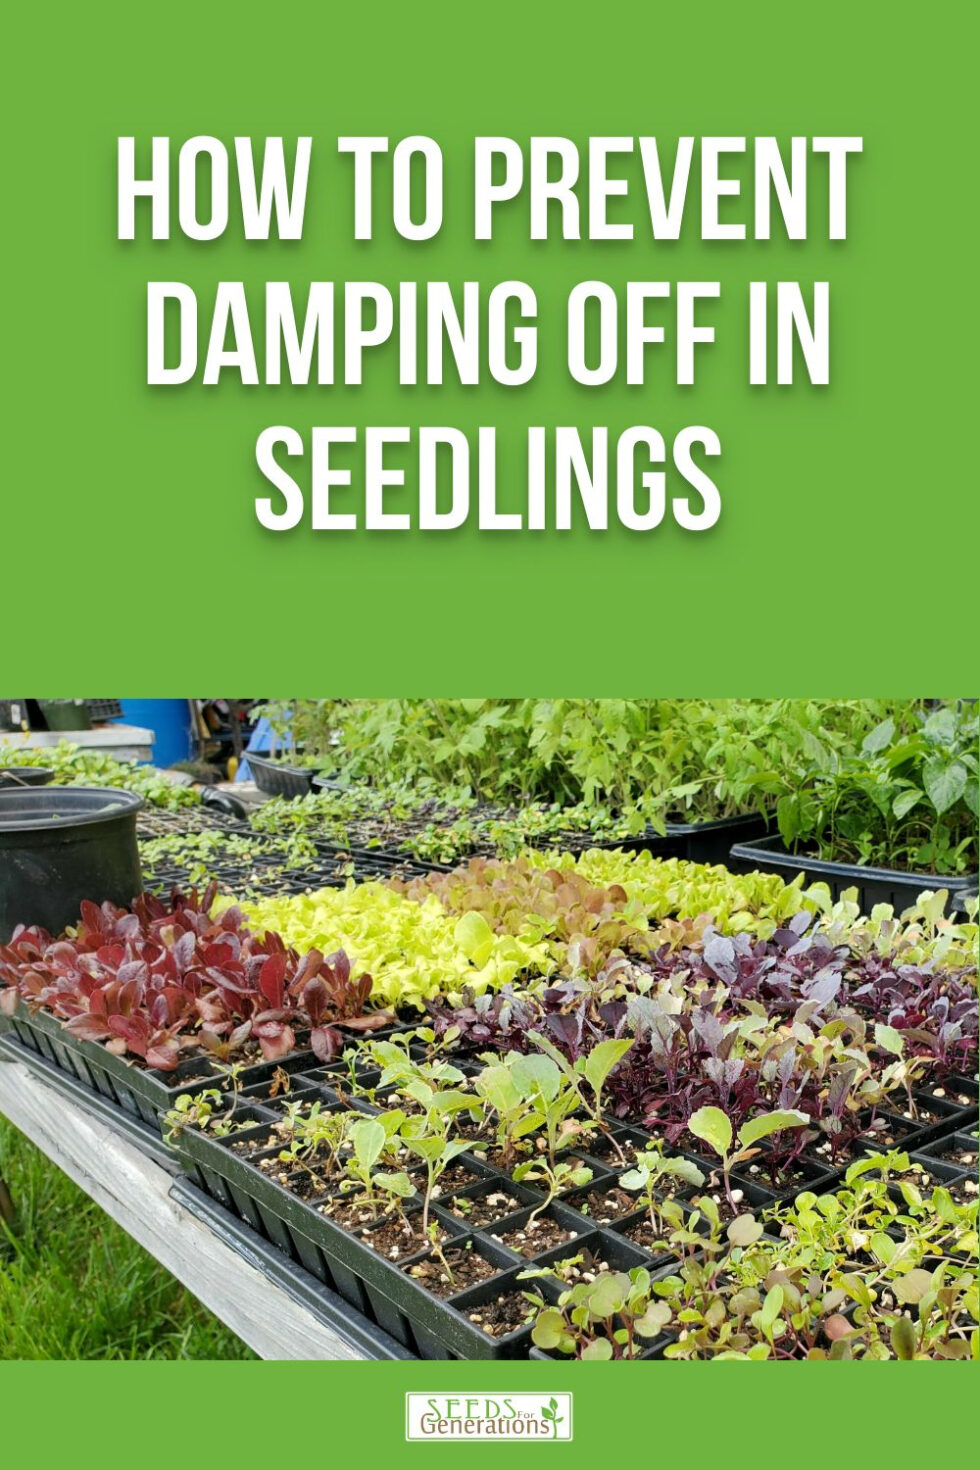
Source: seedsforgenerations.com
Wash reusable containers
Remove all old roots and soil. Scrub trays and pots with soap and water, rinse well, and allow them to dry before use.
Disinfect when needed
If containers held diseased plants, use a suitable labeled disinfectant according to its directions after cleaning. Keep cleaning products away from seeds and seedlings until the container is ready for use.
Clean small tools
Wash dibblers, scissors, labels, and other tools that touch the mix or plants. Avoid moving contaminated soil from one tray to another.
Skip old potting mix
Do not reuse mix from trays that had damping off. Fresh mix is the simpler choice for a new sowing.
Should You Sterilize Seed-Starting Mix at Home?
For most home gardeners, fresh commercial seed-starting mix is a practical option that avoids the need to heat soil at home. Homemade garden soil and unfinished compost are less predictable, especially in small containers where poor drainage can create problems.
Heating soil or compost in a kitchen oven is not a good default method. It can produce unpleasant odors, heat unevenly, and create risks if the material becomes too hot. It may also fail to give a reliable result without controlled temperatures and a suitable method. Use a mix designed for seed starting instead.
If you prepare your own growing medium, use clean ingredients, mature compost from a reliable process, and a blend that drains well. Even then, keep in mind that home mixing is not the same as producing a verified disease-free medium.
Best routine choice
Use fresh seed-starting mix and clean containers for each new sowing.
Avoid garden soil in small cells
It can be heavy, compact easily, and remain too wet around delicate roots.
Water Correctly to Keep Roots Healthy
Water management is one of the most important ways to prevent damping off naturally. Seeds need moisture to germinate, but their growing medium also needs air. When the mix stays soaked, roots may receive too little oxygen, and disease organisms can gain an advantage.
Aim for evenly moist mix rather than a surface that stays glossy or a tray that sits in water. Check the mix before watering. If the surface is still damp and the container feels heavy, you may be able to wait. If the mix is becoming dry and the tray feels light, water it gently.
There is no single watering schedule that fits every seed tray. A warm room, strong grow light, small cell, and fast-draining mix may need more frequent watering than a cool room with large pots. Judge the actual moisture level instead of watering by the calendar alone.
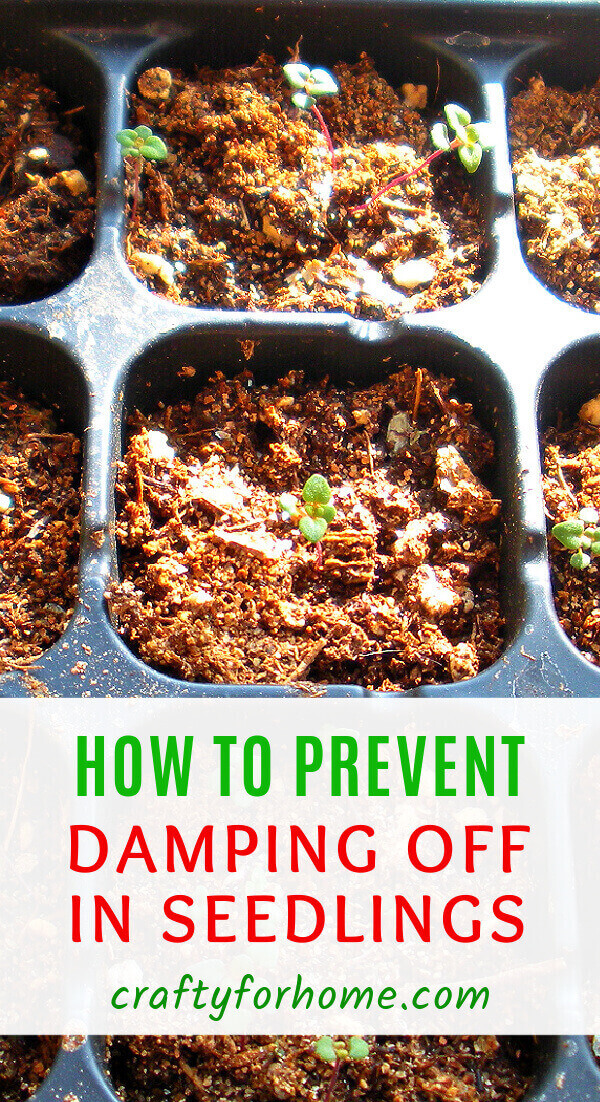
Source: craftyforhome.com
Use a gentle flow
Apply water slowly so you do not wash seeds out of place, expose roots, or flatten tiny stems.
Try bottom watering
Set containers with drainage holes in a shallow tray of water and let the mix absorb moisture. Remove the containers once the mix is evenly damp, and drain the tray.
Empty standing water
Do not leave seed trays sitting in water for long periods. Constantly saturated mix can harm roots and favor disease.
Use clean water
Use water suitable for household plants and clean watering tools. Do not allow dirty runoff from a diseased tray to reach healthy seedlings.
Is Bottom Watering Always Better?
Bottom watering can help keep tiny seeds in place and reduce splashing between containers. It is useful for trays with drainage holes, but it does not prevent damping off by itself. If pots remain in water too long, the lower mix can become saturated even when the surface looks dry.
Top watering can also work well when done gently and when excess water drains freely. The right choice depends on the tray, mix, and crop. In either case, water thoroughly enough to moisten the root zone, then let excess water drain away.
Good sign
The mix feels moist, the pot drains freely, and no water remains pooled beneath the container.
Warning sign
The mix smells sour, remains heavy for days, or develops persistent algae on its surface. Check drainage, airflow, and watering frequency.
Provide Enough Light, Airflow, and Suitable Warmth
Seedlings need light and air to grow sturdy stems. In a dim room, they may become tall, thin, and weak. Their crowded leaves and slow drying mix can make it harder to maintain healthy conditions.
Place trays where seedlings receive strong light for the crop and season. A suitable grow light can help when a bright window is not available. Follow the light manufacturer’s distance guidance, then watch the plants: stretched stems often suggest too little light, while bleached leaves or hot, dry growth may indicate excessive light or heat.
Air movement helps moisture evaporate from leaves and the mix surface. Use a small fan on a gentle setting if needed, but do not aim a strong stream of air directly at tender plants. The goal is mild circulation, not wind stress.
Source: www.youtube.com, GardenBound
Space seedlings apart
Thin crowded seedlings and leave room for leaves to dry. Follow the crop’s recommended spacing as plants grow.
Remove humidity covers
Take off germination domes after most seeds emerge, unless the crop or growing setup requires another approach.
Control heat
Use the recommended germination temperature for each crop. Avoid placing trays over hot vents or on warm surfaces that keep the mix excessively wet.
Avoid stagnant corners
Do not pack trays tightly against walls or other objects where air cannot move around the plants.
Should Seedlings Be Kept Warm?
Seeds often germinate best within a suitable temperature range, but the ideal range varies by crop. Warmth can speed germination for many vegetables, yet excessive heat combined with wet mix may create poor conditions for roots.
After germination, follow the crop’s growing recommendations. Many seedlings benefit from slightly cooler conditions than those used to start germination. Check the seed packet or a reliable crop-growing guide rather than applying one temperature to every vegetable.
Before sprouting
Use the recommended germination range for the crop and keep the mix moist, not flooded.
After sprouting
Provide bright light, suitable growing temperatures, and gentle air movement.
Sow Seeds at the Right Depth and Density
Plant seeds at the depth stated on the packet. Seeds planted too deeply may take longer to emerge, while seeds left exposed may dry out before they establish roots. A long wait in wet mix can increase the time seeds spend at risk.
Avoid sowing many seeds in one small cell unless you plan to thin them promptly. Crowded plants compete for light and airflow, and their leaves can hold moisture near the surface. Correct spacing also makes it easier to inspect each seedling for early signs of trouble.
Use healthy seeds from a reliable source and store unused seed in a cool, dry place as directed. Old or damaged seed may germinate poorly, although low germination alone does not prove that disease is present. If a batch repeatedly fails, review seed quality, temperature, moisture, and planting depth before changing several things at once.
Source: www.youtube.com, The Ripe Tomato Farms
Follow packet directions
Seed size and light needs affect how deeply a seed should be planted. Do not use one depth for every crop.
Thin early
Keep the strongest seedling in each cell when the crop calls for thinning. Snip extras at the surface rather than pulling them if their roots are tangled.
Label each tray
Record the crop and sowing date so you can compare germination time and spot unusual losses.
Use Natural Prevention Methods With Realistic Expectations
Natural gardening does not require adding a homemade substance to every seed tray. The strongest starting plan is to manage water, cleanliness, drainage, light, and spacing. These steps address common conditions that allow seedling disease to develop without relying on an unverified remedy.
Some gardeners try cinnamon, chamomile tea, diluted hydrogen peroxide, or other household substances. Evidence for these remedies as dependable damping-off prevention in home seed trays is limited or inconsistent. A mixture that harms microbes in one setting may also damage young roots or fail to reach the organisms causing disease.
Compost and biological products can have a role in some growing systems, but their effects depend on the material, organism, formulation, and growing conditions. A product’s natural or organic label does not by itself prove that it prevents damping off. Check the intended use, directions, and any applicable label restrictions before using a treatment.
Source: heirloomgrown.com
Use mature compost carefully
If compost is part of a homemade mix, choose mature, well-managed material. Unfinished compost may have unstable properties and is not a reliable substitute for seed-starting mix.
Do not rely on cinnamon
Household cinnamon is not a proven universal treatment for damping off. It cannot replace clean containers, sound watering, and proper airflow.
Be cautious with hydrogen peroxide
Incorrect concentration can injure plant tissue and does not guarantee control of organisms throughout the mix. Do not improvise a drench without reliable crop-specific guidance.
Check biological products
Use only products suited to the crop and intended purpose, and follow the full label. Biological control is not a substitute for basic growing hygiene.
Can You Prevent Damping Off Without Any Treatment?
Yes. Many home gardeners can reduce the risk substantially by using clean trays, fresh mix, proper drainage, careful watering, suitable light, and enough space. These measures do not eliminate every disease organism, but they make the growing environment less favorable for many damping-off problems.
If damping off keeps returning despite good sanitation and watering, consider whether the mix, containers, seed source, or growing environment is the common factor. Persistent problems may need a more specific diagnosis from a local university extension service or plant diagnostic clinic.
Start with prevention
Correct the growing conditions before adding products.
Seek a diagnosis when needed
Repeated unexplained losses may involve another root disease, unsuitable temperature, poor seed quality, or a drainage problem.
How to Recognize Damping Off and Respond Quickly
Check seedlings every day, especially during the first week or two after emergence. Look at the stem where it meets the growing medium. A dark, narrow, soft, or water-soaked area near that point, followed by collapse, is a warning sign of damping off.
A single wilted plant does not confirm the disease. Dry mix can cause wilting, while excess water can damage roots and cause similar symptoms. Check the moisture level and inspect the base of the stem before deciding what action to take.
When damping off is likely, act promptly. Remove collapsed seedlings and the small amount of mix around their roots. Keep affected material away from healthy trays, wash your hands and tools, and review watering and airflow. Because a collapsed seedling rarely recovers, trying to save it can leave a possible source of infection beside healthy plants.
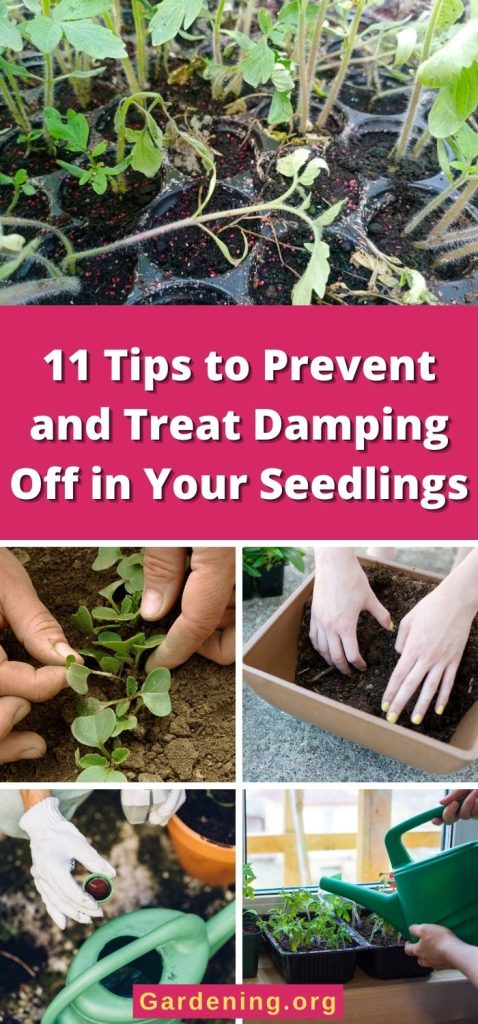
Source: gardening.org
Remove affected seedlings
Lift or snip out collapsed plants and nearby contaminated material without scattering wet mix across the tray.
Separate healthy trays
Move unaffected plants away from splash and runoff. Keep watering tools and drainage trays clean.
Improve the growing conditions
Let excess moisture drain, improve gentle airflow, and check that the plants receive suitable light and temperature.
Resow if losses are widespread
For a badly affected tray, discard the contaminated mix, clean the container, and restart with fresh mix and clean tools.
Should Diseased Seedlings Go Into the Compost?
For a small home compost pile, the safest practical choice is to discard seedlings that are clearly affected by damping off rather than placing them in the pile. Home compost piles may not reach suitable temperatures throughout the material for long enough to reduce all plant pathogens.
Follow local waste guidance for disposal. Do not reuse the affected growing mix for new seedlings, and do not spread it around other young plants. Clean the tray before using it again.
Do not reuse contaminated mix
Discard mix from badly affected trays and begin again with a fresh growing medium.
Clean before reuse
Remove soil and plant debris, wash the tray, and use an appropriate disinfectant when needed.
A Simple Natural Seed-Starting Routine
A repeatable routine makes prevention easier. Before each sowing, prepare clean containers and a fresh growing medium. During germination, maintain suitable moisture and temperature. After emergence, focus on light, airflow, and spacing while checking the plants each day.
The routine below is a practical starting point for many home vegetable seedlings in the United States. Adjust the timing and temperature for the crop, local season, and indoor growing conditions. The goal is not to keep every tray perfectly dry; it is to provide enough moisture for growth without leaving roots in stagnant, wet mix.
Source: seedsforgenerations.com
Before sowing
Wash trays, inspect drainage holes, prepare fresh seed-starting mix, and clean the work area.
On sowing day
Moisten the mix evenly, plant at the recommended depth, label the crop, and remove excess water from the tray.
During germination
Check moisture daily and maintain the recommended temperature. Vent or remove covers as sprouts emerge.
After emergence
Give seedlings bright light, gentle airflow, suitable temperatures, and enough space to grow.
During daily checks
Look for dark stem bases, collapsed plants, sour smells, standing water, and overly crowded growth.
If disease appears
Remove affected plants, isolate healthy trays from runoff, correct the conditions, and restart heavily affected sowings with clean materials.
What Healthy Seedlings Should Look Like
Healthy seedlings usually have upright stems, leaves with the expected color for the crop, and steady new growth. The mix should be moist but should not remain waterlogged. Roots should have room to develop and should not sit in standing water.
Growth speed varies by crop, seed quality, temperature, and light. A slow-growing seedling is not automatically diseased, just as a fast-growing seedling is not always healthy. Watch the whole plant and its growing conditions rather than relying on one sign.
Sturdy stems
Plants stand upright and do not have a pinched or darkened section at the mix line.
Balanced moisture
The mix dries gradually between waterings without becoming bone dry during germination.
Steady growth
New leaves form and seedlings do not show a growing pattern of collapse.
Common Mistakes That Raise the Risk
Most preventable problems come from a combination of wet mix, poor airflow, weak light, and contaminated materials. Changing one factor may help, but a tray can remain at risk if the other conditions stay poor. Review the full setup when seedlings repeatedly collapse.
Source: craftyforhome.com
Watering on a fixed schedule
A daily schedule can leave the mix saturated on cool or cloudy days. Check the actual moisture level before watering.
Keeping a dome on too long
High humidity can be useful before germination, but a sealed cover after emergence may slow drying and restrict airflow.
Reusing dirty trays
Old roots and soil can carry disease organisms. Clean containers before the next crop.
Sowing too thickly
Dense seedlings compete for light and may remain damp around their stems. Thin them promptly.
Adding untested home remedies
Household mixtures may injure roots or offer little protection. Fix growing conditions before trying a treatment.
Ignoring drainage
Blocked holes and water-filled trays can keep the root zone too wet. Check that water can leave each container.
Frequently Asked Questions
Q
Can damping off be cured naturally once a seedling falls over?
A seedling that has collapsed because of damping off rarely recovers. Remove it and the mix around its roots, then correct moisture, drainage, light, and airflow. If many seedlings are affected, resow in clean containers with fresh seed-starting mix.
Q
Does cinnamon prevent damping off?
Cinnamon is a popular home remedy, but it is not a reliable, proven way to prevent damping off in every seed-starting setup. Do not depend on it instead of clean trays, fresh mix, suitable watering, and good airflow.
Q
Is hydrogen peroxide safe for seedlings?
Safety depends on the concentration, exposure, crop, and method of use. A strong or poorly mixed solution may damage tender roots and stems, and treatment may not reach all disease organisms in the mix. Avoid improvised drenches and seek reliable crop-specific guidance before using a treatment.
Q
Should I let the seed-starting mix dry out completely?
No. Seeds need moisture to germinate, and tiny seedlings have limited roots. Allow excess water to drain and avoid keeping the mix saturated, but do not let it dry so much that seeds or young roots become stressed. Check the mix and adjust watering to the growing conditions.
Q
Can I use garden soil for organic seed starting?
Fresh seed-starting mix is usually a better choice for small pots and trays. Garden soil can compact, drain poorly, and carry disease organisms. Organic gardening does not require using untreated garden soil in containers; choose a suitable mix and follow good sanitation practices.
Q
How can I tell damping off from underwatering?
Underwatered seedlings often wilt while their mix is dry, and they may improve after careful watering if the roots remain healthy. Damping off often causes a dark, narrow, soft, or pinched stem at the mix line, followed by collapse. These signs can overlap, so inspect the stem and check moisture before deciding.
Q
Does organic seed-starting mix guarantee disease-free seedlings?
No. An organic label does not guarantee that a mix is sterile or that seedlings cannot become infected. A fresh mix intended for seed starting is a useful preventive step, but container hygiene, drainage, watering, light, and airflow still matter.
✦ Wrapping Up
Conclusion
Preventing damping off naturally starts with a clean growing space and good daily care. Fresh seed-starting mix, washed trays, careful watering, open drainage, bright light, and gentle airflow help reduce the conditions that allow disease to take hold. These simple habits support healthy roots without making homemade treatments the center of your routine.
No method can guarantee that every seedling will survive. If plants begin to collapse, remove affected seedlings promptly, keep contaminated mix away from new sowings, and review the whole growing setup. Repeated losses may need help from a local university extension service or plant diagnostic clinic to identify the cause.
💡 Key Takeaway
Before your next sowing, clean your trays, use fresh seed-starting mix, check every drainage hole, and plan how you will provide bright light and gentle airflow. Water only as needed, drain excess water, and inspect seedlings daily for early signs of trouble.
I enjoy sharing simple gardening ideas, lawn care tips, and honest product reviews that help make outdoor work easier. From home gardening guides to helpful tools and lawn care advice, I write easy-to-follow content to help readers create a healthier and better-looking outdoor space without wasting time or money.