
As an Amazon Associate, I earn from qualifying purchases.
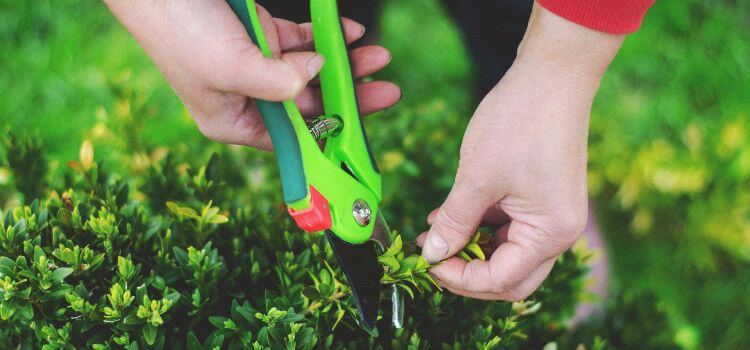
Are your garden pruning shears not cutting it? Sharp pruning shears are necessary for gardeners, as they make clean cuts that aid in faster plant healing. Fret not if your pruning shears seem dull and struggle with even the thinnest branches! I promise that learning to sharpen pruning shears is easier than you think.
Ensuring the blade’s angle matches the existing edge during sharpening is crucial. Regularly sharpening the blades can keep your shears in top condition. A sharp pair of pruning shears cuts through branches cleanly and helps maintain plant health by preventing damage during trimming.
Whether tending to roses, shaping bushes, or managing tree limbs, having a sharp set of pruning shears is essential for maintaining a well-groomed garden.
Why Sharpening Important?
Sharp pruning shears make your work easier and more efficient. Dull blades can damage plants and make gardening tasks more difficult. Sharp shears mean clean cuts, healthier plants, and a more joyful gardening experience.
Keeping pruning shears sharp plays a critical role in plant health. When you cut with dull shears, you risk crushing and bruising the stems. This damage can invite diseases and pests, harming your precious plants.
Sharp shears provide efficiency and precision. They make clean cuts with minimal effort, saving time and reducing strain on your hands. This accuracy is essential when shaping plants or cutting in tight spaces.
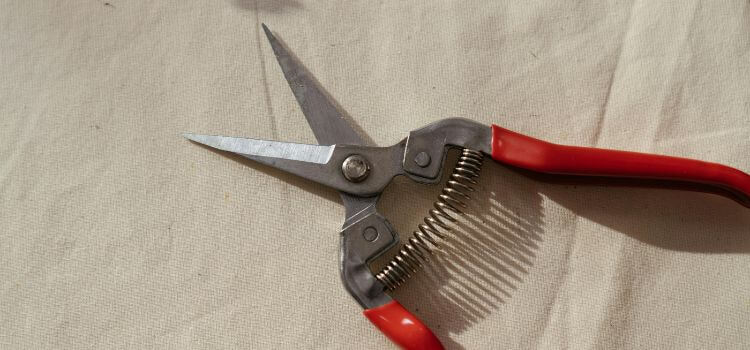
Identifying Dull Blades
Keeping pruning shears sharp ensures clean cuts. Sharp blades protect plants from damage. Dull knives make tasks harder. They can harm branches. Identifying when blades need sharpening is vital. Look for signs of dullness. Learn to spot these to keep shears in perfect shape.
Visual Inspection
Start by taking a close look at your blades. A shiny edge means sharpness, while a dull blade lacks this shine. Look for nicks and flat spots, which are signs of wear. Rust spots can also dull the cutting edge. Keep an eye out for these signals. They tell you it’s time to sharpen.
Performance Testing
Next, test the shears’ performance. Try cutting thin twigs. Observe the effort needed. Smooth cuts mean sharp blades. If cuts crush or chew stems, blades are likely dull. Please pay attention to how it feels—difficulty cutting signals dullness. Testing helps confirm if sharpening is needed.
Example of a simple table
| Sharp Blade Signs | Dull Blade Signs |
|---|---|
| Shiny edge | No shine |
| Easy cuts | Crushing cuts |
| Effortless use | Chewing stems |
Best Sharpener for Pruning Shears
Keeping pruning shears sharp ensures clean cuts and healthy plants. The right tools are essential for sharpening pruning shears effectively. Select a sharpening tool that matches the blade’s hardness and shape.
Sharpening Stones Vs. Files
Pruning shears can be precise with the right tools. Between sharpening stones and files, the choice matters.
| Sharpening Stones | Files |
|---|---|
| For fine sharpening | Ideal for heavy-duty work |
| Smooth, even edge | Rougher edge, but more metal removal |
| Use with water or oil | Use dry |
Sharpening stones are best for routine maintenance. Files are perfect for very dull blades.
Diamond Sharpeners And Their Benefits
Diamond sharpeners bring a new edge to the process. They are known for longevity and efficiency.
- Fast material removal
- Less physical effort
- Use on the hardest steels
- Maintain their flat shape
These benefits make diamond sharpeners a superior choice for professionals.
How To Sharpen Pruning Shears
Sharp pruning shears mean healthy plants and a happy gardener. But before the sharpening even begins, a bit of preparation is vital. Let’s get those shears ready for a sharp response!
Cleaning The Blades
Every good sharpening session starts with clean blades. Dirt and sap can affect the sharpening quality. Follow these steps:
- Wear gloves to protect your hands.
- Use soapy water and a scrub brush to remove debris.
- Rinse with clean water.
- Dry the blades thoroughly to prevent rust.
- Rub alcohol on the surface to disinfect and ensure a clean surface.
Securing The Pruning Shears
With the blades clean, securing the shears is vital. A stable shear means a safe sharpening. Here’s what to do:
- Find a flat, solid work surface.
- Use a vise or clamp to hold the shears in place.
- Ensure the blade is sharpened and faces up.
- Check the tightness to avoid any movement.
Proper Angle For Sharpening
A correct angle is crucial for sharp edges. Keep the angle consistent to avoid damage to the blades. Pruning shears work best with a sharpening angle between 10 to 20 degrees. This angle allows a sharp, durable edge suitable for clean cuts.
Sharpening the Blade
| Step | Action | Tips |
|---|---|---|
| 1 | Hold your sharpening stone at the same angle as the bevel. | This keeps the edge right. |
| 2 | Push the stone away along the edge. | Move from the base to the tip of the blade. |
| 3 | Repeat this motion 5-10 times. | Check the sharpness as you go. |
| 4 | Do the same for the other blade if needed. | Some shears have only one side to sharpen. |
Remember to go slow and stay safe.
Step-by-step Sharpening Guide
- Clean the blades using soapy water and a brush to remove debris. Dry thoroughly.
- Dismantle the shears, if possible, for easier access to the blades.
- Secure the blade using a clamp with the bevel edge facing up.
- Choose the correct file. A diamond file or whetstone works best for pruning shears.
- File the edge with smooth, even strokes. Follow the original angle. Please do not overdo it; a few strokes should suffice.
- Check the sharpness. Carefully feel the edge with your thumb, moving from the outer edge. The blade should feel uniformly sharp.
- Clean the blade again to remove any metal filings.
- Oil the blades to prevent rust. Use a light machine oil for best results.
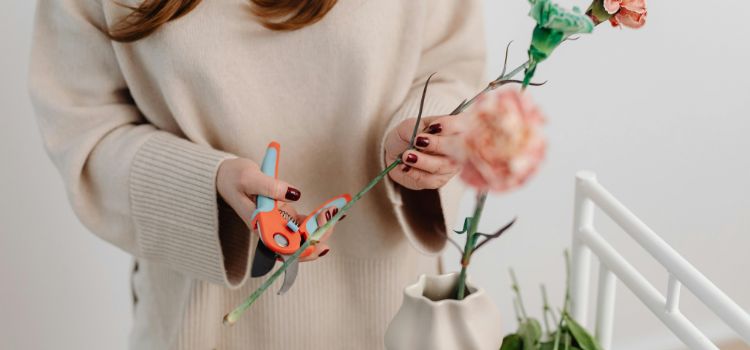
- Reassemble the shears if they were taken apart. Test their cutting ability on a few twigs or branches.
Maintaining The Sharpness Of Pruning Shears
Sharp pruning shears ensure a clean cut in your garden, which is essential for healthy plants. Dull shears can damage them. It’s vital to keep shears sharp. Let’s look at how to maintain that keen edge.
Regular Cleaning And Oiling
Clean pruning shears after each use. Sap and dirt make shears dull. Use soapy water to wash them. Dry them well to prevent rust. Then, apply oil. Here’s a simple guide:
- Fill a bucket with soapy water.
- Take apart the shears, if possible.
- Soak and scrub with a stiff brush.
- Rinse with clean water.
- Dry with a soft cloth.
- Apply a few drops of oil to the joints.
Proper Storage Practices
Good storage keeps shears sharp longer. Avoid damp places. Rust damages the blades. Instead, store shears in a dry, clean location. A toolbox or a fabric sheath protects them. Here are storage tips:
- Make sure the shears are completely dry.
- Wrap the blades in a cloth.
- Place in a toolbox or hang on a tool rack.

Common Mistakes To Avoid When Sharpen Pruning
Keeping your pruning shears sharp is similar to sharpening a chef’s knife. But, like with any tool, there are right and wrong ways. Some mistakes can damage your shears or make them wear out faster. Avoid these common errors to keep your shears in top condition.
Over-sharpening The Blade
The sharper the better, right? Not exactly. Over-sharpening can harm your shears. Here’s why:
- It can make the blade too thin
- Thin blades break easily
- Shortens the life of the shears
Just sharpen enough to get a smooth, sharp edge. It’s like cutting your nails – trim enough but not too much.
Neglecting Blade Alignment
Sharp blades are crucial but will only cut well if they line up. It can lead to:
- Uneven cutting
- Extra wear on the blade edges
- Damaged plants
Check your shears’ alignment after sharpening. Close and open them to see if the blades meet correctly. Aim for a clean alignment where the blades pass each other smoothly.
Frequently Asked Questions Of How To Sharpen Pruning Shears
Sharpening pruning shears requires using a flat file or whetstone. Stroke the file or stone along the blade edge at a 20-degree angle. Perform smooth, consistent strokes and maintain the blade’s original bevel. Finish with light oiling to prevent rust.
Yes, you can easily sharpen pruning shears at home. Secure the shears in a vise or hold them firmly. Use a small file or diamond stone to sharpen the cutting blade. Follow the blade’s angle, working from base to tip. Wipe the blades clean after sharpening.
Pruning shears should be sharpened regularly, typically after every few uses or when you notice a decline in cutting performance. Aim for it to be done at least once per gardening season or more frequently for heavy use. Keeping them sharp ensures clean cuts and healthy plants.
To sharpen pruning shears, you’ll need a flat file, whetstone, or diamond sharpening rod suitable for the blade size. It would help if you had cleaning supplies, like soapy water, a cloth, and some oil for aftercare. Safety gloves are recommended for protection during the process.
Conclusion
In Conclusion, Sharpening your pruning shears is essential for efficient gardening. With a well-maintained tool, your cuts are cleaner, promoting plant health. Embrace the tips shared, and enjoy the rewards of a well-groomed garden. Regular maintenance ensures your shears remain in top condition season after season.
Happy pruning!
Last Updated on October 5, 2025 by Saad Abdullah
I enjoy sharing simple gardening ideas, lawn care tips, and honest product reviews that help make outdoor work easier. From home gardening guides to helpful tools and lawn care advice, I write easy-to-follow content to help readers create a healthier and better-looking outdoor space without wasting time or money.